
Supplies
Font of choice - I used LD Gregarious which is a pay font
My Mask 27 here
Plug Ins:
Mura’s Meister - Cloud
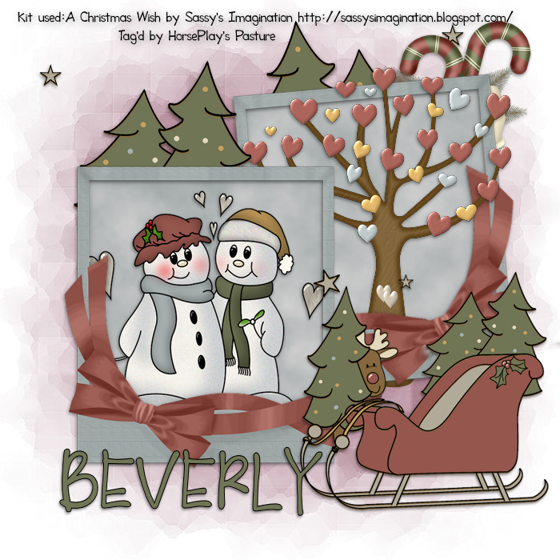
“A Christmas Wish” is a tagger size scrap kit created by Darlene of Sassy‘s Imagination. This portion is part of a huge mega collab to help a fellow designer in her time of need. It can be purchased from TKO Scraps. You can visit Darlene’s blog here.
Thank you Darlene for your fantastic portion.
This tutorial was written assuming you have a working knowledge of PSP.
~♥~ Let’s get started ~♥~
Open up a 700 x 700 blank canvas.
Flood fill white.
Color Pallet:
Foreground: #c1c3c3
Background: #e0e4e5
Copy and paste Wrapped Frame as a new layer.
Resize 85%
Mirror
Click inside of it with your Magic Wand.
New Raster layer below the frame.
Apply Mura’s Meister - Cloud
You should now have a cloud layer below the frame.
Copy and paste Snow In Love as a new layer below the frame.
Resize 70%
Selections/Invert
Tap the delete key.
Deselect.
Close out the white background layer.
Merge Visible.
Reopen the background layer.
Copy and paste Wrapped Frame again.
Resize 85%
Free rotate Left 5 degrees.
Move the Merged layer and the Wrapped frame layer into position - see my tag for reference.
Highlight the Wrapped frame layer.
Click inside of it with your Magic Wand.
Selections/Modify/Expand by 4.
New Raster layer below the frame.
Apply Mura’s Meister - Cloud.
Copy and paste Heart Tree as a new layer below the frame.
Move into position/Duplicate
Move the duplicate layer above the frame.
Selections/Invert
Highlight the tree layer below the frame.
Tap the delete key.
Deselect.
Highlight the tree above the frame.
Use your Eraser Tool and erase what you don’t want outside of the frame.
Copy and paste Charlie and Sleigh as a new layer.
Resize 70%
Position in front of both of the frames.
Duplicate/Move behind the frame and erase any portion of the sleigh that sticks out from behind the frame.
Duplicate/Mirror
Copy and paste Candy Cane as a new layer.
Resize 55%
Mirror
Highlight your white canvas.
New Raster layer.
Select All.
Copy and paste Paper 2 Into Selection.
Deselect.
Apply the mask.
Resize 110%
Merge Group.
Add your copyrights.
Add your name.
Resize all layers 80%.
I hope you enjoyed this tutorial.
I’d love to see your results.
Email me!
Hugs,
Bev
No comments:
Post a Comment