Supplies
1 tube of choice – I used the artwork of Jennifer Janesko which can now
be purchased from CDO. You must have
a license to use.
Font of choice – I used Arizonia here
“Lessons of Love” is a tagger
size scrap kit created by Cindy of Puddicat Creations and can be purchased from
TKO Scraps. You can
visit her blog here.
Thank you Cindy for another beautiful kit.
~♥~ Let’s get started ~♥~
Open up A 700 X 700 blank canvas.
Flood fill white.
New Raster layer.
Make your Selection Tool active set on Circle.
Create a circle approximately 500 pixels.
Copy and paste Paper 13 Into Selection.
Selections/Modify/Contract by 10
New Raster layer.
Copy and paste Paper 16 Into Selection.
Deselect.
Copy and paste Bling 1 as a new layer.
Resize 80%
Duplicate
Mirror
Move both elements into position over the circle paper – see my tag for
reference.
Highlight the light colored circle paper layer.
Click anywhere outside of it with your Magic Wand.
Highlight each element layer and tap the delete key.
Deselect.
Close out your white background.
Merge Visible.
Reopen your white background.
Copy and paste Frame 1 as a new layer.
Resize 45%
Flip
Move into position behind the lower right area of the merged layer –
see my tag for reference.
Duplicate/Mirror/Flip
To each Frame:
Click inside of it with your Magic Wand.
Selections/Modify/Expand by 6.
Copy and paste Paper 4 as a new layer below the frame.
Move into a position you like.
Selections/Invert
Tap the delete key.
Deselect.
Copy and paste your tube as a new layer.
Add your elements. I used:
Japanese Fan 2: Resize 50%/Duplicate/Flip
Grapes 1: Resize 50%/Duplicate/Mirror
Bird 1: Resize 30%
Flower 2: Resize 25%/Flip/Duplicate/Mirror
Bunny 1: Resize 40%
Ribbon 1: Resize 50%
Garden Globe 1: Resize 40% and
70%/Duplicate
Bling 2: Resize 50%/Use your
Target Tool and change the color to #3a1224
Highlight your white background.
New Raster layer.
Select All.
Copy and paste Paper 12 Into Selection.
Deselect.
Apply the mask.
Merge Group.
Add your credits.
Add your name.
Color Pallet:
Foreground and Background: #3a1224
Type your Name.
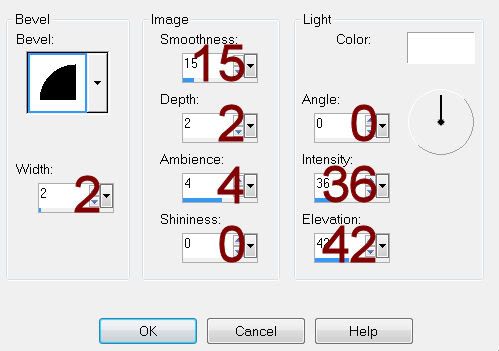
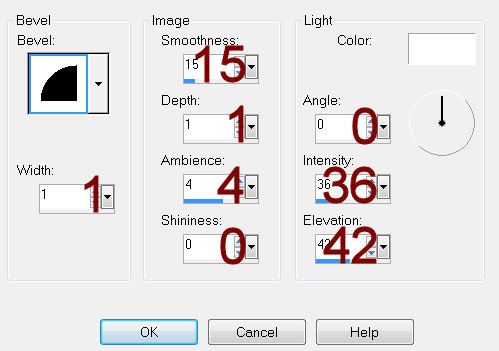
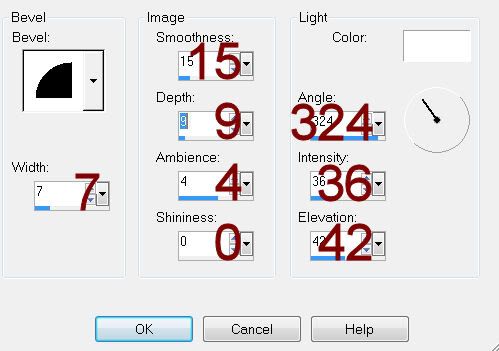
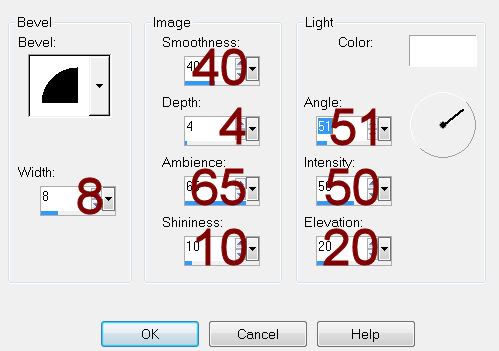
Give it a slight Inner Bevel:
Resize all layers 80%.