Font of choice - I'm using BoneHead here
Becky Mask 22
Template #64 – Designs by Ali here
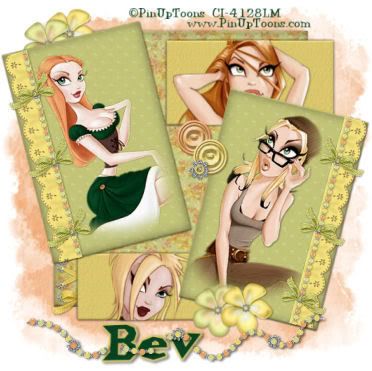
"Spring Sonnet" PTU tagger kit by QueenBrat Designs which can be purchased here. You can visit her blog here.
Thank you so much for this beautiful kit!!
This tutorial was written assuming you have working knowledge of PSP.
~♥~ Let’s get started ~♥~
Open up the template. Shift + D. Close out the original. Delete the DBA and Staple layers. Make a new Raster layer and send to bottom. Flood fill white.
To make this easier, we’ll work on one layer at a time.
Close out all the layers accept your white background and Shape 3 layer. Highlight Shape 3 layer. Select All/Float/Defloat. Copy and paste a paper of choice as a new layer. Selections/Invert and tap your delete key. Delete the template layer. Give the layer you’re working on a small bevel. I used:
Bevel: 2
Width: 1
Smoothness: 15
Depth: 2
Ambience: -2
Shininess: 0
Color: white
Angle: 0
Intensity: 36
Elevation: 42
Ok
Select All/Float/Defloat.
New Rater Layer. Effects/3D Effects/Cutout
Vertical & Horizontal: 2
Opacity & Blur: 25
Color Black
Ok
Repeat this step accept change the vertical and horizontal to -2.
Copy and pate one of the lace ribbons as a new layer. Resize 40% and move to the left lower corner of your working layer. Duplicate. Move the duplicated lace layer up so that the laces appear to be along the entire length of the working canvas. Erase the overlap. Close out your white canvas and merge visible.
Close out the merged layer and open up your white canvas and Shape 2 layer. Select/Float/Defloat. Copy and paste a paper of choice as a new layer. Selections/Invert. Hit the delete key. Give it the same inner bevel.
Copy and paste a tube of choice. Position and then hit the delete key. Close out your white background. Merge Visible. Repeat this with Shape 1 layer.
Close out all your layers and open up Frame 1 and Frame 2 layers. We’ll be working on these simultaneously.
Highlight Frame 1. Select All/Float/Defloat. Copy and paste a paper of choice. Invert. Hit the delete key. New Raster Layer give it the same Cutout as you did for the Shape 3 layer. Merge down, merge down.
Repeat the above with Frame 2.
Highlight Frame 1 layer. Copy and paste Border of choice as a new layer. Resize 30%. Free rotate right 75 degrees. (there’ll be a bit of an overhang of lace – don’t worry – just leave it). Position it to the left of Frame 1. Duplicate/Mirror. Position it to the right of Frame 2.
Copy and paste Bead String 2 as a new layer. Resize 30%. Free Rotate right 75 degrees. Position it over the lace. Dupilcate/Mirror. Position it over the lace of Frame 2.
Copy and paste a bow of choice as a new layer. Resize 25%. Position it over the bead string. Duplicate 2 more times and move into position. Duplicate each bow, mirror, and positioning them onto the other frame as well.
Copy and paste your tubes of choice, positioning them over the frames.
Open all your layers.
Time to add the elements of choice. I used:
Flowers 5 & 6: Resize 25%.
Buttons: Resize 50%.
Eyelet: 60%.
Highlight your white canvas. New Raster Layer. Copy and paste a paper of choice Into Selection. Deselect. Apply your mask.
Add your copyrights.
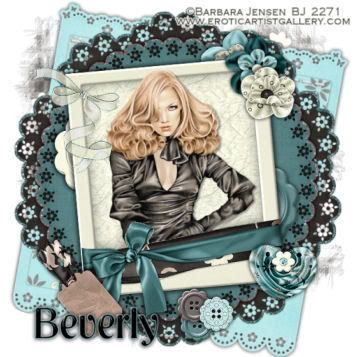
Add your name. I copied and pasted Beadstring 1 as a new layer, erased parts of it so it looks like it’s strung through my name.
I hope you enjoyed this tutorial.
I’d love to see your results and put them into my gallery!
Email me!
Hugs,
Bev

