Clicking on the image will enlarge to full view.
Supplies
Font of Choice - I used Polo here
Weescotlass Mask 133 here
Designs by Ali Template #25 here
“Back to Nature” is a PTU tagger size scrap kit created by Julie of Bits n Bobs and can be purchased at Exquisite Scraps.
Thank you Julie for such lovely kit!
This tutorial was written assuming you have a working knowledge of PSP.
~♥~ Let’s get started ~♥~
Open up the template.
Shift + D.
Close out the original.
Delete the credit layer.
New Raster Layer
Send to Bottom
Image/Canvas Size
700 X 700
Flood fill white.
Highlight the Back layer.
Select All/Float/Defloat
New Raster Layer.
Copy and paste a paper of choice Into Selection.
Deselect.
Delete the template layer.
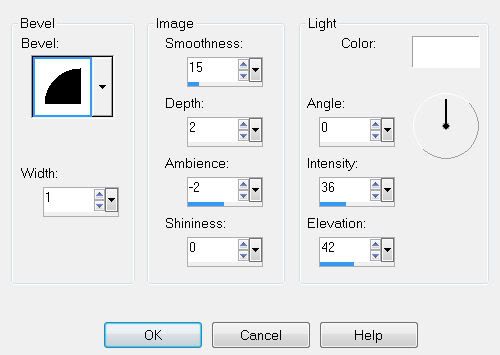
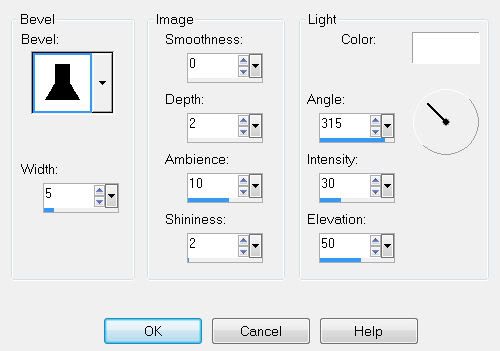
Give it a slight inner bevel:
Highlight Circle 1 layer.
Select All/Float/Defloat
New Raster Layer.
Copy and paste a paper of choice Into Selection.
DO NOT DESELECT
Select All/Float/Defloat
New Raster Layer.
Copy and paste a paper of choice Into Selection.
DO NOT DESELECT
Copy and paste your tube as a new layer.
Selections/Invert
Tap the delete button.
Deselect.
Delete the template layer.
Highlight Circle 1 frame layer.
Select All/Float/Defloat
New Raster Layer.
Copy and paste a paper of choice Into Selection.
Deselect.
Delete the template layer.
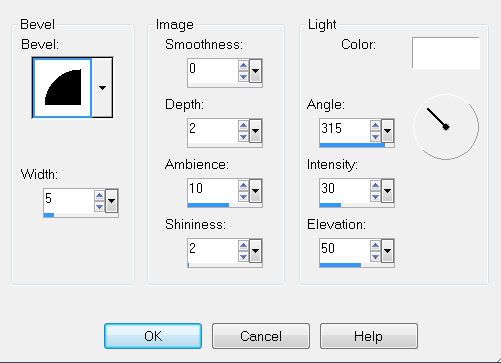
Give it the same inner bevel.
Highlight 3 Circles layer.
Select All/Float/Defloat
New Raster Layer.
Copy and paste a paper of choice Into Selection.
Deselect.
Delete the template layer.
Highlight 3 Circle Frames layer.
Select All/Float/Defloat
New Raster Layer.
Copy and paste a paper of choice Into Selection.
Deselect.
Delete the template layer.
Give it the same inner bevel.
Add your embellishments. I used:
Element 9
Element 3
Element 8
Element 3: Resize 40%
Highlight your white background.
New Raster layer.
Select All.
Copy and paste a paper of choice Into Selection.
Apply the mask.
Merge Group.
Resize 105%
Add your copyrights.
Add your name.
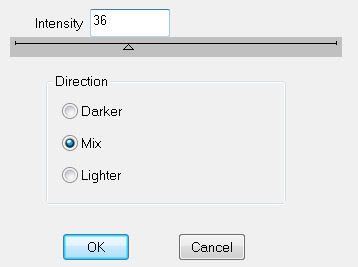
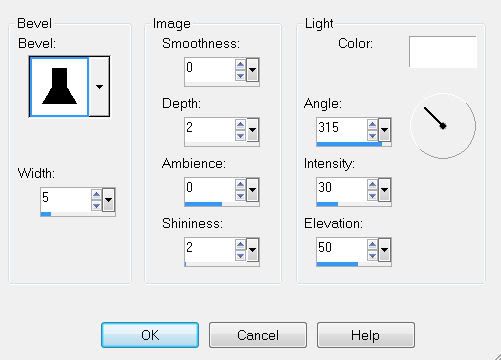
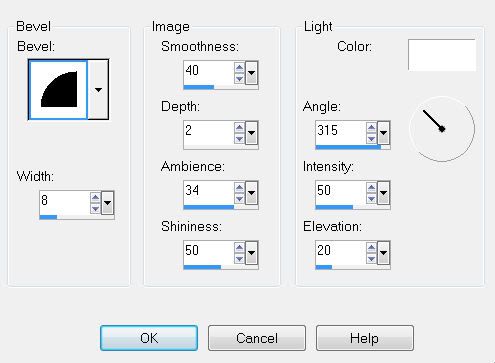
I gave mine the same inner bevel and a touch of Noise.
Resize all layers 80%.
I hope you enjoyed this tutorial.
I’d love to see your results and show it off in my Show Arena.
Email me!
Hugs,
Bev