Saturday, May 30, 2009

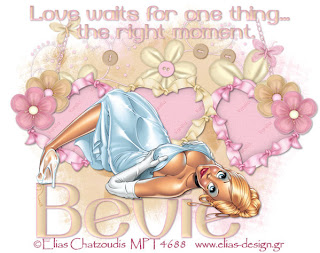
Love Waits


Clicking on the image will enlarge to full view.

Supplies
1 tube of choice - I’m using the artwork of Elias Chatzoudis which you can purchase here
Font of Choice - I’m using Yiggivoo Unicode here
Weescotlass Mask 167 here
“Vanilla” a taggers scrap kit created by Tina of Tina’s Magical Scrap World and can be purchased here. You can visit her blog here.

Thank you, Tina for such a beautiful scrap kit!

~♥~ Let’s get started ~♥~

Open a blank canvas 750 X 700.
Flood fill white.

Copy and paste Bow Heart Frame 1 as a new layer.
Resize 50%.
Free rotate left 15 degrees.
Move to the left side of your canvas.Duplicate/Mirror.

Copy and paste Bow Heart Frame 2 as a new layer.
Resize 50% and position inbetween the other 2 hearts.
Use your Magic Wand and click inside of each frame.
Selections/Modify/Expand by 6.

Copy and paste a paper of choice as a new layer.
Selections/Invert.Hit the delete key.

Close out your white canvas.
Merge visible.
Re-open your canvas.

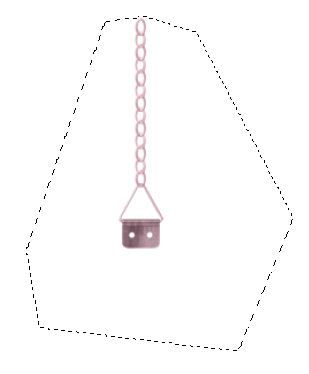
Copy and paste Frame Hanger 1 as a new layer.
Resize 40%.
Using your Freehand Selection tool draw around the framehanger.

Selections/Modify/Feather
Number of Pixels: 20
Tap the delete key twice.
Deselect.
Free rotate right 15 degrees.
Move into position on the left side.
Duplcate/Mirror
 
Add your embellishments:
Organza Flowers 1 & 2: Resize 25%.
Butterflies 1 & 2: Resize 25% and 60%
Flower String: Free rotate left 60 degrees

Highlight your white canvas.
New Raster layer.
Select All.
Copy and paste a paper of choice Into Selection.
Deselect.
Apply the mask.
Merge Group.
Move slightly to the left of your canvas.

Repeat the above step accept use another paper of a different color.Mirror.
Move slightly to the right of your canvas.
Merge down.
Flip.

Type out the words
LOVE WAITS FOR ONE THING…
THE RIGHT MOMENT
Or whatever words you like.

I added a slight inner bevel:
Bevel: 2
Width: 20
Smoothness: 17
Depth: 3
Ambience: 0
Shininess: 14
Color: white
Angle: 248
Intensity: 28
Elevation: 63
OK

Add your copyrights.

Add your name, giving it the same inner bevel.

Resize all layers 80%.

I hope you enjoyed this tutorial.

I’d love to see your results.
Email me!
Hugs,
Bev

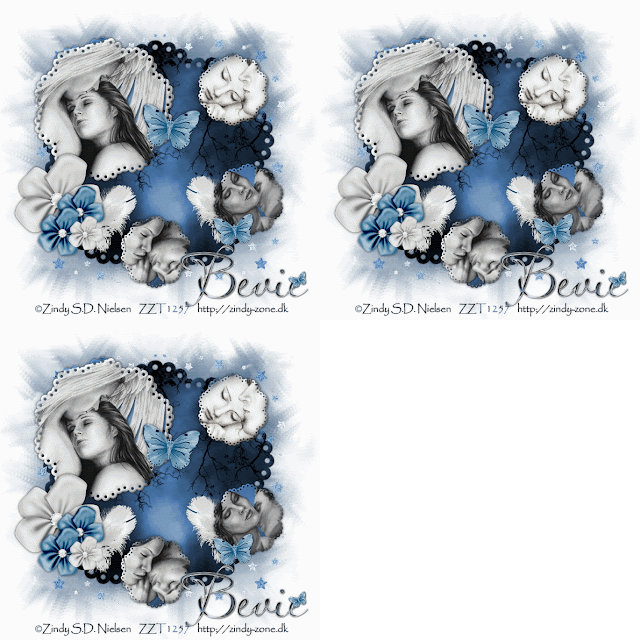
My Protector, My Angel

Clicking on the above image will enlarge to full view
and show the animaiton.

Supplies
4 tubes of choice - I’m using the artwork of Zindy S.D. Nielsen which you can purchase here
Font of Choice - I’m using LavishlyYours. It’s a pay font and cannot share, but Aquarelle is nearly identical here
Weescotlass Mask 249 here
Dezigns by Ali Template 76 here
Animation Shop (Optional)
“Goodnight My Little Angel” is a scrap kit created by Victoria of Pink Princess Designs and can be purchased from her blog here.
Thank you Victoria for this amazingly beautiful kit!

This tutorial was written assuming you have working knowledge of PSP.

~♥~ Let’s get started ~♥~

Open up the template. Shift + D. Close out the original.
Delete the copyright layer.
New Raster Layer. Send to bottom
Flood fill white.
Image/Canvas Size
700 X 700 pixels


Highlight the Back Shape layer.
Select All/Float/Defoat
Copy and paste Background Paper as a new layer.
Resize 50% and 70%
Selections/Invert.
Hit the delete button.
Deselect.
Delete the template layer.


Highlight Shape 4 layer.
Select All/Float/Defoat
Copy and paste Background Paper as a new layer.
Selections/Invert.
Hit the delete button.
Copy and paste your tube as a new layer - resizing as necessary.
Hit the delete button.
Deselect.
Merge Down.
Delete the template layer.


Repeat the above step with the remaining layers.


Add your embellishments. I used:
Flower 1: Resize 25% & 70%
Flower 2: Resize 25% and 60%
Feather: Resize 25% and 80%
Butterfly: Resize 25% and 40%


Copy and paste Star Border as a new layer.
Resize 25% twice
Position at the bottom right of the background circle and arrange just above your white canvas in your layer pallet.
Duplicate/Mirror.
Duplicate/Flip
Duplicate/Mirror
Merge visible these 4 star layers.
Duplicate twice for a total of 3 merged star layers.
Rename 1, 2, and 3 (only for animation purposes)

Highlight 1.
Adjust/Add Remove Noise/Add Noise
Random and Monochrome checked
Noise: 25%
OK

Highlight 2.
Add the noise again accept change the noise to 30%

Highlight 3. Add the noise again accept change the noise to 35%

Close out layers 2 & 3.

Add your copyrights.
Add your name. I gave mine an inner bevel:
Bevel: 2
Width: 7
Smoothness: 55
Depth: 16
Ambience: -27
Shininess: 45
Color: white
Angle: 135
Intensity: 31
Elevation: 88
OK

Time to Animate.
Copy Merge and carry into Animation Shop.
Edit/Paste as New Animation

Back into PSP.
Close out layer 1.
Open layer 2.
Copy Merge and carry into AS.
Edit/Paste/After Current Frame.

Back into PSP.
Close out layer 2.
Open layer 3.
Copy Merge and carry into AS.
Edit/Paste/After Current Frame.

View your animation. If you’re happy then resize.
Animation/Resize Animation
Percentage of Original checked
85
OK

I hope you enjoyed this tutorial.
I’d love to see your results.
Email me!
Hugs,
Bev


Friday, May 29, 2009

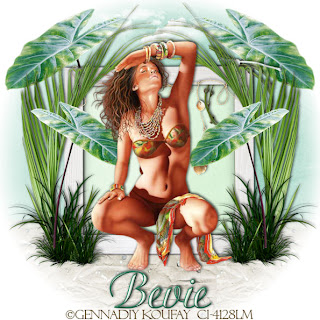
Tropical Bliss


Clicking on the image will enlarge to full view.

Supplies
1 tube of choice - I’m using the artwork of Gennadiy Koufay which you can purchase here
Font of Choice - I’m using Adrai DB here
20-20 mask here
“Beach Bliss” is a taggers size scrap kit created by Pimp’d Dezings and can be purchased here.
If you love the tropics then this is the kit for you!

This tutorial was written assuming you have working knowledge of PSP.

~♥~ Let’s get started ~♥~

Open up a 700 X 700 blank canvas.
Flood Fill white.


Copy and paste Frame 1 as a new layer.
Resize 70%.
Use your Magic Wand and click inside of it.
Selections/Modify/Expand by 6.


Copy and paste Paper 11 as a new layer.
Selections/Invert.
Hit the delete key.
Deselect..


Add your embellishments. I used:
Shell Ribbon: Resize 40%
Palm: Resize 60%. Free rotate Left 40 degrees
Green 5: Resize 50%
Branches: Resize 40%
Sea Grass: Resize 50%


Highlight your white canvas.
New Raster layer.
Select All.
Copy and paste a Paper 12 Into Selection.
Deselect.
Copy and paste Paper 6 as a new layer.
Resize 40%.
Position at the bottom left corner.
Duplicate/Mirror.
Duplicate again and move to cover the middle. Merge visible these 3 sand layers.
Merge down.


Apply the 20-20 Mask.
Merge Group.
Duplicate 2X for a total of 3 layers.
Merge visible these 3 mask layers.


Copy and paste Clouds as a new layer.
Resize 50%.


Add you copyrights.


Add your name.
I gave it an inner bevel:
Bevel: 2

Width: 3

Smoothness: 35

Depth: 2

Ambience: -8

Shininess: 10

Color: white

Angle: 315

Intensity: 75

Elevation: 20

OK


Resize all layers 85%.


I hope you enjoyed this tutorial.
I’d love to see your results.
Email me!

Hugs,

Bev
 

Country Charm


Clicking on the image will enlarge to full view.

Supplies
1 tube of choice - I’m using the artwork of Jennifer Janesko which you can purchase here
Font of Choice - I’m using Adrai DB here
Becky Mask 22 here
Eyecandy 5: Impact - Gradient Glow (optional)
“Southern Charm” is a taggers size scrap kit created by Victoria of Pink Princess Designs and can be purchased here. You can visit her blog here.
Thank you Victoria for such a truly charming kit!

This tutorial was written assuming you have working knowledge of PSP.

~♥~ Let’s get started ~♥~

Open up a 700 X 700 blank canvas.
Flood Fill white.

Copy and paste Vines 1 as a new layer.
Resize 40%
Use your Magic Wand and click inside of it -
Be sure to click inside the bigger gaps of the vines that are around the middle, too.
Selections/Modify/Expand by 2

Copy and paste a paper of choice below the vines.
Selections/Invert.
Hit the delete key.

Copy and paste your tube below the frame.
Hit the delete key.
Deselect
.
Add your embellishments. I used:
Vines 2: Resize 25%.
Bow 3: Resize 25% & 70%
Blosson: 20% & 70%
Daisy: Resize 20% & 70%
Flower 1: Resize 25% and 50%
Heart String: Resize 25% and 40%
Roses 1: Resize 25%
Butterfly 2: Resize 25%, 25%, & 60%

Highlight your white canvas.
New Raster layer.
Select All.
Copy and paste a paper of choice Into Selection.
Deselect.
Copy and paste Chicken Wire 2 as a new layer.
Resize 25% & 80%. Free rotate right 40 degrees.
Merge Down.
Apply the mask.
Merge Group.
Now we're going to type COUNTRY CHARM on a curve.
Choose a dark color in your color pallet for the foreground. Stroke set to 2.
Close out the background.
Using your Ellipse Tool make a circle that’s just bigger than the vine frame.
Click on your text tool and run it along the top center of the circle until you see a “rocking A” appear. You want to click your mouse when you see it.
A text box should appear.
Type Country Charm or whatever you’d like.
OK
In your layer pallet click on the Plus sign beside the words you just typed.
Click on the eye in the New Ellipse layer.
Highlight Vector 1 layer.
Right Click/Convert to Raster Layer.

I gave it an inner bevel:
Bevel: 2
Width: 3
Smoothness: 35
Depth: 2
Ambience: -8
Shininess: 10
Color: white
Angle: 315
Intensity: 75
Elevation: 20
OK
 
 
And then applied a gradient glow using Eyecandy 5: Impact
On the Basic Tab:
Outside Glow & Mask Selection both checked
Glow Radius: 10
Soft Corners: 0
Overall Opacity: 100
Distortion Amount: 0
Distortion Lump Size: 100
Gradient Smoothness: 97
Color: #ab4a59
OK

Add a drop Shadow.

Add your copyrights.

Add your name.
Apply the same inner bevel and gradient glow.

Resize all layers 85%

I hope you enjoyed this tutorial.
I’d love to see your results.
Email me!
Hugs,
Bev


Wednesday, May 27, 2009

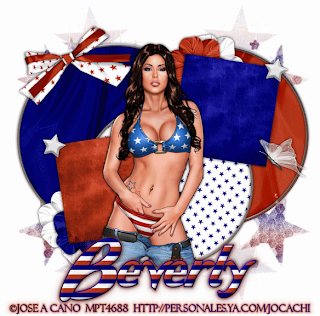
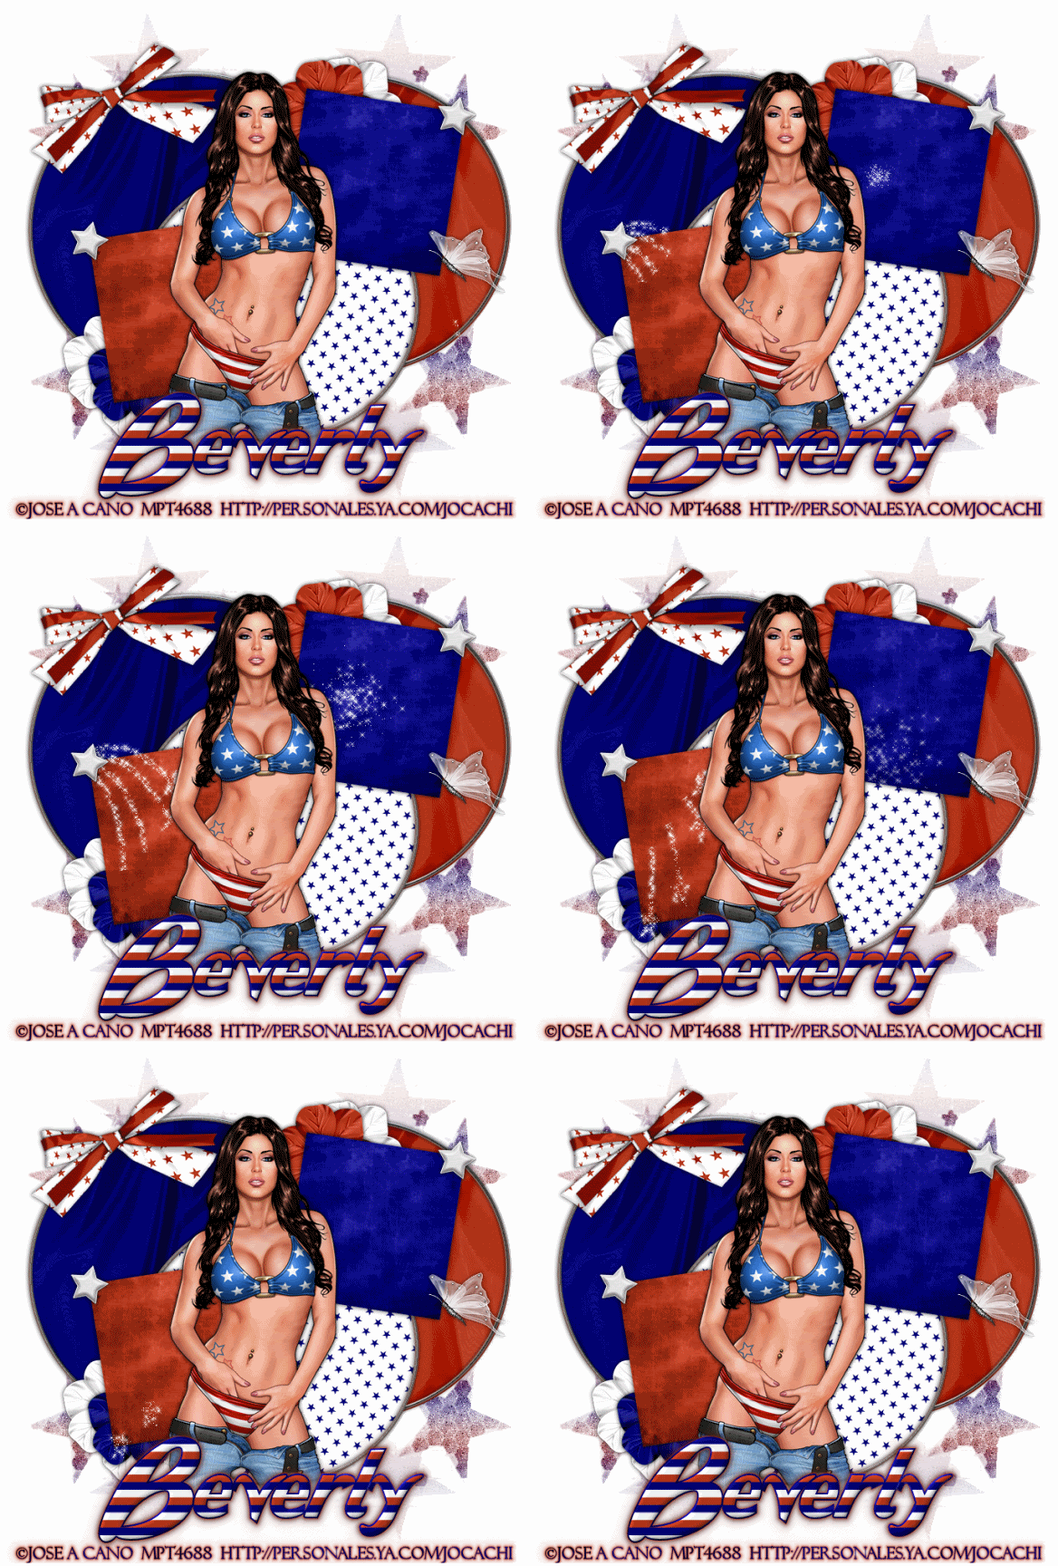
Patriotism


Clicking on the image will enlarge to full view.
Image below shows the animation.


Supplies
1 tube of choice - I’m using the artwork of Jose A Cano which you can purchase here
Font of Choice - I’m using Wild Ride here
Dezigns by Ali Template 81 here
Vix Mask 346 here
Animated Bling I supplied here
Animation Shop
EyeCandy 5: Impact - Gradient Glow - Optional
“Patriotic” a taggers scrap kit created by Crazy Girl and can be purchased here. You can visit her blog here.
Such an awesome kit, Crazy Girl! Thank you!!

~♥~ Let’s get started ~♥~

Open up the template. Shift + D. Close out the original.
New Rater Layer. Send to bottom.
Image/Canvas Size
700 X 700 pixels

Highlight Circle 3.
Select All/Float/Defloat
Copy and paste a paper of choice as a new layer.
Selections/Invert
Hit the delete key.
Deselect. Rename Circle 3.
Delete the template layer.

Repeat the above step for Circle layers 1 & 2 as well as for Frame layers 1 & 2.
TIP: Be sure to rename your layers the same as the template before you delete the template. It’s very important when it comes time to animate.

Add your embellishments. I used:
Bow 3: Resize 60%. Free rotate left 20 degrees
Flowers 1, 2, & 3: Resize 40%
Star 3: Resize 30%
Butterfly 3: 30%

Copy and paste your tube as a new layer.

Highlight your white canvas.
New Raster layer. Select All.
Copy and paste a paper of choice Into Selection.
Deselect.
If you’re going to use the same paper as I did then give it a Gaussian Blur of 20.
Apply the mask. Merge Group.
Resize 130%
Adjust/Add Remove Noise/Add Noise
Random checked
Noise: 30%
Monochrome checked
OK

Highlight the top layer in your pallet.

Add your copyrights.

Add your name.
I used papers for both the foreground and background.
I also gave it an inner bevel:
Bevel: 2
Width: 3
Smoothness: 35
Depth: 2
Ambience: -8
Shininess: 10
Color: white
Angle: 315
Intensity: 75
Elevation: 20
OK

And added a Gradient Glow.
Eyecandy 5 - Impact: Gradient Glow
On the basic tab:
Outside Glow and Mask selection both checked
Glow Radius: 30
Soft Corners: 0
Overall Opacity: 100
Distortion Amount: 0
Distortion Lump Size: 100
Gradient Smoothness: 97
Color: #b73a1e
OK

Time to animate:
Close out all your layers.
Reopen the layers from the white canvas all the way up to FRAME 1.
Copy Merge and carry into Animation Shop.
Edit/Paste as New Animation.
Ctrl + L until you have a total of 22 frames.
Ctrl + A to highlight all the frames
.
Open up Anima 1.
Ctrl + A
Edit/Copy
Highlight your tag.
Ctrl & E
Position this anima at the bottom frame.

Repeat the above step with Anima 2.

View your animation. If your happy with it then resize.
Animation/Resize Animation
Percentage of Original checked.
Width & Height 85
OK

I hope you enjoyed this tutorial.
I’d love to see your results.
Email me!
Hugs,
Bev
 

Starring the Garv Gals


Clicking on the image will enlarge to full view.

Supplies
4 tubes of choice - I’m using the artwork of Keith Garvey which you can purchase here
Font of Choice - I’m using Exorcista here
Template by Charlii and EBD Mask here
Check out Charlii's PSP group - Time 4 Tags here
Animation Shop - Optional
Greg’s Factory Output Vol. II - Pool Shadow - Optional
Filters Unlimited 2 - Optional
EyeCandy 5: Impact - Gradient Glow - Optional
DSB Flux - Bright Noise - Optional
Charlii, thank you so much, my friend for yet another terrific template share!

This tutorial was written assuming you have working knowledge of PSP.

~♥~ Let’s get started ~♥~

All the filters used in this tutorial is optional.
PSP has many effects that will work just as well.
Instead of using DSB Flux use Noise
Instead of using Filters Unlimited use Texture Effects
Instead of using EyeCandy toy around with your Drop Shadow.
Like I said, all work just as well and I used them for a very long time when I first started PSPing….very intimidated by the Plugins and that was if I was lucky enough to install them correctly - hehehe

Ok, onto business here…

Open up the template. Shift + D. Close out the original.
Delete the credit layer.

Highlight Raster 1.
Image/Canvas Size
600 X 600 pixels
OK
Flood Fill white.

Highlight the Rectangle layer.
Select All/Float/Defloat
New Raster Layer.
Flood fill with a dark color that’s complimentary to your tubes.
Selections/Modify/Contract by 9
New Raster Layer.
Flood Fill with a lighter color that’s complimentary to your tubes.

Copy and paste 3 of your tubes as a new layers positioning them within the rectangle.
Merge visible layers only
Selections/Invert.
Hit the delete button.
Change Properties to Mulitply.
Deselect.
Delete the template layer.
Merge visible the dark and light rectangle layers and the tube layer.
Move it toward the bottom of your canvas.

Highlight the Swirl layer.
Select All/Float/Defloat
New Raster layer.
Make a gradient using two contrasting colors that are complimentary to your tubes.
Style: Linear
Angle 45
Repeats 2
Flood fill.
DO NOT DESELECT YET.
Effects/Greg’s Factory Output Vol. II/Pool Shadow
Use default settings
Ok
Deselect.
Delete the template layer.
Resize 60%. Free Rotate left 80 degrees.
Position at the left side of the merged rectangle.
Duplicate/Mirror

Highlight Raster 2. Duplicate/Mirror. Merge down.
Select All/Float/Defloat.
New Raster Layer.
Flood fill with gradient.
Apply Pool Shadow effect again.
Deselect.
Delete Template layer and position at the top of the rectangle.
Apply Filters Unlimited 2/Paper Texture
Rag Paper/Default settings
Ok

Highlight the Star layer.
Select All/Float/Defloat
New Raster Layer
Flood fill with gradient.
Apply Pool Shadow effect.
Deselect. Delete Template layer.
Duplicate twice for a total of 3 star layers.
Rename Star 1, Star 2, and Star 3.

Highlight Star 1.
Apply DSB Flux Bright Noise
Intenisty: 19
Lighter
Ok

Highlight Star 2.
Apply Bright Noise again, this time clicking on the lighter button twice.

Repeat for Star 3, clicking on the Lighter button 3 times.

Highlight any one of the star layers. Duplicate/Mirror.
Move it to the bottom of the star layers in the layers pallet.
Position some place else on your canvas.

Highlight your white canvas.
New Raster Layer.
Use the same gradient accept change the repeats to 4.
Flood fill the new raster layer.
Apply the mask. Merge Group.

Add your copyrights.

Add you name.
This is what I did….
Stroke set at 2.
Background the dark color. Foregound set on the gradient Repeats set back to 2.
Type your name.
Select All/Float/Defloat
Selections/Modify/Contract by 2
Apply the Pool Shadow.
Deslect.

Give it a slight inner bevel.
Bevel: 2
Width: 3
Smoothness: 35
Depth: 2
Ambience: -8
Shininess: 10
Color: white
Angle: 315
Intensity: 75
Elevation: 20
OK
Add a Gradient Glow:
Eyecandy 5: Impact
Basic tab:
Outside Glow checked
Mask Selection checked
Glow Radius: 30
Soft Corners: 0
Overall Opacity: 100
Distortion Amount: 0
Distortion Lump Size: 100
Gradient Smoothness: 97
Color: white
OK

Add your tube.

If you’re not animating then save your tag :O)

Time to animate:
Be sure Star 2 & 3 are closed out.
Copy Merge and carry into Animation Shop.
Edit/Paste as New Animation

Go back into PSP.
Close out Star 1. Open Star 2.
Copy Merge. Carry into AS.
Edit/Paste after Current Frame.

Go back into PSP.
Close out Star 2. Open Star 3.
Copy Merge. Carry into AS.
Edit/Paste after Current Frame.

View your animation. If you’re happy then save.
I hope you enjoyed this tutorial.
I’d love to see your results.
Email me!
Hugs,
Bev
Tuesday, May 26, 2009

In the Apple Orchard

Clicking on the image will enlarge to full view.

Supplies
1 tube of choice - I’m using the artwork of Dean Yeagle which you can purchase here
Font of Choice - I’m using SwingSetBB here
Weescotlass Mask 241 here
Missy Template 7 here
Eyecandy 5 - Impact: Gradient Glow
“The Apple Orchard” is a taggers size scrap kit created by Nikki of Creative Intentionz and can be purchased here. You can visit her blog here.
Thank you Nikki for this totally fabulous kit!!

This tutorial was written assuming you have working knowledge of PSP.
~♥~ Let’s get started ~♥~

Open up the template. Shift + D. Close out the original.
Delete the following credit layer.
Image/Canvas Size
700 X 700
Flood fill the bottom white layer

Highlight Scalloped Shape Layer.
Select All/Float/Defloat
Copy and paste a paper of choice.
Selections/Invert
Hit the delete key.
Selections/Modify/Contract by 10
Hit the delete key.
Selections/Modify/Expand by 6
Copy and paste a paper of choice below the new frame you just created.
Deselect.
Delete the template layer.

Copy and paste below the frame the following:
(Don’t worry about things showing up outside the frame. We’ll take care of that in a bit.)
Button Tree 2
Baskets 1 & 2
Resize and Duplicate these as you like arranging them below the frame.
Once you’re happy with it, merge visible all the trees and baskets.
Low the Opacity down to 91.

Highlight your new scalloped frame.
Use your Magic Wand and click inside of it.
Selections/Modify/Expand by 2.
Selections/Invert.
Hit the delete key.
Selections/Invert
Selections/Modify/Feather
Number of Pixels: 30
Tap the delete key until you get the desired feathered affect.
Select None.

Highlight Frame 1.
Select All/Float/Defloat
Copy and paste a paper of choice.
Selections/Invert
Hit the delete key.
Deselect
.
Use your Magic Wand and click inside the frame.
Selections/Modify/Expand by 2

Copy and paste a paper of choice below this frame.
Selections/Invert
Hit the delete key.

Copy and paste baskets of your choice below this frame.
Hit the delete key.
Deselect.

Repeat the above steps with the other frame, but paste your tube below that frame.

To each square frame give it a Gradient Glow.
Basic Tab:
Outside Glow checked
Mask Selection checked
Glow Radius: 30
Soft Corners: 0
Overall Opacity: 100
Distortion Amount: 0
Distortion Lump Size: 100
Gradient Smoothness: 97
Color: #f2d975
Ok

Highlight the Rectangle Layer.
Copy and paste Eyelet Bow 1 as a new layer.
Resize 60% and move into position where the rectangle is.
Delete the template layer.

Repeat the same process with the large heart and small heart but use apples - resizing one of them 80% and the other 50%.
Delete the heart template layers.

Copy and paste beneath the scalloped frame a Daisy of choice.
Duplicate/Mirror as needed, moving them into position to have the pedals peeking out from behind the scalloped frame.

Copy and paste a Decoration Flower of choice. Blend it into the daisies, duplicating and blending as many times as you like.

Copy and paste Basket 2 as a new layer. Resize 70% and position near one of the bottom corners of your canvas.

Copy and paste a butterfly of choice as a new layer.
Resize 50%.

Copy and paste the sun.
Resize 60%.

Highlight your white canvas. Select All.
Copy and paste a paper of choice Into Selection.
Deselect.
Apply the mask. Merge Group.
Resize 95%

Add your copyrights.

Add your name. I gave mine a slight inner bevel:
Bevel: 2
Width: 3
Smoothness: 35
Depth: 2
Ambience: -8
Shininess: 10
Color: white
Angle: 315
Intensity: 75
Elevation: 20
OK

Give it the same Gradient Glow as you used before.

Give it a drop shadow.

Resize all layers

I hope you enjoyed this tutorial.
I’d love to see your results.
Email me!
Hugs,
Bev
 

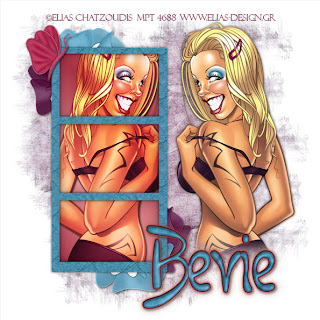
You Want Me


Clicking on the image will enlarge to full view.

Supplies
1 tube of choice - I’m using the artwork of Elias Chatzoudis which you can purchase here
Font of Choice - I’m using Boomerang here
Weescotlass Mask 297 here
Filters Unlimited 2.0 - Optional
EyeCandy 5 - Impact: Gradient Glow - Optional
“Some Kinda Spring” a FTU tagger size scrap kit, also available in full size created by Monica’s Sweet Addiction and can be found here.

Please leave a thank you when downloading. It’s a small gesture for hard work given freely.

This tutorial was written assuming you have working knowledge of PSP.

~♥~ Let’s get started ~♥~

Open up a 700 X 700 blank canvas. Flood fill white.
Copy and paste Element 22 as a new layer. Resize 70%.
Move slightly to the left of your canvas.
Filters Unlimited 2
Paper Texture/Japanese Paper
Default Settings
OK
If you don’t have this filter then click on
Effects/Texture Effects
Play around in it and find one you like :O)

Use your Magic Wand and click inside the frames. Selections/Modify/Expand by 6.
New Raster layer below the frame layer and flood fill with a gradient made with colors from your tube.
Deselect.

Copy and paste your tube above the frame - positioning it off to the right. When you have it exactly where you want it, duplicate. Move the duplicated layer just below the frame in your layers pallet.
Use your Magic Wand and click inside each of the frames again.
Selections/Invert.
Tap the delete key.
Deselect.
Change the properties to Hard Light.

Close out your white canvas and merge visible.
Re-open your white canvas.

Add your elements. I used:
Element 3 & 4: Resize 40%
Element 11: Mirror. Resize 50%. Free rotate left 20 degrees
Element: 24. Colorize. Free rotate right 30 degrees.
Adjust/Add Remove Noise/Add Noise
Gaussian checked
Noise: 30%
Monochrome checked

Highlight your white canvas.
New Raster layer.
Select All.
Copy and paste a paper of choice Into Selection.
Deselect.
Apply the mask.
Merge Group.

Add your copyrights.

Add your name.
I used a dark color for foreground. Then made a new canvas, filled with with the color of the frame and applied the same Japanese Paper affect to it. In my color pallet, I used that set as pattern for the background.
Typed my name.

I also gave mine an inner bevel:
Bevel: 2
Width: 7
Smoothness: 25
Depth: 7
Ambience: 11
Shininess: 27
Color: white
Angle: 135
Intensity: 25
Elevation: 71
OK

Then added a Gradient Glow.
EyeCandy 5 - Impact/Gradient Glow
Basic Tab:
Outside Glow checked
Mask Selection checked
Glow Radius: 30
Soft Corners: 0
Overall Opacity: 100
Distortion Amount: 0
Distortion Lump Size: 100
Gradient Smoothness: 97
Color: You Choose
OK

Resize all layers 85%.

I hope you enjoyed this tutorial.
I’d love to see your results.
Email me!
Hugs,
Bev
 

Monday, May 25, 2009

From This Moment


Clicking on the image will enlarge to full view.

Supplies
2 tubes of choice - I’m using the artwork of Zindy S.D. Nielsen which you can purchase here
Font of Choice - I’m using Adorable here
Yarrow Mask 9 here
“From This Moment” is a taggers size scrap kit created by Just a Girl’s Designs and can be purchased here. You can visit her blog here.
Thank you Tamara for this beautiful kit!!

This tutorial was written assuming you have working knowledge of PSP.

~♥~ Let’s get started ~♥~

Open a 700 X 700 blank canvas. Flood fill white.

Copy and paste Double Frame as a new layer.
Use your Magic Wand and click inside each heart.
Selections/Invert/Expand by 4.

Copy and paste a paper of choice as a new layer below the frame.
Hit the delete key.
DO NOT DESELECT YET.

Selections/Invert.
New Raster layer beneath the frame.
Efects/3D Effects/Cutout
Horizontal and Vertical: 5
Blur and Opacity: 35
Color Black
OK

New Rater layer.
Repeat the Cutout accept change the Horizontal and Vertical to -5.
DO NOT DESELECT YET.

Copy and paste a tube of choice below the cutout layers.
Selections/Modify/Feather
Number of Pixels: 30
Tap the delete key until you have a feathered affect to the tube that you like.
Repeat this step with the other heart and tube of your choice.
Deselect.

Close out your white canvas and merge visible.
Reopen your canvas.

Add your embellishments. I used:
Doodle: Duplicate/Mirror
Wedding Bells: Resize 40% and colorize
Champagne Glass - Basic: Reesize 80%
Bow 2: Resize 25%
Butterfly: Resize 70%
Flowers 2 and 3: Resize 40%
Feather: Resize 60%
String Deco: Resize 90%
Wedding Rings: Resize 40%

Highlight your white canvas.
New Raster layer.
Copy and paste paper of choice Into Selection.
Deselect.
Apply the mask.
Merge Group.

Add your copyrights.

Add your name. I gave mine an inner bevel:
Bevel: 2
Width: 7
Smoothness: 25
Depth: 7
Ambience: 11
Shininess: 27
Color: white
Angle: 135
Intensity: 25
Elevation: 71
OK

Resize all layers 85%

I hope you enjoyed this tutorial.
I’d love to see your results.
Email me!
Hugs,
Bev
Sunday, May 24, 2009

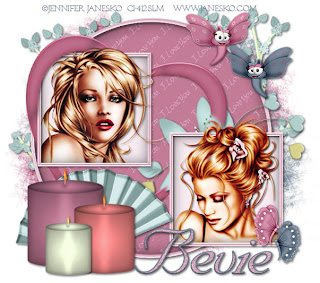
Beautiful Moms


Clicking on the image will enlarge to full view.

Supplies
2 tubes of choice - I’m using the artwork of Jennifer Janesko which you can purchase here
Font of Choice - I’m using SNC Script here
Weescotlass Mask 167 here
Designs by Ali Template 121 here
(It’s a X-mas template lol!)
“#1 Mom” is a taggers size scrap kit created by Danielle of Dazzling Scraps and can be purchased here. You can visit her blog here.
Thank you Danielle for this gorgeous kit!!

This tutorial was written assuming you have working knowledge of PSP.

~♥~ Let’s get started ~♥~

Open up the template. Shift + D. Close out the original.
Delete the following layers - it’s a lot…hehehe
Rasters 11, 9, 6, 5, Copy of Raster 4, 4, 10, and 7
It doesn’t leave much left to the template, but wow, I just loved the frames in this template.

New Raster layer. Flood Fill white and send to bottom.

Highlight Raster 1.
Select All/Float/Defloat
Seletions/Invert
Copy and paste a paper of choice.
Hit the delete key.
Delete the template layer.

Using your Target Tool, colorize Raster 8 (the frame to the circle) a color that will look nice with the paper.

Use your Magic Wand and click inside the circle frame.
Selections/Modify/Expand by 2
New Layer beneath Raster 8
Effects/3D Effects/Cutout
Vertical and Horizontal: 5
Opacity and Blur: 35
Color: Black
OK

New Raster Layer.
Repeat the cutout accept change the horizontal and vertical numbers to -5.

Highlight Raster 2.
Select All/Float/Defloat
Seletions/Invert
Copy and paste a paper of choice.
Hit the delete key.
Delete the template layer.

Highlight Raster 3. Using your Target Tool again, colorize the frame the same as you did the other.
Use your Magic Wand and click inside the frame.
Selections/Modify/Expand by 2
Selections/Invert
Repeat the steps to create the cutout.

Copy and paste your tube as a new layer beneath the cutout layer.
Selections/Invert
Hit the delete key.
.
Lookin’ good?
Good. Now repeat all the above steps with the other square :O)

Add your embellishments. I used:
Candle 2: Resize 50%
Candle 3: Resize 40%
Candle 4: Resize 30%
Heart Frame 1: Free rotate right 40 degrees
Dragonflies 1 & 2: Resize 35%
Fan3: Resize 70%. Free rotate right 40 degrees
Branch 1
Butterflies 1 & 2: Resize 25%
Flower Decoration 2

Highlight your white canvas. New Raster layer. Select All.
Copy and paste a paper of choice Into Selection.
Apply the mask.
Merge Group.
Resize 110%

Repeat the above step accept use a different color paper and move this mask down slightly.

Add your copyrights.

Add your name. Stroke set to 2.
I gave mine an inner bevel:
Bevel: 2
Width: 1
Smoothness: 15
Depth: 2
Ambience: -2
Shininess: 0
Color: white
Angle: 0
Intensity: 36
Elevation: 42
OK

Select All/Float Defloat
Selections/Modify/Contract by 2
Adjust/Add Remove Noise/Add Noise
Gaussian checked
Monochrome checked
Noise: 30%
OK
Deselect.

Add a drop shadow to your name.

Resize all layers 95%

I hope you enjoyed this tutorial.
I’d love to see your results.
Email me!
Hugs,
Bev