Thursday, August 22, 2013

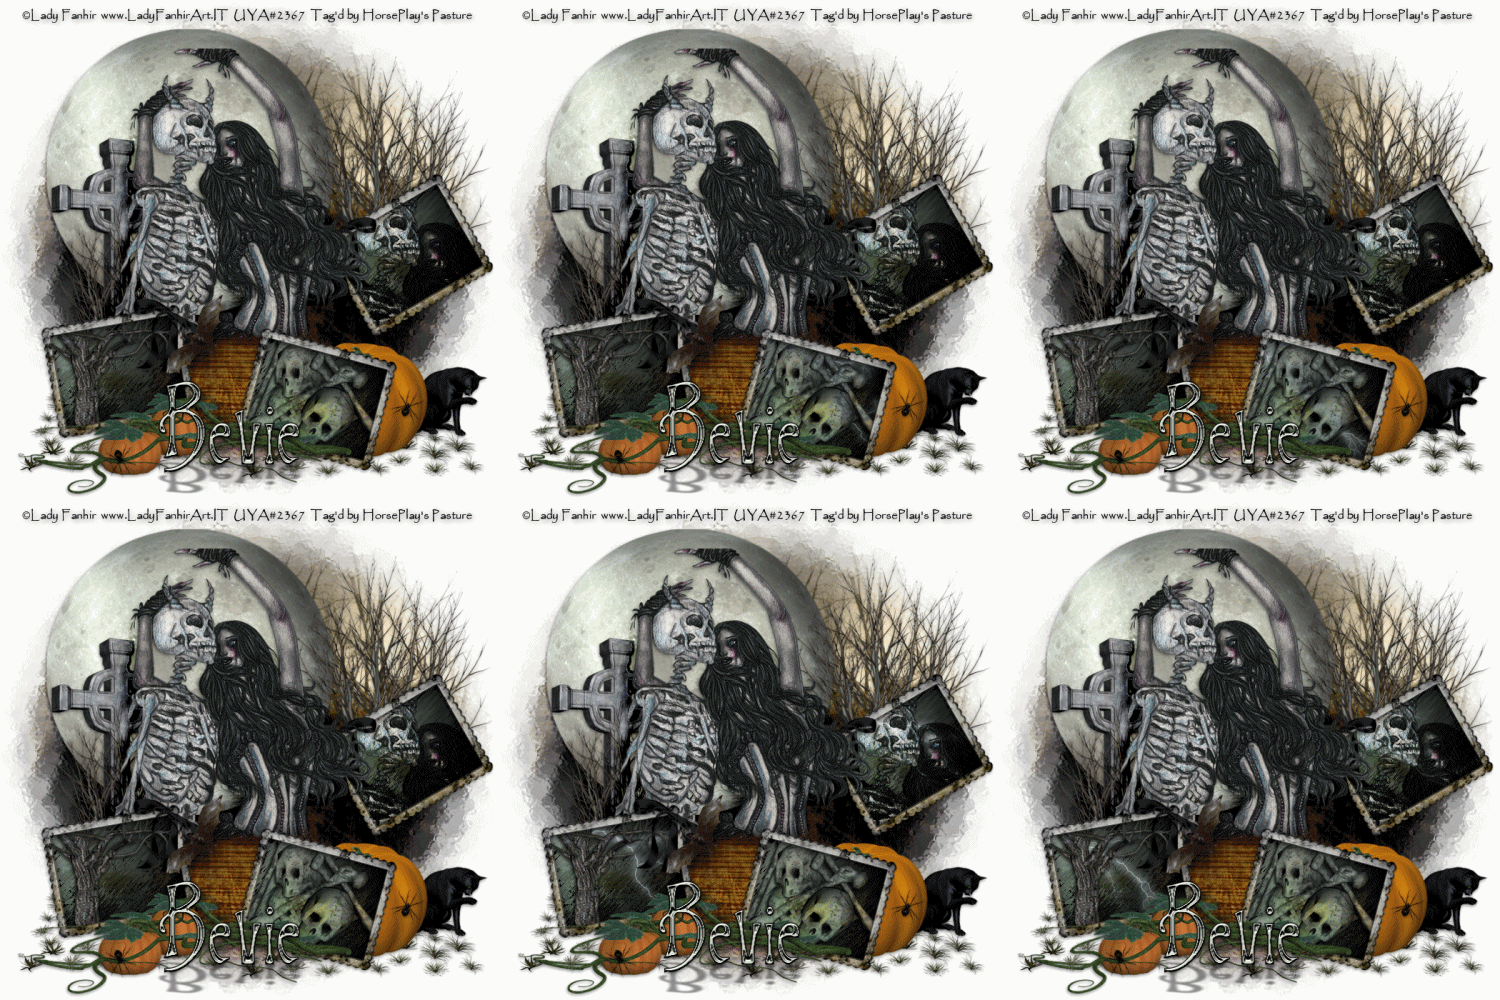
Dance Beneath the Moon

 photo DanceBeneaththeMoon_zps76fbdb6d.gif

Supplies Needed  

1 tube of choice – I used the awesome artwork of Lady Fanhir which can be purchased from Up Your Art.  You must have a license to use. 

Font of choice – I used Burton's Nightmare here

Vix Mask 451 here

Plug Ins used:
Brush Strokes - Sprayed Strokes
Xenofex 2 - Lightning
Greg's Factory Output Vol. II - Pool Shadow

Animation Shop

"The Perfect Scare" is a tagger size scrap kit created by me, Bev of HorsePlay's Pasture Designs and can be downloaded from my designing blog here.  Scroll down.  It's below October 6, 2011.

~♥~ Let’s get started ~♥~

Open up a 700 x 700 blank canvas.
Flood fill white.

Don't worry about placement of any elements...

Copy and paste El 28 as a new layer.
Resize 120%

Copy and paste El 14 as a new layer.
Resize 70%

Copy and paste your tube as a new layer.

Copy and paste El 24 as a new layer.
Resize 40%
Duplicate 2x's for a total of 3 frames.
Rename them FRAME 1, FRAME 2, and FRAME 3.
Frame 1:  Free rotate Left 10 degrees
Frame 2:  Free rotate Right 15 degrees
Frame 3:  Free rotate L 30 degrees

Move all elements and tube into their exact positions - see my tag for reference.

Highlight Frame 1 layer.
Click inside of it with your Magic Wand.
Selections/Modify/Expand by 4.
New Raster layer below the frame.
Copy and paste Paper 4 Into Selection.
Copy and paste Element 12 below the frame.
Resize 60%
Move into position - see my tag for reference.
Selections/Invert
Tap the delete key.
Deselect.
Duplicate the paper layer 4x's for a total of 5 papers.
Rename the papers: FRAME 1-1, FRAME 1-2, FRAME 1-3, FRAME 1-4, AND FRAME 1-5

Highlight Frame 2 layer.
Click inside of it with your Magic Wand.
Selections/Modify/Expand by 4.
New Raster layer below the frame.
Copy and paste Paper 4 Into Selection.
Copy and paste Element 7 below the frame.
Resize 70%
Change the Properties to Luminance
Move into position - see my tag for reference.
Selections/Invert
Tap the delete key.
Deselect.
Duplicate the paper layer 4x's for a total of 5 papers.
Rename the papers: FRAME 2-1, FRAME 2-2, FRAME 2-3, FRAME 2-4, AND FRAME 2-5

Highlight Frame 3 layer.
Click inside of it with your Magic Wand.
Selections/Modify/Expand by 4.
New Raster layer below the frame.
Copy and paste Paper 4 Into Selection.
Copy and paste your tube as a new layer below the frame.
Resize as you like and change the Properties to Hard Light.
Move into position - see my tag for reference.
Selections/Invert
Tap the delete key.
Deselect.
Duplicate the paper layer 4x's for a total of 5 papers.
Rename the papers: FRAME 3-1, FRAME 3-2, FRAME 3-3, FRAME 3-4, AND FRAME 3-5

Now you're going to apply the lightning effect.
***TIP - Be sure you DON'T do anything to the following papers...
FRAME 1-1, FRAME 2-2, AND FRAME 3-3.

Highlight Frame 1-2.
Click anywhere outside of it with your Magic Wand.
Selections/Invert
Apply Xenofex 2 - Lightning:
Use Default Settings.
OK
Tap the delete key.
Close Frame 1-2 layer.
Open Frame 1-3 layer.
Apply the same lightning effect accept hit the Random Seed button once.
Tap the delete key.
Continue doing this for Frame 1-4 and 1-5 layers.
Deselect.
Reopen Frame 1-1 layer.

Highlight Frame 2-2 layer.
Repeat the above steps with all papers.

Highlight Frame 3-3 layer.
Repeat the above steps with all papers.

Double check and be sure all the paper layers are closed out accept for FRAME 1-1, FRAME 2-2, AND FRAME 3-3.
Those 3 should be open with no lightning effect on any of them.

Add your elements.  I used:
1:  Resize 25%/Duplicate
30:  Resize 70%
31:  Resize 80%/Mirror
42:  Resize 50%/Duplicate
19:  Resize 25%/Duplicate
29:  Resize 60%
13:  Resize 85%/Duplicate/Resize 85%

Highlight your white background.
New Raster layer.
Select All
Copy and paste Paper 2 Into Selection.
Deselect.
Apply the mask.
Resize 115%
Merge Group.
Apply Greg's Factory Output Vol. II - Pool Shadow:
Use Default settings accept lower the Intensity Bar to 66.

Highlight the moon layer.
Apply the same Pool Shadow effect using same settings.

Add your copyright.

Add your name:

Color Pallet:  
Foreground: #000000
Background: #c0c6ba
Stroke: 1.0

Type your name.
Give it a slight Inner Bevel:

Give it a drop shadow.
Give it another drop shadow accept keep it on its own layer.
At the top of your layers pallet click on the Layer Link Toggle until it says "None"
Flip your drop shadow - look for it at the top of your tag.
Move it into position below your name - see my tag for reference.
Use your Pick Tool to flatten it out a little.

Copy Merge.

~Time to Animate~

Open up Animation Shop
Edit/Paste/As New Animation

Back in PSP.
Close out FRAME 2-1
Open up FRAME 2-2
Copy Merge

Carry Into AS
Edit/Paste/After Current Frame.

Back in PSP.
Close out FRAME 2-2
Open up FRAME 2-3
Copy Merge

Carry Into AS
Edit/Paste/After Current Frame.

Back in PSP.
Close out FRAME 2-3
Open up FRAME 2-4
Copy Merge

Carry Into AS
Edit/Paste/After Current Frame.

Back in PSP.
Close out FRAME 2-4
Open up FRAME 2-5
Copy Merge

Carry Into AS
Edit/Paste/After Current Frame.

Highlight Frame 1 of your animation.
Copy
Highlight the last frame of your animation.
Edit/Paste/After Current Frame.

Back in PSP.
Close out FRAME 2-5
Reopen FRAME 2-1
Open FRAME FRAME 1-2 and FRAME 3-2
Copy Merge

Carry Into AS.
Edit/Paste/After Current Frame.

Back in PSP.
Close out FRAME 1-2 and FRAME 3-2
Open FRAME 1-3 and FRAME 3-3 
Copy Merge

Carry Into AS.
Edit/Paste/After Current Frame.

Back in PSP.
Close out FRAME 1-3 and FRAME 3-3
Open FRAME 1-4 and FRAME 3-4 
Copy Merge

Carry Into AS.
Edit/Paste/After Current Frame.

Back in PSP.
Close out FRAME 1-4 and FRAME 3-4
Open FRAME 1-5 and FRAME 3-5 
Copy Merge

Carry Into AS.
Edit/Paste/After Current Frame.

Ctrl + A (to highlight all frames)
Animation/Frame Properties:
Display time: 12
OK

Highlight Frames 1 and 6
Animation/Frame Properties:
Display time: 175
OK

View your animation.
If you're happy with it then save.

I’d love to see your results.
Email me!
Hugs,
Bev

Wednesday, August 21, 2013

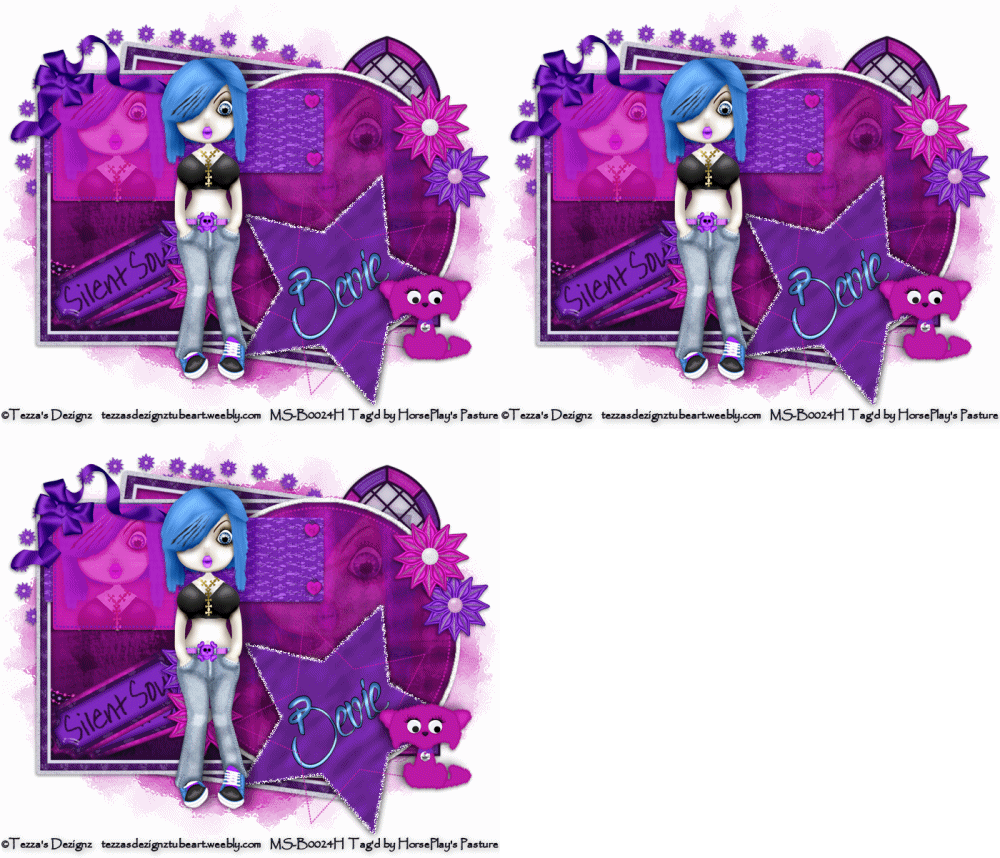
Silent Soul

 photo SilentSoul_zpsb08f9a96.gif

Supplies Needed  

1 tube of choice – I used the wonderful artwork of Tezza's Dezignz which can be purchased from Mystical Scraps.  You must have a license to use. 

Font of choice – I used Quality Street here

Vix Big Mask 1 here

Dangerously Delicious template 2 - Shine here

Plug Ins used:
Mura's Meister - Copies
Xenofex 2 - Constellation

Animation Shop

"Silent Soul" is a tagger size scrap kit created by Dawna Designs which can be purchased from Heartbeatz Creations.  You can visit her blog here.

~♥~ Let’s get started ~♥~

Open up the template.
Shift + D.
Close out the original.
Resize all layers 90%
Image/Canvas Size
700 x 600
Highlight the white background.
Flood fill white.
Delete the following layers:
Info, Love Me or Hate, Me, Me d/s, I'm Still Ganna, Shine Teal, Shine White, Shine d/s, and Rust Rectangle

Highlight Teal Square layer.
Copy and paste Frame 2 as a new layer.
Free rotate Right 8 degrees.
Copy.
Delete the frame.
Use your Magic Wand and click on the Teal Square layer.
New Raster layer.
Paste the Frame Into Selection.
Deselect.
Delete the template layer.
Click your Magic Wand Inside the frame.
Selections/Modify/Expand by 4.
New Raster layer below the frame.
Copy and paste Paper 6 Into Selection.
Deselect.

Highlight Brown Square layer.
Click on it with your Magic Wand.
New Raster layer.
Copy and paste Frame 2 Into Selection.
Deselect.
Delete the template layer.
Click inside the frame with your Magic Wand.
Selections/Modify/Expand by 4.
New Raster layer below the frame.
Copy and paste Paper 16 Into Selection.
Deselect.

Highlight Creme Circle.
Click on it with your Magic Wand.
New Raster layer.
Copy and paste Paper 6 Into Selection.
Copy and paste your tube as a new layer and position it over the circle paper.
Change the Properties of the tube to Soft Light and lower the Opacity to about 46.
Selections/Invert
Tap the delete key.
Deselect.

Color Pallet:
Foreground: #070107   
Background: #c321ab

Highlight Dotted Circle layer.
Make your Color Replacer Tool active and double right click on the dotted circle.
The color should change the Pink.

Repeat the above step with Dotted Star layer.

Color Pallet:
Change the background color to #7a1fbe

Highlight Dotted Square layer.
Double right click your Color Replacer Tool on the Dotted Square layer.
The color should turn to a purple color.

Highlight Grey Star layer.
Click on it with your Magic Wand.
New Raster layer.
Copy and paste Paper 9 Into Selection.
Deselect.
Delete the template layer.
Duplicate this star layer 2x's for a total of 3 star layers.
Rename the layers Star 1, Star 2, and Star 3.
Highlight Star 1 layer.
Click anywhere outside of it with your Magic Wand.
Selections/Invert
Selections/Modify/Select Selection Borders
Both Sides and Anti Alias checked
Border Width: 3
OK

Apply Xenofex 2 - Constellation:
Match your settings to mine - 

Close Star 1.
Highlight and Open Star 2.
Apply Xenofex 2 - Constellation - 
Use same settings accept hit the Random Seed button once.

Close out Star 2.
Highlight and Open Star 3.
Repeat the above step.

Close out Star 3 layer.
Open Star 1 layer.

Highlight Rust Rectangle layer.
Click on it with your Magic Wand.
New Raster layer.
Copy and paste Paper 3 Into Selection.
Deselect.
Delete the template layer.
Give it a slight Inner Bevel:

Highlight Grey Square layer.
Click on it with your Magic Wand.
New Raster layer.
Copy and paste Paper 13 Into Selection.
Copy and paste your tube as a new layer and position it over the square paper.
Change the Properties of the tube to Soft Light.
Selections/Invert
Tap the delete key.
Deselect.
Delete the template layer.

Copy and paste Element 33 as a new layer.
Resize 10%
Apply Mura's Meister = Copies:
Choose "Encircle"
Use default settings accept change Number to 25
Ok
Duplicate the ring of flowers.
Move both rings into position - see my tag for reference.

Copy and paste your tube as a new layer.
See my tag for placement.

Add your elements.  I used:
El 5:  Resize 50%
El 2:  Resize 10% and 50%/Duplicate
El 4:  Resize 25%
El 49:  Resize 40%/Flip
El 26:  Resize 45%
El 34:  Resize 45%/Duplicate
El 33:  Resize 40%/Duplicate
El 16:  Resize 60^/Free rotate Left 20 degrees/Duplicate/Free rotate Left 8 degrees

Highlight your white background.
New Raster layer.
Select All
Copy and paste Paper 13 Into Selection.
Deselect.
Apply the mask.
Merge Group.
Duplicate the mask layer.
Lower the Opacity to about 57.

Add your copyright.

Add your name:

Color Pallet:  
Foreground: #070107
Background: #478ad9
Stroke: 1.0

Type your name.
Make your Pick Tool active and turn your name to slant it slightly.
Give it a slight Inner Bevel:

Resize all layers 80%.

Copy Merge.

~Time to Animate~

Open up Animation Shop.
Edit/Paste/As New Animation.

Back in PSP.
Close out Star 1.
Open up Star 2.
Copy Merge

Carry into AS.
Edit/Paste/After Current Frame.

Back in PSP.
Close out Star 2.
Open up Star 3.
Copy Merge

Carry into AS.
Edit/Paste/After Current Frame.

View your animation.
If you're happy with it then save.

I’d love to see your results.
Email me!
Hugs,
Bev 

Tuesday, August 20, 2013

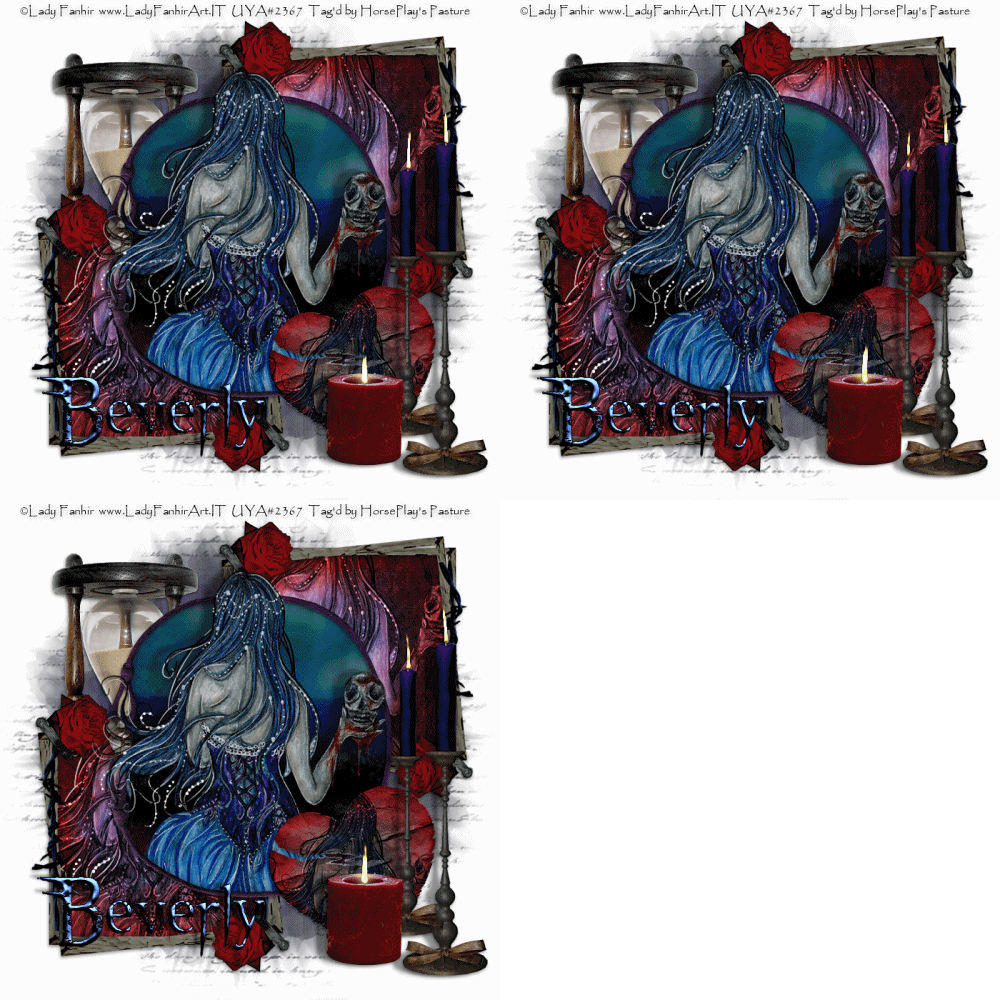
Broken Hearted

 photo BrokenHearted_zps3ee64a01.gif
Supplies Needed  

1 tube of choice – I used the awesome artwork of Lady Fanhir which can be purchased from Up Your Art.  You must have a license to use. 

Font of choice – I used Northwood High here

Weescotlass Mask 236 here

Plug Ins used:
Eyecandy 5: Nature - Fire

Animation Shop

 "Broken Heart" is a tagger size scrap kit created by Jessica of Gothic Inspirations and can be purchased from her store here.  You can visit her blog here.  Thank you Jess for another stunning kit!  
~♥~ Let’s get started ~♥~

Open up a 700 x 700 blank canvas.

Copy and paste Frame 1 as a new layer.
Resize 60%
Click inside of it with your Magic Wand.
Selections/Modify/Expand by 4.
New Raster layer below the frame.
Copy and paste Paper Paper 3 Into Selection.
Deselect.

Copy and paste Frame 4 as a new layer.
Resize 50%
Duplicate
Move both frames into position - see my tag for reference.

To each frame:
Click inside of it with your Magic Wand.
Selections/Modify/Expand by 4.
New Raster layer below the frame.
Copy and paste Paper 4 Into Selection.
Copy and paste your tube as a new layer below the frame.  Move into position - see my tag for reference.
Selections/Invert
Tap the delete key.
Deselect.
Change the Properties of the tube to Luminence.

Copy and paste your tube as a new layer.
Move into position in front of the round frame.  See my tag for reference.

Copy and paste Candle 1 as a new layer.
Resize 90%
Duplicate
Resize 80%
Copy and paste Bow 1 as a new layer.
Resize 20%
Duplicate
Position the bow at the bottom of each candle.
Merge Visible each candle with its own bow.

Copy and paste Candle 2 as a new layer.
Resize 35%

Move all 3 candles into their exact position.
Merge Visible all 3 candle layers.
Rename this layer "ORIGINAL CANDLES"

Copy and paste Heart 2 as a new layer.
Copy and paste your tube as a new layer.
Change the Properties of the tube to Overlay and move into a position you like over the heart.
Highlight the heart layer.
Click anywhere outside of it with your Magic Wand.
Highlight the tube layer.
Tap the delete key.
Deselect.
Merge Down.
The heart and tube should now be on the same layer.
Resize 60% and 80%
Free rotate Left 20 degrees.

Copy and paste Sands of Time element as a new layer.

Highlight your white background.
New Raster layer.
Select All
Copy and paste Paper 10 Into Selection.
Deselect.
Apply the mask.
Resize 115%
Merge Group.

Add your copyright.

Add your name:
Color Pallet: 
Foreground: #000000
Background: #13446f

Type your name.
Give it a slight Inner Bevel:

Now we're going to make the candleS ready for animation - 
Higlihght "Original Candle" layer.
Duplicate - Rename this layer "GUIDE" - Close this layer out for now.
Highlight "ORIGINAL CANDLE" layer.
Make your Freehand Selection Tool set on Freehand or Point to Point (whichever you feel more comfortable using), set on Add (shift).
Section around the flame and glow of each candle accept for the short red candle only section around the area that doesn't have the candle itself behind it:

Tap the delete key.
Deselect.
Duplicate the layer twice for a total of 3 original candle layers.
Rename them Candle 1, Candle 2, and Candle 3.
Open up "GUIDE" layer.
Using the "GUIDE" layer as a guide, use your Freehand Selection Tool again and section around the entire flame of each candle.
Once you've done that delete "GUIDE" layer.
Highlight Candle 1 layer. 
Apply Eyecandy Nature - Fire:
Settings Tab:
Small, Candle
Basic Tab:
Use the default settings accept lower the Colum Length to 64.61
Colors Tab:
Use the default settings.
OK

Close out Candle 1 layer.
Open up and Highlight Candle 2 layer.
Apply the same effect accept hit the Random Seed Button once.
OK

Repeat the above step with Candle 3 layer.

Deselect.

Close out Candle 3 layer.
Open up Candle 1 layer.

Copy Merge.

~Time to Animate~

Open up Animation Shop.
Edit/Paste/As New Animation

Back in PSP.
Close out Candle 1.
Open up Candle 2.
Copy Merge

Carry into AS.
Edit/Paste/After Current Frame.

Back in PSP.
Close out Candle 2.
Open up Candle 3.
Copy Merge

Carry Into AS.
Edit/Paste/After Current Frame.

View your animation.  If you're happy with it:

Ctrl + A (to highlight all frames)

Animation/Frame Properties:
Dislay Time: 23
OK

Animation/Resize Animation:
Pixel Size checked
Width: 500
OK

Save your animation.

I’d love to see your results.
Email me!
Hugs,
Bev 
Monday, August 19, 2013

Blueberry Fairy


Supplies Needed  

1 tube of choice – I used the wonderful artwork of Helen Reis which can be purchased from PSP Tube Stop.  You must have a license to use. 

Font of choice – I used Cliver Barker here

Weescotlass Mask 208 here

Toxic Dezires template 152 here

Plug Ins used:
Eyecandy 3.1 - Glow

"Serenade in Blue" is a tagger size scrap kit created by A Space Between which can be downloaded from here.

~♥~ Let’s get started ~♥~

Open up the template.
Shift + D.
Close out the original.
Resize all layers 85%
Image/Canvas Size:
700 x 600
OK
Highlight the background layer.
Flood fill white.
Delete the top 10 layers, Pixel Words layer, and Layer & Sparle Effect layer.

Highlight Glitter Rectangle layer.
Click anywhere outside of it with your Magic Wand.
New Raster layer.
Copy and paste Paper 12 Into Selection.
Adjust/Add Remove Noise/Add Noise:
Uniform and Monochrome checked
Noise: 50%
OK
Deselect.
Delete the template layer.

Repeat the above step with the following layers:
Left Glitter Rectangle, Right Glitter Rectangle, Glitter Circle,Thin Glittered Rectangle.

Highlight Dotted Circle layer.
Select All/Float/Defloat
New Raster layer.
Paste Paper 12 Into Selection.
Deselect.
Delete the template layer.
Duplicate the paper layer.

Highlight Circle 1 layer.
Click on it with your Magic Wand.
New Raster layer.
Copy and paste Element 54 Into Selection.
Deselect.
Delete the template layer.

Highlight Rectangle layer.
Click on it with your Magic Wand.
New Raster layer.
Copy and paste Paper 4 Into Selection.
Deselect.
Delete the template layer.

Highlight Left layer.
Click anywhere outside of it with your Magic Wand.
Selections/Invert
New Raster layer.
Copy and paste Paper 16 Into Selection.
Deselect.
Delete the template layer.

Repeat the above step with Right Rectangle layer and Thin Rectangle layer.

Highlight Circle 2 layer.
Click on it with your Magic Wand.
New Raster layer.
Copy and paste Paper 6 Into Selection.
Copy and paste your tube as a new layer.
Change the Properties to Soft Light and move into position - see my tag for reference.
Selections/Invert
Tap the delete key.
Deselect.
Delete the template layer.

Copy and paste your tube as a new layer.
See my tag for reference.

Add your elements.  I used:
El 28:  Resize 60%/Flip/Duplicate/Mirror/Duplicate each element layer.
El 34:  Duplicate/Mirror
El 8:  Resize 40%/Free rotate Left 15 degrees/Duplicate/Mirror/Duplicate each layer and flip
El 11:  Resize 20%/Free rotate Left 10 degrees/Duplicate/Mirror
El 6: Duplicate/Flip
El 17:  Resize 20%/Free rotate Left 25 degrees/Duplicate/Mirror/Resize 70%/Duplicate
El 53;  Resize 50%
El 50:  Resize 50%

Highlight your white background.
New Raster layer.
Select All
Copy and paste Paper 16 Into Selection.
Deselect.
Apply the mask.
Resize 110%
Merge Group.
Duplicate the mask layer.

Add your copyright.

Add your name:

Color Pallet:  
Foreground: #000000
Background: #56b4cb
Stroke: 1.0

Type your name.
Give it a slight Inner Bevel:

Apply Eyecandy 3.1 - Glow:
Width: 3
Opacity: 100
Opacity Drop off: Fat
Color: #ffffff

Resize all layers 80%.

I’d love to see your results.
Email me!
Hugs,
Bev