Friday, November 15, 2013

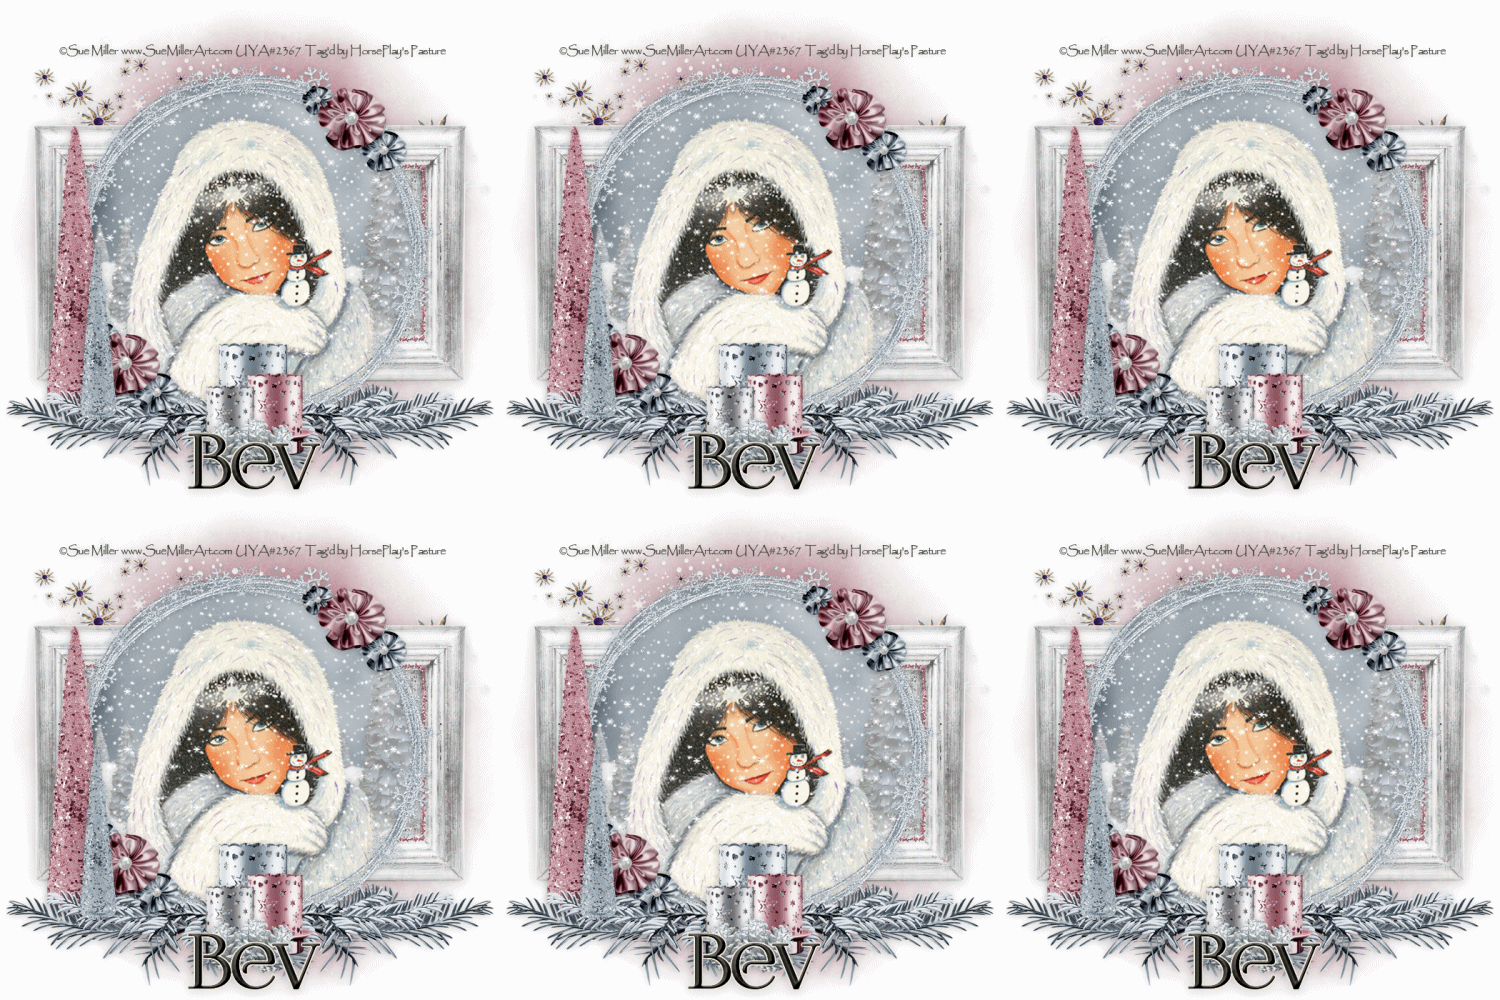
December Days

 photo DecemberDays_zps8adf64f8.gif

Supplies Needed  

1 tube of choice - I used the wonderful artwork of Sue Miller which can be purchased from Up Your Art.  You must have a license to use.

Font of choice – I used Foglihten No. 7 here

Monti Circular Mask here

Snow which I supply here

Animation Shop

 "December Days" is a tagger size scrap kit created by Designs by Stina and can be purchased from any of her stores here.  

~♥~ Let’s get started ~♥~

Open up a 700 x 700 blank canvas.
Flood fill white.

Copy and paste Frame 02 as a new layer.
Resize 65%
Click anywhere outside of it with your Magic Wand.
Selections/Invert
Selections/Modify/Contract by 7.
New Raster layer below the frame.
Copy and paste Paper 4 Into Selection.
Deselect for now.

Add the following elements below the frame and don't worry about what overhangs it.  We'll clean that up in a bit.
Snow:  Resize 50%/Duplicate/Mirror/Move the back snow layer up so it's slightly higher than the other.
Tree:  Resize 30%/Duplicate as many times as you like resizing them smaller and different sizes 
Your tube

Highlight the paper layer.
Click anywhere outside of it with your Magic Wand.
Highlight each element and your tube layer and tap the delete key.
Deselect.

Add your elements.  I used:
Frame 4:  Resize 60%/Duplicate/Mirror
Branch 2:  Resize 40%/Duplicate/Mirror
Branch with Snow 02:  Resize 30%/Duplicate/Mirror
Flowers 03:  Resize 65%
Glitter Cone 2:  Resize 50%
Glitter Cone 3:  Resize 30%
Candle 2:  Resize 20%
Candle 3:  Resize 20% and 80%
Candle 1:  Resize 20% and 70%
Flower 2:  Resize 15%/Duplicate
Flower 3:  Resize 10%/Duplicate/Resize 70%
Pinecones:  Resize 15%

Highlight the background layer.
New Raster layer.
Select All.
Copy and paste Paper 2 Into Selection.
Deselect.
Apply the mask.
Merge Group.

Add your credits.

Add your name:

Color Pallet:
Foreground & Background: #4b4941
Stroke: 1

Type your name.
Give it a slight Inner Bevel:

Select All/Float/Defloat
Selections/Modify/Expand by 2.
New Raster layer below your name.
Flood fill with #f0e8de
Deselect.
Merge Visible both name layers.

Highlight the layer that's just below the frame.

Open up the snow that I provided.
Highlight Frame 10 and copy.

Make your working canvas active.
Paste as a new layer (just below the frame)
Rename Snow 10

Go back to the snow.
Highlight and Copy Frame 9

Make your working canvas active.
Paste as a new layer just above Snow 10 layer.
Rename this layer Snow 9.

Keep copying and pasting all the snow layers until you have all 10 layers pasted below the frame on your working canvas.
Close out all snow layers.
Reopen Snow 1 layer.
Copy Merge.

~Time to Animate~

Open up Animation Shop.
Edit/Paste/As New Animation

Back in PSP.
Close out Snow 1 layer.
Open Snow 2 layer.
Copy Merge.

Carry into AS.
Edit/Paste/After Current Frame.

Back in PSP.
Close out Snow 2 layer.
Open Snow 3 layer.
Copy Merge

Carry Into AS.
Edit/Paste/After Current Frame.

Continue the above steps until you have copy merged and pasted all 10 snow frames Into AS.
View your animation.

Animation/Resize Animation:
Pixel Size checked
Width: 500
ok

If you're happy then save.

I hope you enjoyed this tutorial as much as I did creating it for you.
I'd love to see your results.
Email me!

I’d love to see your results.
Email me!
Hugs,
Bev 

Season of Thanks


Supplies

1 tube of choice - I used the wonderful artwork of Deanna Bach-Talsma which can be purchased from PSP Tube Stop.  You must have a license to use.

Font of choice - I used Foglihten No 7 here

Weescotlass Mask 219 here

My Template 162 here

Plug Ins used:
Brush Strokes - Crosshatch and Sprayed Strokes

"Harvest Delight" is a tagger size scrap kit created by Cari of Black Widow Creations and can be purchased from Heartbeatz Creationz.  You can visit her blog here.

This tutorial assumes you have a working knowledge of PSP.

~♥~ Let's get started ~♥~

Open up the template.
Shift + D.
Close out the original.
Image/Canvas Size:
700 x 700
OK
Highlight the background layer.
Flood fill white.
Delete the credit layer.

Highlight Raster 1 layer.
Click on it with your Magic Wand.
New Raster layer.
Copy and paste Paper 5 Into Selection.
Apply Brush Strokes - Sprayed Strokes:
Stroke Length: 12
Spray Radius: 20
Stroke Direction: Right Diagonal
OK
Deselect.
Delete the template layer.
Give the paper a slight Inner Bevel:

Highlight Raster 2 template layer.
Repeat the above step.

Highlight Raster 3 template layer.
Copy and paste El 9 as a new layer over the template layer.
Delete the template layer.
Highlight the frame layer.
Click inside of it with your Magic Wand.
Selections/Modify/Expand by 3.
New Raster layer below the frame.
Copy and paste Paper 5 Into Selection.
Apply Brush Strokes - Crosshatch:
Stroke Length: 37
Sharpness: 6
Strength: 1
OK
Deselect.

Highlight Raster 4 template layer.
Adjust/Add Remove Noise/Add Noise:
Uniform and Monochrome checked
Nosie: 48%
OK 

Highlight Raster 5 Template layer.
Click anywhere outside of it with your Magic Wand.
Copy and paste Paper 1 as a new layer.
Resize 65%
Tap the delete key.
Deselect.
Delete the template layer.

Highlight Raster 7 template layer.
Copy and paste your tube as a new layer over it.
Free rotate the tube Left 10 degrees.
Resize to fit over the template layer.  If you're using the same tube as I did, Resize 50%
Duplicate/Mirror/Position this tube layer Raster 6 template layer.

Highlight Raster 6 template layer.
Click on it with your Magic Wand.
New Raster layer.
Copy and paste Paper 8 Into Selection.
Deselect.
Delete the template layer.
Give the paper the same slight Inner Bevel.
Highlight the tube just above the paper.
Change the Properties to Soft Light.

Highlight Raster 7 template layer.
Click on it with your Magic Wand.
New Raster layer.
Copy and paste Paper 9 Into Selection.
Deselect.
Delete the template layer.
Give the paper the same slight Inner Bevel.

Highlight Raster 8 template layer.
Give it the same Noise Effect.
Apply the same slight Inner Bevel.

Highlight Raster 9 layer.
Repeat the above step.

Copy and paste El 28 as a new layer.
Resize 65%
Move into position - see my tag for reference.
Shift + B - the Brightness/Contrast box will appear.
Brightness: 11
Contrast: 12
OK

Add the elements.  I used:
El 15:  Resize 10%/Duplicate/Mirror
El 1:  Resize 25%/Duplicate/Resize 70%/Duplicate/Duplicate all 3 flowers
El 37:  Resize 60%
El 3:  Duplicate
El 17:  Resize 40%/Duplicate/Mirror
El 27;  Resize 20%

Highlight your blank canvas.
New Raster layer.
Select All.
Copy and paste Paper 3 Into Selection.
Deselect.
Adjust/Blur/Gaussian Blur:
Radius: 10
OK
Apply the mask.
Merge Group.

Add your Copyrights.

Add your name -
Color Pallet:
Foreground and Background: #513735
Type your name.
Convert to Raster layer.
Select All/Float/Defloat
New Raster layer below your name.
Flood fill with #f47e14
Deselect.
Apply the same Noise Effect.
Give each name layer a slight drop shadow.
Move your Brown colored name slightly to the right and down so that your names are lined up at the bottom.
Merge Visible both name layer.

Crop your image.

I hope you enjoyed this tutorial as much as I did creating it for you.
I'd really love to see your results.
Email me!

Hugs,
Bev

Wednesday, November 13, 2013

Cold Hands, Warm Heart


Supplies

1 tube of choice (a vertical one works best) - I used the wonderful artwork of Natacha Chohra which can be purchased from PSP Tube Stop.  You must have a license to use.

Font of choice - I used Pleasantly Plump here and LD Gregarious (a pay font which is optional) Childish font will work just as nice here.

Monti Circular Mask here

Plug Ins used:
Eyecandy 5: Nature - Snow Drift

"Checking It Twice" is a tagger size scrap kit created by me (HorsePlay's Pasture Designs) and can be purchased at any of my stores here.

This tutorial assumes you have a working knowledge of PSP.

~♥~ Let's get started ~♥~

Open up a 700 x 700 blank canvas.
Flood fill white.

Copy and paste your tube as a new layer.

Color Pallet:
Foreground: #c2444d   
Background: #78a65a

Make your Text Tool active.
Set the stroke to 4.0
Set the direction of the font to Vertical.
Type your name.
Use the box around your name to short and/or widen your name.  It's your tag, do what you think looks best!
Give it a slight Inner Bevel:

Apply Eyecandy 5: Nature - Snow Drift:
Settings Tab:
Small, First Flakes

Basic Tab:

Lighting Tab:
Default settings

OK

Mover your name and tube into better position.

Add the elements.  I used:
El 34:  Duplicate/Resize 70%
El 17
El 38:  Resize 60% (Use font of choice) to type Polar Express and place over the sign
El 21:  Resize 50%
El 58:  Resize 35%
El 54:  Resize 60%/Duplicate/Mirror
El 52:  Resize 55%/Erase what overhangs the garland/Duplicate/Mirror
El 46:  Resize 25%
El 32:  Resize 25%/Duplicate/Mirror
El 78:  Resize 50%
El 33:  Move into position.  Use your Freehand Selection Tool set on Freehand.  Feather set at 20.  Circle around the snow - keep the dotted line away from what you DON'T want feathered.  Selections/Invert.  Tap the delete key a couple of times.  Deselect.

The elements in the choo-choo train:
Copy and paste El 78 as a new layer.
Arrange the following elements in the cars - see my tag for reference:
El 2:  Resize 25%
El 8:  Resize 25%
El 80:  Resize 10%
El 79:  Resize 15%
El 20;  Reszie 20%

Merge Visible the train and car elements.
Resize 75%

Highlight your blank canvas.
New Raster layer.
Select All.
Copy and paste Paper 6 Into Selection.
Deselect.
Apply the mask.
Merge Group.
Erase what you can see beyond the snow layer at the bottom of your tag.

Copy and paste El 36 over the mask layer.
Move into a position you like.
Highlight the mask layer.
Use your Magic Wand and click in each corner of your tag.
Highlight the element layer.
Tap the delete key.
Deselect.

I hope you enjoyed this tutorial as much as I did creating it for you.
I'd really love to see your results.
Email me!

Hugs,
Bev


Happy Holidays

Supplies

1 tube of choice - I used the wonderful artwork of Natacha Chohra which can be purchased from PSP Tube Stop.  You must have a 

license to use.

Font of choice - I used Christmas Card here

Monti Circular Mask here and JWY Mask here

"Checking It Twice" is a tagger size scrap kit created by me (HorsePlay's Pasture Designs) and can be purchased at any of my stores here.

This tutorial assumes you have a working knowledge of PSP.

~♥~ Let's get started ~♥~

Open up a 700 x 700 blank canvas.
Flood fill white.

Copy and paste El 26 as a new layer.
Resize 25%
Duplicate 3x's for a total of 4 frames.
Line them across your canvas - see my tag for reference.

Close out your white canvas.
Merge Visible.
Reopen your white canvas.

Click inside of each frame with your Magic Wand.
Selections/Modify/Expand by 4.
New Raster layer below the frame.
Copy and paste Paper 5 Into Selection.
Copy and paste El 33 as a new layer above the paper layer.  Move into position - see my tag for reference.
Selections/Invert
Tap the delete key.
Deselect.

Close out your white canvas.
Merge Visible.
Reopen your white canvas.

Move the merged layer down on your canvas - see my tag for reference.

Copy and paste your tube as a new layer.

Copy and paste El 33 as a new layer.
Move into position in front of the merged layer.
Duplicate/Mirror
Move this snow layer a little lower than the original snow layer.
Merge Visible both snow layers.
Use your Freehand Selection Tool set on Freehand, Feather 25 and circle around the merged snow layer - be sure to have the dotted line touch the sides and bottom of the element.
Selections/Invert
Tap the delete key a couple of times.
Deselect.

Add the elements.  I used:
El 17:  Resize 60%
El 34: Place in front of the frames
El 34 again:  Resize 60%/Place behind the frames/Duplicate
El 69:  Resize 80%
El 21:  Resize 50%
El 40:  Resize 50%
El 46:  Resize 20%/Duplicate/Mirror/Resize 70%

Highlight your blank canvas.
New Raster layer.
Select All.
Copy and paste Paper 9 Into Selection.
Deselect.
Apply the mask.
Merge Group.
Erase what you can see beyond the snow layer at the bottom of your tag.

Copy Merge.

Create a new 700 x 700 blank canvas.
Flood fill white.
Your tag should still be in memory - Paste as a New layer. 
Resize 60%
Paste as a new layer again.
Resize 50%/Free rotate Right 8 degrees
Give each layer a drop shadow and move into position - see my tag for reference.

Add more element.  I used:
El 23:  Resize 60%
El 32:  Resize 80%/Mirror
El 46:  Resize 40%

Add your credits.

Type your name.
Color Pallet:
Foreground: #490000
Background: #bb353e
Stroke: 2

Type your name.
Give it a slight Inner Bevel:

Close out your white background.
Save as a png.

I hope you enjoyed this tutorial as much as I did creating it for you.
I'd really love to see your results.
Email me!

Hugs,
Bev

Monday, November 11, 2013

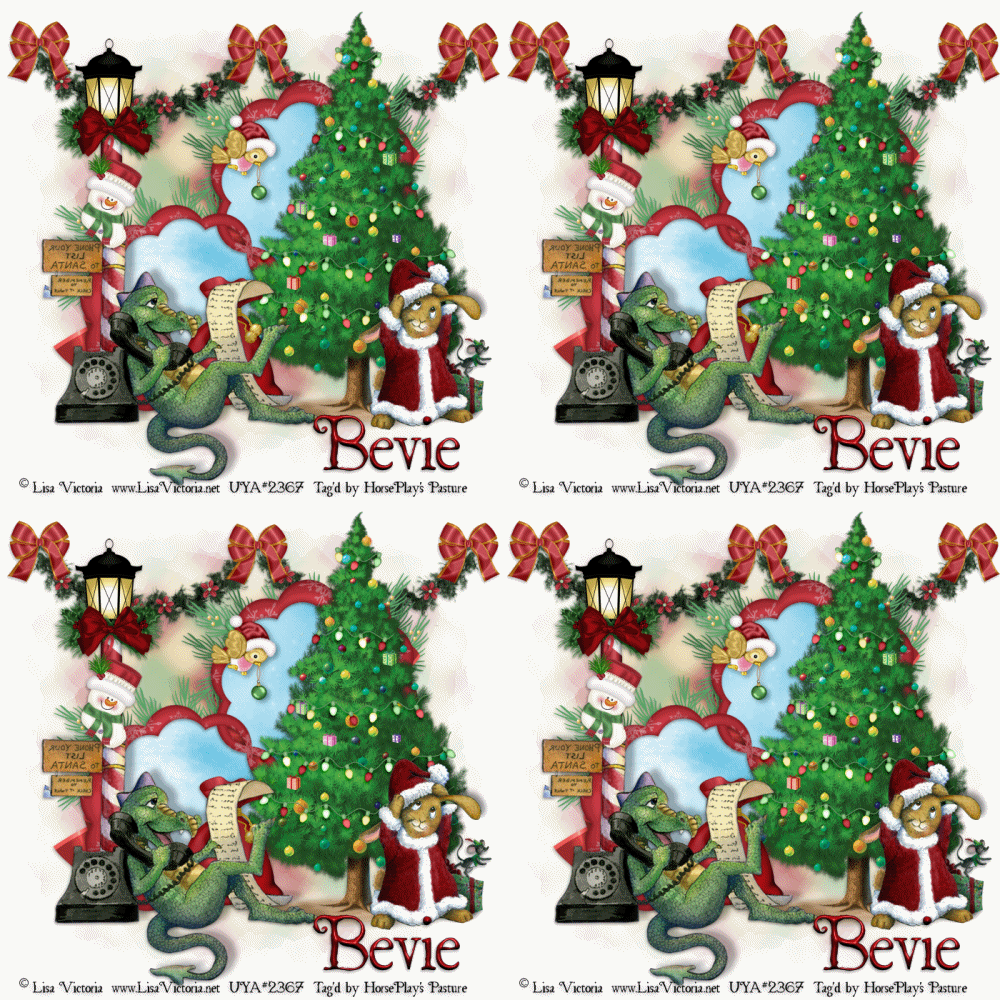
Checking It Twice

 photo CheckingItTwiceBevie_zpsa0a67d26.gif

Supplies

2 tubes of choice - I used the adorable artwork of Lisa Victoria which can be purchased from Up Your Art.  You must have a license to use.

Font of choice - I used St. Nicholas here

My mask 27 here

Animation Shop

"Checking It Twice" is a tagger size scrap kit created by me (HorsePlay's Pasture Designs) and can be purchased at any of my stores here.

This tutorial assumes you have a working knowledge of PSP.

~♥~ Let's get started ~♥~

Open up a 700 x 700 blank canvas.
Flood fill white.

Copy and paste El 28 as a new layer.
Resize 80%
Click inside each frame with your Magic Wand.
Selections/Modify/Expand by 4.
New Raster layer below the frame.
Copy and paste Paper 13 Into Selection.
Deselect.
Use your Target Tool and change the color of the paper to #b4e2f2.

Copy and paste your tube as a new layer.
If you're using the same tubes I did resize - 
LV0040: Resize 65% and 90%/Mirror
LV0042:  Resize 40% and resize the gift box 30%

Copy and paste El 17 as a new layer.
Match the pole up to the pole on the tube tube - see my tag for reference.
Erase the base of the pole.

Copy and paste El 34 as a new layer.
Move into exact position - see my tag for reference.

Copy and paste El 52 as a new layer.
Resize 40%
Duplicate 4x's
Move all the lightstrand layers into position on the tree - see my tag for reference.
Use your Eraser Tool and erase what overhangs the edges.
Merge Visible all light layers.

Add the rest of your elements.  I used:
El 37:  Resize 40%
El 23:  Resize 40%
El 6: (place behind the top frame) Duplicate (place behind the bottom frame)
El 54:  Resize 60%/Duplicate/Mirror
El 47:  Resize 30%/Duplicate 2x's
El 16:  Resize 10% and 85%/Duplicate as many times as you like 
El 46:  Resize 30%/Mirror

To get the dragon ready for animation:
Duplicate the dragon tube layer and close out the original dragon layer.
Use your Freehand Selection Tool and section off the foot taking care not to slice into the list of names.
Edit/Cut
Deselect.
Edit/Paste/As New layer.
Match the foot up exactly with the dragon.
Duplicate the foot 2x's.
Let's go ahead and rename these layers as follows:
The original draon layer rename Foot 1
The duplicate dragon layer rename Foot 2.
The next foot layer that's above this in your layers pallet rename Foot 3.
The last foot layer above that rename Foot 4.
Close out Foot 1, 3 and Foot 4 layers.

Highlight Foot 2 layer.
Tap the letter K on your keyboard (to activate the Pick Tool) and turn the foot slightly.
Zoon in on the foot and click on it with your mouse before using the arrow keys to match the foot up to the dragon nicely.
Close out Foot 2 layer.

Open up Foot 3 layer.
Again, use your Pick Tool to move this foot slightly except turn this foot a little bit further than Foot 2. (Open up Foot 2 

layer if you have to for a peek to see where it is).
Zoom in, use arrow keys to match the foot and leg up nicely.
Close out Foot 3 layer.

Open up Foot 4 layer.
Repeat the above step turning it slightly further than Foot 3 layer.
Close Foot 4 layer out and the duplicated dragon layer.
Reopen Foot 1 layer.

Highight the merged Lights layer.
Duplicate it 3x's for a total of 4 light layers.
Rename the light layers Lights 1, 2, 3, and 4.

Highlight Lights 1 layer.
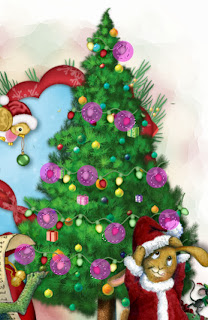
Use your Freehand Selection Tool and circle around the following Light bulbs:

Shift + B - the Brightness/Contrast box will appear.
Brightness: 48
Contrast: 11
OK
Deselect.

Highlight Lights 2 layer:
Repeat the above step except section the following lights:


Highlight Lights 3 layer:
Repeat the above step except section the following lights:

Highlight Lights 4 layer:
Repeat the above step except section the following lights:

Close out Light layers 2, 3, and 4.
Reopen Lights 1 layer.

Highlight your white background.
New Raster layer.
Select All.
Copy and paste Paper 7 Into Selection.
Deselect.
Adjust/Blur/Gaussian Blur:
Radius: 10
OK
Apply the mask.
Resize 110%
Merge Group.

Add your copyrights.

Add your name:
Color Pallet:
Foreground: #020000
Background: #721013
Stroke: .5

Type your name.
Give it a slight Inner Bevel:

Copy Merge.

~Time to Animate~

Open up Animation Shop.
Edit/Paste/As New Animation.

Back in PSP.
Close out Foot 1 layer.
Open the duplicated dinosaur layer and Foot 2 layer.
Close out Lights 1 layer.
Open up Lights 2 layer.
Copy Merge.

Carry Into Animation Shop.
Edit/Paste/After Current Frame.

Back in PSP.
Close out Foot 2 layer.
Open Foot 3 layer.
Close out Lights 2 layer.
Open up Lights 3 layer.
Copy Merge.

Carry Into Animation Shop.
Edit/Paste/After Current Frame.

Back in PSP.
Close out Foot 3 layer.
Open Foot 4 layer.
Close out Lights 3 layer.
Open up Lights 4 layer.
Copy Merge.

Carry Into Animation Shop.
Edit/Paste/After Current Frame.

Ctrl + A (to highlight all frames)
Animation/Frame Properties:
Change the Diplay time to 15.
OK

View your animation.
If you're happy then resize:
Animation/Resize Animation:
Pixel Size checked
Width: 500
OK

Save your animation.

I hope you enjoyed this tutorial as much as I did creating it for you.
I'd really love to see your results.
Email me!

Hugs,
Bev