Supplies
Font of Choice - I’m using Pavane here.
Monti Circular Mask here
“Finding Neverland” is a PTU tagger size scrap kit created by Funky of Wishingona Starr and can be purchased at Butterfly Blush Designs. You can visit Funky’s blog here.
DSB Flux - Bright Noise
Animation Shop
Thank you Funky for such a beautiful kit!
This tutorial was written assuming you have a working knowledge of PSP.
~♥~ Let’s get started ~♥~
Open up a 700 x 700 blank canvas.
Flood Fill white.
Copy and paste Frame as a new layer.
Use your Magic Wand and click inside of all the squares.
Selections/Modify/Expand by 6.
New Raster layer below the frame.
Copy and Paste a paper of choice Into Selection.
Deselect.
Add your embellishments. I used:
Squiggle
Shiny Ribbon: Resize 40% Free rotate left 80 degrees
Tall Grass
Floral: Resize 40%
Birds Nest: Resize 40%
Butterfly: Resize 25% & 90%. Duplicate/Resize 80%
Bird: Resize 35%
Fantasy Bird: Resize 25%
Rainbow Globe: Resize 60%
Poser: Resize
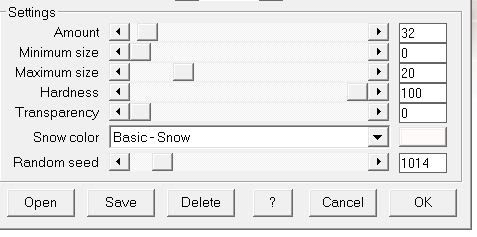
Fairy Dust: Resize 60%
Highlight your white background.
New Raster layer.
Select All.
Copy and paste a paper of choice Into Selection.
Deselect.
Copy and paste the unicorn above the paper as a new layer.
Merge Visible the paper and Unicorn.
Apply the mask.
Merge Group.
Add your copyrights.
If you only used the posers from the kit, and the particular poser you used has a copyright on it then please give them credit. If the poser you used doesn’t have any credit then please leave some credit for the kit designer…it would be greatly appreciated by them.
Duplicate the Fairy Dust layer twice for a total of 3 layers.
Rename them Dust 1, 2, and 3.
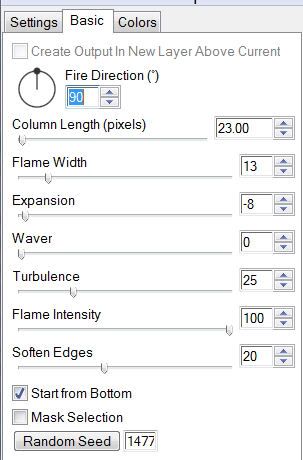
Highlight Dust 1 layer.
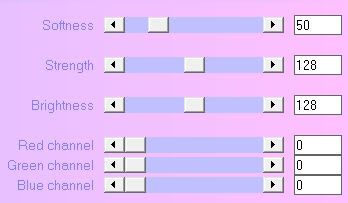
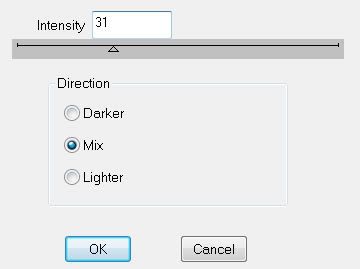
Apply DSB Flux - Bright Noise: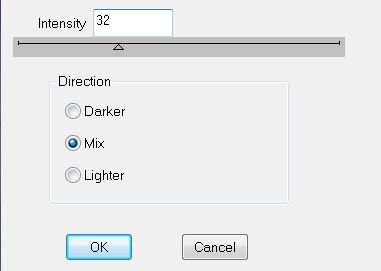
Highlight Dust 2 layer.
Apply DSB Flux - Bright Noise again accept hit the mix button twice.
Highlight Dust 2 layer.
Apply DSB Flux - Bright Noise again accept his the mix button 3 times.
Close out Dust layers 2 & 3.
Keep Dust 1 layer open.
Add your name.
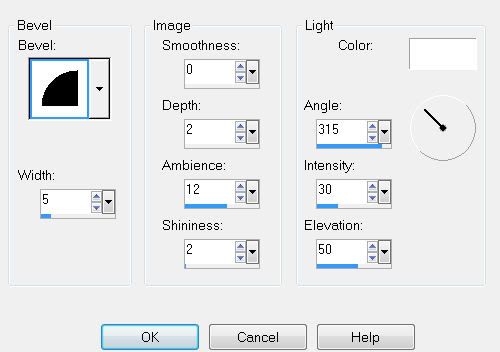
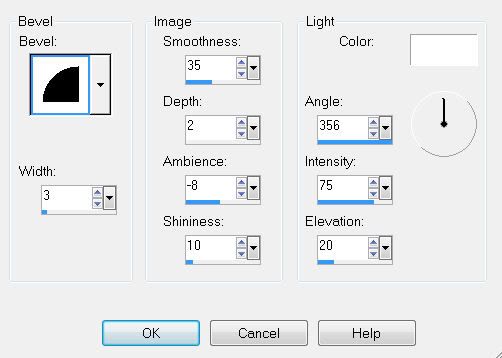
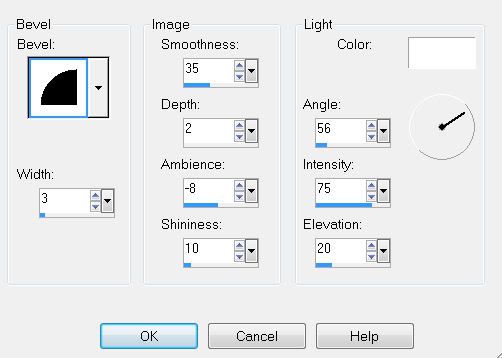
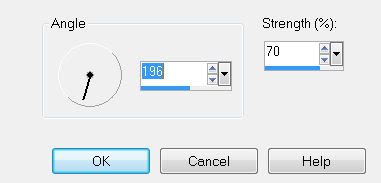
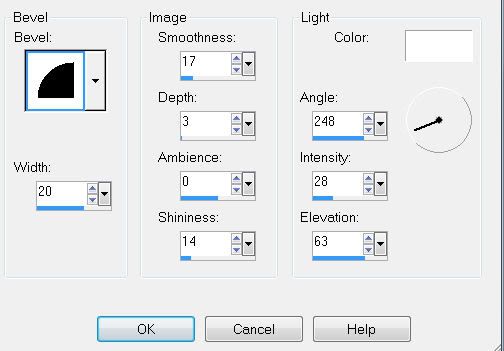
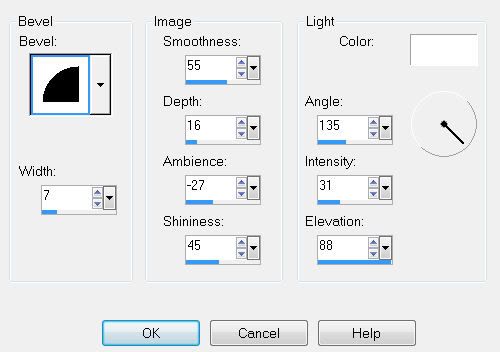
Give it a slight inner bevel: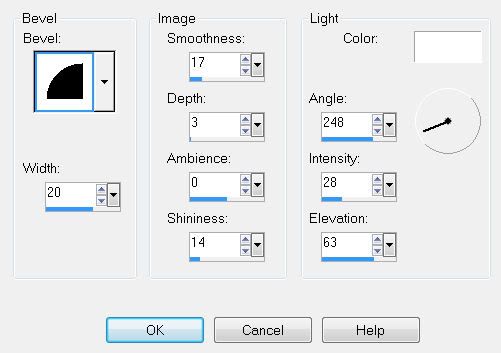
Duplicate twice for a total of 3 layers.
Rename them Name 1, 2, and 3.
Apply the DSB Flux - Bright Noise to each layer the same way as you did the dust layers.
And like the dust layers, close out name layers 2 & 3, keeping only Name 1 layer open.
Resize all layers 80%.
Copy Merge.
~ Time to Animate ~
Open up Animation Shop.
Edit/Paste/As New Animation.
Go back into PSP.
Close out Name 1 & Dust 1 layers.
Open up Name 2 & Dust 2 layer.
Copy Merge
Carry into AS.
Edit/Paste/After Current Frame.
Go back into PSP.
Close out Name 2 & Dust 2 layers.
Open up Name 3 & Dust 3 layers.
Copy Merge
Carry into AS.
Edit/Paste/After Current Frame.
View your animation.
If you’re happy then save.
I hope you enjoyed this tutorial.
I’d love to see your results and show it off in my Show Arena.
Email me!
Hugs,
Bev


.jpg)