Clicking on the image will enlarge to full view.
Supplies
1 tube of choice - I’m using the wonderful artwork of Dean Yeagle here
Font of choice - I used Fabulous 50s here
Scrap Dimensions Mask 6 here
Divine Intentions Template 233 here
Greg’s Factory Output Vol. II - Pool Shadow
Filters Unlimited 2.0 - Photo Aging
“Sweet Spring” is a PTU tagger size scrap kit created by Conchi of Disenando Scraps and can be purchased at Lollipops n Gumdrops. You can visit her blog here.
Thank you Conchi for such a sweet kit!
This tutorial was written assuming you have a working knowledge of PSP.
~♥~ Let’s get started ~♥~
Open up the template.
Shift + D.
Close out the original.
Image/Canvas Size
650 X 650
Flood fill Bakcground layer white.
Delete By Missy and Skull layers.
Highlight Large Circle layer.
Use your Magic Wand and click on the pink portion.
New Raster layer.
Copy and paste a paper of choice Into Selection.
Deselect.
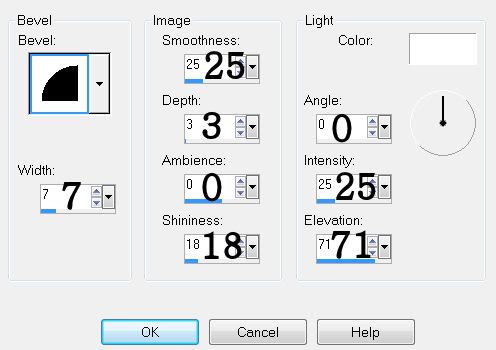
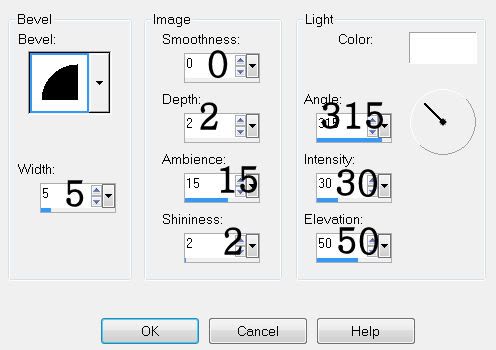
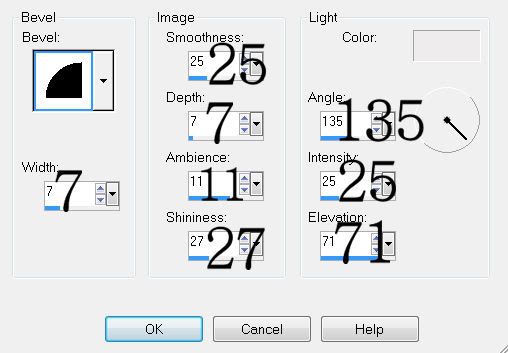
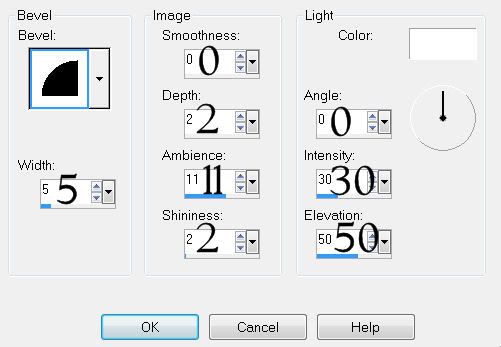
Give it a slight inner bevel:
Highlight Rectangle 1 layer.
Use your Magic Wand and click on it.
New Raster layer.
Flood fill with a plain color.
Deselect.
Delete the template layer.
Apply Filters Unlimited 2.0 - Photo Aging Kit
Film Grain - default Settings
Highlight Rectangle 2 layer.
Use your Magic Wand and click on it.
New Raster layer.
Flood fill with a gradient of your choice.
Deselect.
Delete the template layer.
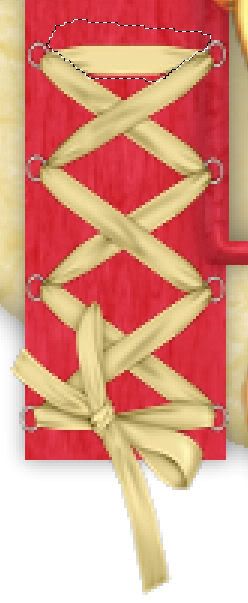
Highlight Dotted Rectangle layer.
Select All/Float/Defloat
New Raster layer.
Invert your gradient and flood fill.
Deselect.
Delete the template layer.
Highlight Rectangle 3 layer.
Use your Magic Wand and click on it.
New Raster layer.
Flood fill with plain color that‘s contrasting to the last one you used.
Apply Filters Unlimited 2.0 - Photo Aging Kit
Same settings
DO NOT DESELECT.
Copy and paste your tube as a new layer.
Center over the rectangle.
Selections/Invert
Tap the delete key.
Deselect.
Change the Properties to Soft Light.
Deselect.
Delete the template layer.
Highlight Circle 2 Layer.
Adjust/Add Remove Noise/Add Noise:
Gaussian and Monochrome checked
Noise: 30%
OK
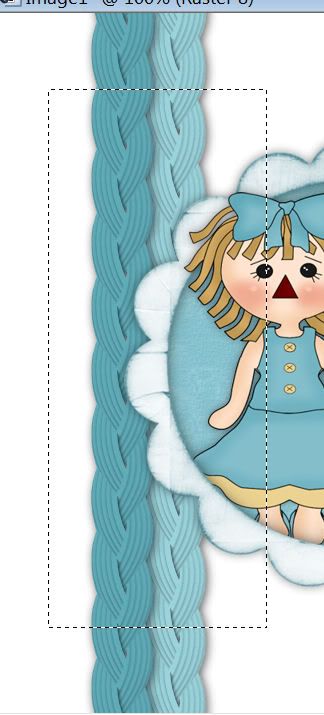
Highlight Dotted Circle layer.
Select/Float/Defloat
New Raster layer.
Flood fill with a gradient of your choice.
Deselect.
Delete the template layer.
Highlight Circle 3 layer.
Use your Magic Wand and click on it.
New Raster layer.
Flood fill with a gradient of choice.
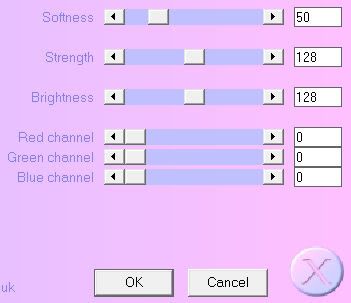
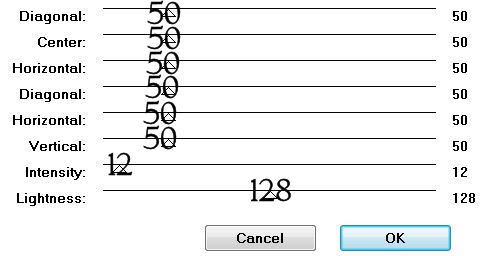
Apply Greg’s Factory Output Vol. II - Pool Shadow:
Copy and paste your tube as a new layer.
Position over the circle.
Selections/Invert
Tap the delete key.
Deselect.
Delete the template layer.
Highlight Grib layer.
Select All/Float/Defloat
New Raster layer.
Flood fill with a color of choice.
Deselect.
Delete the template layer.
Add your embellishments. I used:
Bow Satin Color & Bow Satin Color 2: Resize 25% and 30%
Free rotate 15 degrees
Flower Petals & Flower Petals 2: Resize 25%
Brad & Brad 2: Resize 25% and 25%
Butterfly: Resize 25%
Sweet Spring Flowerss: Resize 50% - Position behind the circle. Duplicate 3 times and arrange the flowers so that the tips peek out from behind the circle.
Highlight your white background.
New Raster layer.
Select All.
Copy and paste a paper of choice Into Selection.
Deselect.
Apply the Mask.
Merge Group.
Duplicate
Add your copyrights.
Add your name.
Select All/Float/Defloat
Selections/Modify/Contract by 1
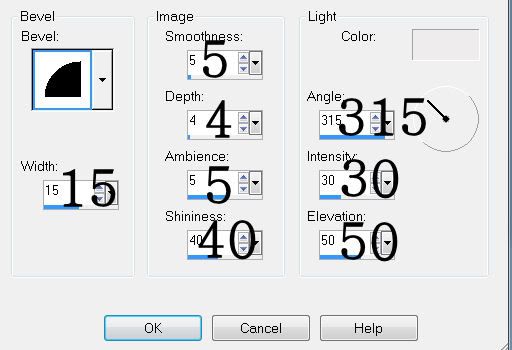
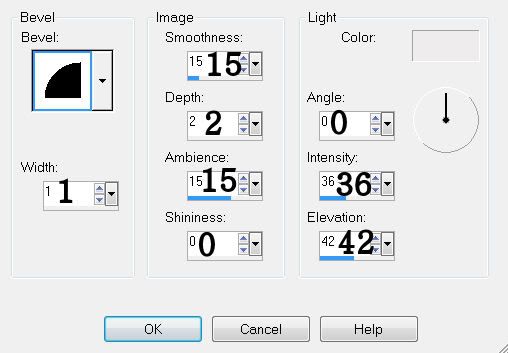
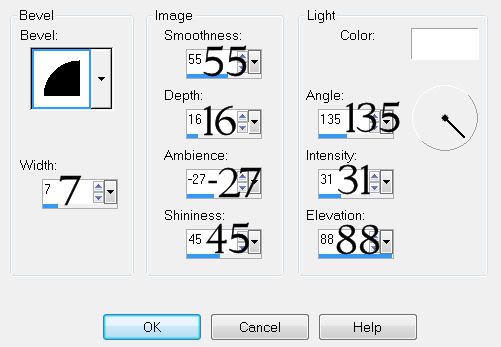
Give it an inner bevel:
Give it the same noise as you used before.
Deselect.
Resize all layers 80%.
I hope you enjoyed this tutorial.
I’d love to see your results and show it off in my gallery.
Email me!
Hugs,
Bev