Saturday, February 28, 2009

Tender, Beautiful, Exquisite

Photobucket
Supplies Needed

1 tube of choice – I'm using the artwork of Jennifer Janesko
which you can purchase here
Font of choice - I'm using Aquarelle here
Weescotlass Mask 167 here
"Exquisite" PTU tagger kit by Bits ‘n Bobs which can be found here.
This kit truly is exquisite!!
Thank you so very much Julie for such a beautiful kit!

This tutorial was written assuming you have working knowledge of PSP.

~♥~ Let’s get started ~♥~

Open a 600 X 600 transparent canvas. Flood fill white.

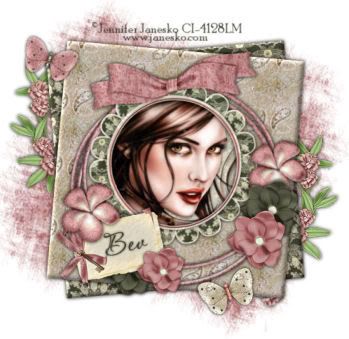
Copy and paste Frame 2 as a new layer. Use your Freehand Selection tool and outline the inner circle.

Highlight your white canvas and copy and paste Paper 2 as a new layer.

Copy and paste your tube as a new layer.

New Raster Layer. Effects/3D Effects/Cutout with these settings:
Horizontal and Vertical: 5
Opacity and Blur: 25
Color Black
Ok
Repeat above step accept change the horizontal and vertical to -5.

Highlight your top layer (frame). Copy and paste Flower as a new layer. Resize 40% and move to the right of your frame. See my tag for reference.

Copy and Paste Flower 4 as a new layer. Resize 40% and move beside the other flower.

Copy and Paste Flower 3 as a new layer. Resize 40% and move beside Flower 4.

Copy and paste Journal 1 as a new layer. Resize 50% and move toward the lower left of your frame. See my tag for reference.

Duplicate all your flower layers and move into position around the Journal. See my tag for reference.

Highlight your white canvas. Copy and paste Paper 4 as a new layer. Resize 50%. Effects/3D Effects/Inner Bevel:
Bevel: 2
Width: 3
Smoothness: 35
Depth: 2
Ambience: -8
Shininess: 10
Color: white
Angle: 315
Intensity: 75
Elevation: 20
Ok
Give it a heavy drop shadow. Free Rotate left 10 degrees.

Copy and paste Paper 1 as a new layer and repeat the above step. Free rotate right 10 degrees.

Copy and paste Flower Branch as a new layer. Resize 60%. Mirror. Free rotate left 40 degrees. Adjust/Sharpness 3 times. Move to the left side of the papers and just above your white canvas in your layers pallet. See my tag for reference. Duplicate/Mirror.

Copy and pate Butterfly 2 as a new layer. Resize 40% and 80%. Free rotate right 20 degrees. Position to your liking.

Repeat the above with Butterfly 1.

Highlight your white canvas. New Rater layer. Copy and paste Paper 3 Into Selection. Deselect. Apply your mask. Merge Group.

Add your copyrights.

Add your name to the Journal.

I hope you enjoyed this tutorial.
I would love to see your results to put in my gallery.
Email me!
Hugs,
Bev

Sparkling Mardi Gras

Photobucket
Supplies Needed

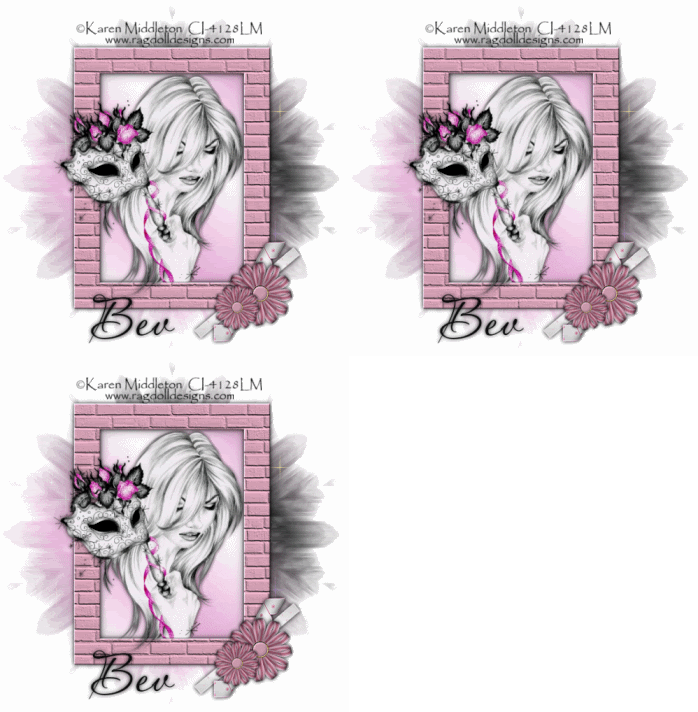
1 tube of choice – I'm using the artwork of Karen Middleton
which you can purchase here
Font of choice - I'm using Aquarelle here
Weescotlass Mask 259 here
DSB Flux – Bright Noise (optional)
VM Natural – sparkle (optional)
"Pastels Breeze" PTU scrap kit by Sassy Scraps which can be found here.

This tutorial was written assuming you have working knowledge of PSP.

~♥~ Let’s get started ~♥~

Open a 600 X 600 transparent canvas. Flood fill white.

Copy and paste a frame of choice as a new layer. Resize 55%. Use your magic wand and click inside. Selections/Modify/Expand by 2.

New Raster Layer below your frame. Pick out a medium and light color from your tube and create a gradient of your choice. Flood fill.

New Raster Layer (above your gradient, below your frame). Effects/3D Effects/Cutout
Horizontal & Veritcal: 5
Opacity & Blur: 25
Color 5
Ok

Repeat above step accept change Horizontal & Vertical to -5.

Highlight your gradient layer. Copy and paste your tube as a new layer. Use Selections/Invert/Delete if need be. Deselect. If you want to animate then use your Selection Tool and outline parts of your tube you wish to glitter. Once you’ve done that, duplicate 2 x for a total of 3. Rename Glitter 1, Glitter 2, Glitter 3. Highlight Glitter 1 and apply DSB Flux/Bright Noise with these settings:
Intensity 30
Mix
Click OK.
Highlight Glitter 2 and apply the same accept hit the mix button twice.
Highlight Glitter 2 and apply the same accept hit the mix button 3 times. Close out Glitter 2 and 3, keep Glitter 1 open.

Copy and paste a flower of choice as a new layer. If you’re using the one I’m using resize 20% and position near the bottom right corner of your frame. Dupilcate. Resize 70%. Position in front of the other flower.

Copy and paste a curly ribbon of choice as a new layer. Resize 20% and position behind the flowers.

Copy and paste a ribbon of choice. Resize 20% and again 60%. Free rotate left 40 degrees. Position near the curly ribbon.

Highlight your white canvas. New Raster layer. Pick out a very dark and light color from your tube. Create a gradient and flood fill your new layer. Adjust/Blur/Gaussian Blur
Radius: 20
Apply your mask. Merge Group.
PlugIns/VM Natural/Sparkle with these settings:
Max Size 31
Red 255
Green 255
Blue 255
Rnd color On/Off 0
Random Seed 59
Ok

Add your copyrights.

Add your name.

Onto the animation:

Copy merge and carry into Animation Shop.
Edit/Paste as New Animation.

Go back into PSP. Close out Glitter 1, open up Glitter 2. Copy merge and carry into AS. Edit/Paste/After Current Frame.

Go back into PSP. Close out glitter 2. Open up Glitter 3. Copy merge and carry into AS. Edit/Paste/After Current Frame.

View your animation. If you’re happy with it then save and you’re done!

I hope you enjoyed this tutorial.
I’d love to see your results and put in my Show Ring.
Email me!
Hugs,
Bev

Wednesday, February 25, 2009

Many Faces of Spring

Photobucket
Supplies Needed

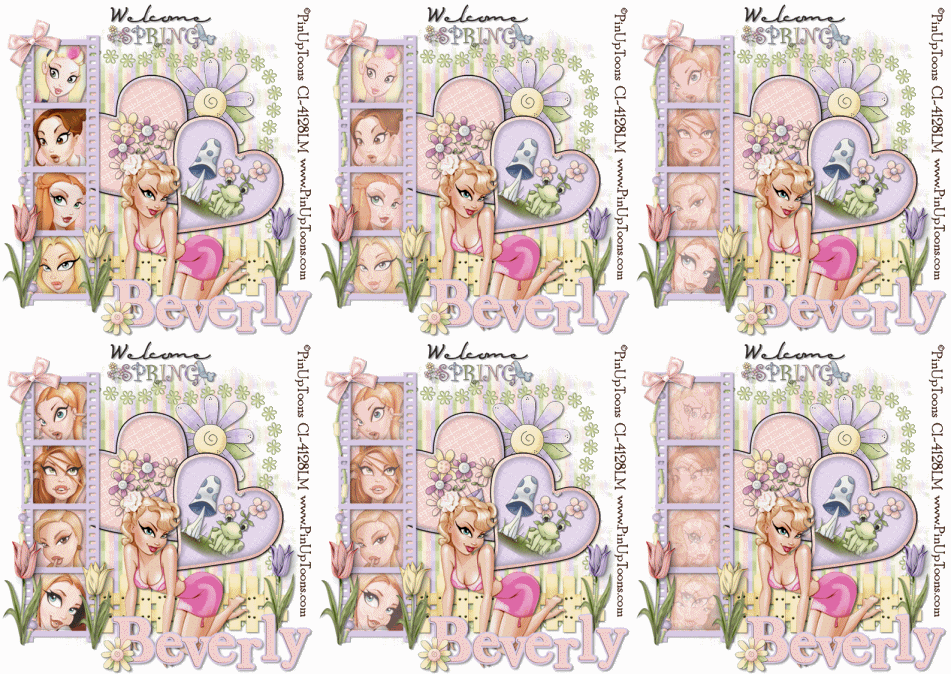
9 tubes of choice – I'm using the artwork of PinUpToons
which you can purchase here
Font: I used the alpha that came with the scrap kit
Weescotlass Mask 287 here
Animation Shop
"Welcome Spring" PTU taggers kit by Scraps With Attitude which can be purchased here.

This tutorial was written assuming you have working knowledge of PSP.

~♥~ Let’s get started ~♥~

Open a 700 X 700 transparent canvas. Flood fill white.

Copy and paste Bracket 2 as a new layer. Resize 75%.

New Rater Layer. Select All. Copy and paste a paper of choice Into Selection. Deselect. Apply mask. Merge Group.

Copy and paste Heart 2 as a new layer. Resize 50%. Select All/Float/Defloat/Contract by 10. New Raster Layer.
Effect/3D Effects/Cutout
Vertical and Horizontal: 3
Opacity and Blur: 25
Color Black
OK
Repeat but change V & H to -3.
Select none.

Highlight Heart 2. Copy and paste Flower Pot 1 as a new layer. Free rotate left 35 degrees. Resize 30% and move into position over the heart. Use your Freehand Selection tool and draw a circle around the flower pot. Selection/Modify/Feather.
Change Number of Pixels to 35. Tap your delete key until it’s feathered nicely. Highlight your heart layer. Select All/Float/Defloat/Invert. Highlight your Flower Pot layer and hit the delete key. Select none. Close out all layers and merge visible the heart, flower pot, and cutout layers. Open up all layers.

Copy and paste Heart as a new layer. Repeat the above step using the Frog Mushroom, rotating accordingly. After you’ve merged visible then position both hearts on your canvas. See my tag for reference.

Copy and paste Flower 2 as a new layer. Resize 25%. Position behind the hearts. See my tag for reference.

Copy and paste a fence of choice as a new layer. Resize 40%. Duplicate/Mirror. Overlap the fences in the middle. Use your eraser tool to erase the overlap and then merge down.

Copy and paste Word Art as a new layer. Resize 30%. Position it centered at the top of your canvas.

Copy and paste a film strip of choice. Resize 75%. Free rotate 90% and position on the left side of your canvas. Use your magic wand and click inside all the squares.

New Raster layer beneath the film strip layer. Again, use the same cutout settings as you used for the hearts.

Copy and paste a paper of choice as a new layer beneath the cutout layers. Resize 75%. Selections/Modify Expand by 3/Invert. Hit the delete key. Deselect.

Use your magic wand and click inside the top square of the film strip. Selections/Modify//Expand by 3. Copy and paste a tube of choice as a new layer. Invert. Hit the delete key. Repeat this until you have a tube in each square. Close out all layers and only open up the 4 tube layers. Merge visible. Rename Tube Set 1. Open up all the layers, but close out Tube set 1.

Repeat the above step with 4 new tubes. Merge visible and rename Tube Set 2.

Copy and paste a Bead String of choice. Resize 75%. Free rotate 90 degrees and position at the left side of your film strip. Duplicate and move it behind the film strip. Highlight the original Bead String layer and erase bits here and there to give the affect as if it’s twined through the holes.

Copy and paste Bow 2 as a new layer. Resize 20% and again 80%. Adjust/Sharpness 2 times. Free rotate left 30 degrees. Position at the top left corner of your film strip.

Copy and paste a tulip of choice. Resize 30%. Position near the bottom left corner of your film strip.

Copy and paste another tulip of choice. Resize 25%. Position at the bottom right corner of your film strip.

Copy and paste another tulip of choice. Resize 25% and place at the far right side of the fence.

Copy and paste your main tube and position on the canvas.

Add your copyrights.

Add your name. If you’re using the Alpha from the kit simply use your Freehand selection tool, click around the letter you want, copy, paste on your canvas as a new layer. Repeat until your name is spelled out.

Resize 75% all layers.

Onto the Animation!!

Highlight Tube Set 1. Be sure Tube Set 2 is closed out. Copy merge and carry into AS Edit/Paste As New Animation. Go back into PSP and move the opacity of Tube Set layer 1 down to 80. Copy Merge and carry into AS. Edit/Paste/After Current Frame. Go back into PSP. Lower opacity to 60. Copy merge. Carry into AS. Edit/Paste/After Current Frame. Go back into PSP. Lower the opacity to 40. Copy merge. Carry into AS. Edit/Paste/After Current Frame. Back into PSP. Lower the opacity to 20. Copy merge. Carry back into AS. Edit/Paste/After Current Frame.

Go back into PSP. Open up and highlight Tube Set 2 layer and lower the opacity to 20. Be sure that Tube Set 1 layer and Tube Set 2 layer are both open and the opacity on both are 20. Copy merge. Carry into AS. Edit/Paste/After Current Frame.

Go back into PSP. Close out Tube Set 1 layer. Highlight Tube Set 2 layer and move the opacity to 40. Copy merge. Carry into AS. Edit/Paste/After Current Frame. Back into PSP. Change the opacity to 60. Copy merge. Carry into AS. Edit/Paste/After Current Frame. Back into PSP. Change the opacity to 80. Copy merge. Carry into AS. Edit/Paste After Current Frame. Back into PSP. Change the opacity to 100. Copy merge. Carry into AS. Edit/Paste After Current frame.

We’re almost there! I hope you’re hanging in still!

Change the opacity back down to 80. Copy merge. Carry back into AS. Edit/Paste After Current frame. Back into PSP. Lower the opacity down to 60. Edit/Paste/ After Current Frame. Back into PSP. Lower the opacity down to 40. Edit/Paste/After Current Frame. Back into PSP. Lower the opacity down to 20. Open up Tube Set 1 layer and be sure the opacity is down to 20. Copy merge. Carry into AS. Edit/Paste After Current Frame.

Highlight all the frames. Animation/Frame Properties:
Change the number to 25

Now highlight only Frames 1 & 9.
Change the number to 150.

Watch your animation. If you’re happy then save.

Phew! And you were sweating for nothing…hehehe

I really hope you enjoyed this tutorial and you have an awesome tag to share with others.
I’d really love to see your results.
Email me!

Hugs,
Bev

Tuesday, February 24, 2009

Desert Beauties

Photobucket
Supplies Needed

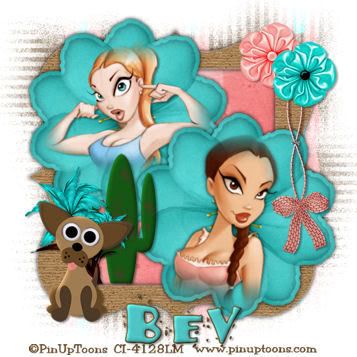
2 tubes of choice – I'm using the artwork of PinUpToons
which you can purchase here
Font of choice - I'm using Burrito here
Weescotlass Mask 81 here
"Chi Chihuahua" PTU taggers kit by Southern Scrapz which can be found here.

This tutorial was written assuming you have working knowledge of PSP.

~♥~ Let’s get started ~♥~

Open a 600 X 600 transparent canvas. Flood fill white.

Copy and paste ChiChi 9 as a new layer. Click in the middle with your Magic Wand. Selections/Modify/Expand by 6.

Copy and paste a paper of choice as a new layer beneath the frame. Selections/Invert. Hit the delete key. Close out your white canvas. Merge Visible.

Copy and paste ChiChi 40 as a new layer. Select All/Float/Defloat/Contract by 7. New Raster layer.
Effects/3D Effects/Cutout. Use these settings:
H & V: 3
Opacity and Blur: 25
Color: Black
Ok
New Raster layer and repeat the above step accept chance the H & V to -3.

Copy and paste a feathered tube as a new layer just above the flower. Position it in the center. Invert. Hit the delete key. Deselect. Close out the frame layer and your white canvas. Merge visible.

Copy and paste the same flower as a new layer and repeat the above steps using your other tube. Move both flowers into position. See my tag for reference.

Copy and paste ChiChi 35 as a new layer. Resize 40% and move to hang on the right side of the frame.

Copy and paste ChiChi 14 as a new layer. Resize 50%. Move to the top right corner of your frame.

Copy and paste ChiChi 13 as a new layer. Resize 50%. Move into position near the other flower.

Copy and paste ChiChi 5 as a new layer. Resize 50%. Move to the bottom left corner of your frame. Give it a small inner bevel:
Bevel: 2
Width: 3
Smoothness: 35
Depth: 2
Ambiance: -8
Shininess: 10
Color: white
Angle: 315
Intensity: 75
Elevation: 20
OK

Copy and paste ChiChi 7 as a new layer behind the dog. Resize 50% and give the same inner bevel. Move into position. See my tag for reference.

Copy and paste ChiChi 30 as a new layer behind the dog. Resize 50%. Move into position. See my tag for refence.

Highlight your white canvas. New Raster layer. Copy and paste Into Selection a paper of your choice. I used paper 6. Apply the mask. Merge Group.

Add your copyrights.

Add your name. Give it the same inner bevel.

I hope you enjoyed this tutorial.
I would love to see your results.
Email me!

Hugs,
Bev

Margarita Ville

Photobucket
Supplies Needed

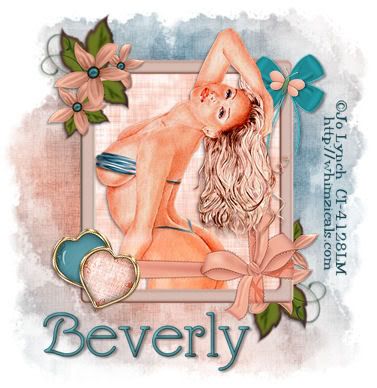
1 tube of choice – I'm using the artwork of Jo Lynch
which you can purchase here
Font of choice - I'm using MargaritaVille here
Mask of Choice – I’m using Becky Mask 22
Filters Unlimited 2 (optional)
"Butterfly Effect" PTU kit by Eclipse of Jaded Delusions and can be purchased in her store Pink Krush.
I just adore the delicacy of this kit!

This tutorial was written assuming you have working knowledge of PSP.

~♥~ Let’s get started ~♥~

Open a 600 X 600 transparent canvas. Flood fill white.

Copy and paste Frame 4 as a new layer. Resize 50%. I used my Target Brush and lightly colored the frame. Use your magic wand and click inside of it.

Copy and paste a paper of choice as a new layer. Select/Invert. Delete. Apply Filters Unlimited 2/Paper Texture/Papyrus
Use Default settings.

Copy and paste your tube as a new layer.

Copy and paste Multi Bloom 3 as a new layer. Resize 60%. Free rotate right 75 degrees. Position near the top left corner of your frame. Duplicate and position behind the right corner of the frame. See my tag for reference.

Copy and paste any Heart Brad of choice as a new layer. Resize 25%. Free rotate left 15 degrees. Position near the bottom left corner of your frame.

Copy and paste another Heart Brad of choice as a new layer. Resize 25%. Free rotate right 15 degrees. Position near the bottom left corner of your frame.

Copy and paste Bow 5 as a new layer. Resize 25%. Position near the top right corner of your frame.

Copy and paste Butterfly 3 as a new layer. Resize 25%. Again at 80%. And again at 80%. Free rotate right 20 degrees. Adjust/Sharpness until the butterfly isn’t so blurry. Position over the top of your bow.

Close out all layers accept for your white canvas. New Raster Layer. Using your paintbrush on size setting of your choice, color your entire canvas on the diagonal with 3 shades of color that are complimentary to your tube.
Adjust/Blur/Gaussian Blur
Radius: 20

Filters Unlimited 2/Paper Textures/Papyrus
Default settings. Apply the mask. Merge group. Open up all layers. Crop Image.

Add your copyrights.

Add your name. I added a slight bevel to mine:
Bevel: 2
Width: 3
Smoothness: 35
Depth: 2
Ambience: -8
Shininess: 10
Color: white
Intensity: 75
Elevation: 20

I hope you enjoyed this tutorial.
I would love to see your results.
Email me!

Hugs,
Bev

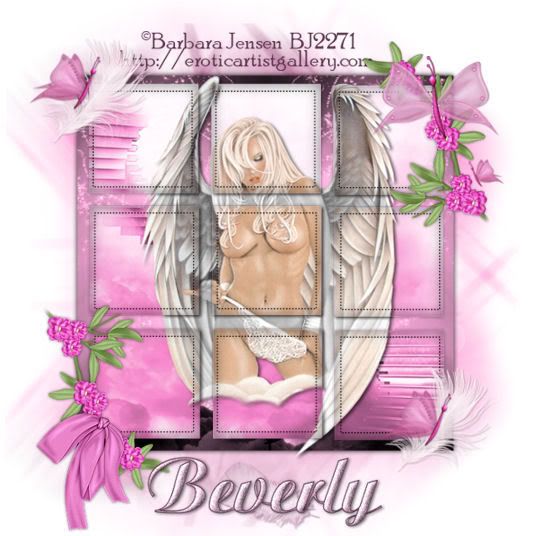
Heaven

Photobucket


Supplies Needed

1 Tube of choice – I'm using the artwork of Barbera Jensen
which you can purchase here
Font of choice - I'm using Agnes here
Mask of choice
Template by Rebel Chick here. Be sure to leave some love when you download.
"Wings ‘n Blings" a FTU kit by Rebel Chick which can be found here.
Please leave a Thank You when downloading. It's a small gesture for hard work given freely.
This kit is stunning and beautiful!

This tutorial was written assuming you have working knowledge of PSP.

~♥~ Let’s get started ~♥~

Open up the template. Shift + D to duplicate and close out the original. Delete Rasters 3 and 2. Highlight Raster 1. Image/Canvas Size. Make it 700 x 700. Flood fill the layer white.

Highlight the large square. Select All/Float/Defloat. Copy and paste a paper of choice. Resize 70%. Invert. Hit the delete key. Delete the template layer. Rename Large Square Background.

Highlight Top Squares layer. Select All/Float/Defloat.

Copy and paste Paper 23 as a new layer. Resize 70%. It’s important you don’t move the layer. Select/Invert. Hit the delete key. Deselect. Delete the template layer. Rename Top Squares

Highlight Middle Squares layer. Select All/Float/Defloat. Paste Paper 23 as a new layer again. Resize 70%. Select/Invert. Hit the delete key. Rename Middle Squares.

Repeat the above step with the Bottom Squares layer and rename Bottom Squares.

This next step is optional to do to each square layer.
Select All/Float/Defloat. New Raster Layer. Effects/3D Effects/Cutout.
H & V: 3
Opacity and Blur: 35
Color: black
OK
Repeat above step accept change H & V to -3. Deselect. Rename each layer Shadow Top Squares, Shadow Middle Squares, Shadow Bottom Squares.

***You’ll need to really follow the rest of the directions carefully***

Copy and paste your tube as a new layer at the very top in your layer pallet. It’s important that you position it exactly where you want it to be when once your tag is complete. Once you’re happy where it is move the layer in your layer pallet just above your Large Square Background layer.

Duplicate and move it just above your Top Squares layer. Highlight your Top Squares layer. Select/Float/Defloat/Invert. Highlight your duplicated tube layer and hit the delete key.

Highlight your Original tube layer that is just above your Large Square Background and duplicate. Move the duplicated layer just above your Middle Square layer and repeat the above step.

Repeat all of the above for the Bottom Square Layer.

Highlight your original tube layer once again that’s just above your Large Square Background. Adjust/Hue & Saturation/Colorize.
Change both Hue and Saturation to 0.

Close out your white canvas, Large Background Layer, and Original tube layer that you just turned black and white. Merge visible. Open up all layers.

I hope you’re still with me….hehehe

Copy and paste a flower vine of choice as a new layer and position on the bottom left and top right corner of your image.

Copy and paste a Feather of choice as a new layer and position at the top left corner of your image. Duplicate and move to the bottom right corner of your image.

Copy and paste butterflies of choice as a new layer, resizing to your liking and position where you choose.

Copy and paste a bow of choice as a new layer. Resize 50% and position at the bottom left corner of your image.

Highlight your white canvas. New Raster Layer. Copy and paste a paper of choice Into Selection. Apply your mask. Merge Group.

Add your copyrights.

Add your name.

Crop if need be and resize all layers if you like.

I hope you enjoyed this tutorial.
If so, leave me a note on “Over the Fence” – would love to hear from you!
I would love to see your results.
Email me!

Hugs,
Bev

Monday, February 23, 2009

After Dusk

Photobucket
Supplies Needed

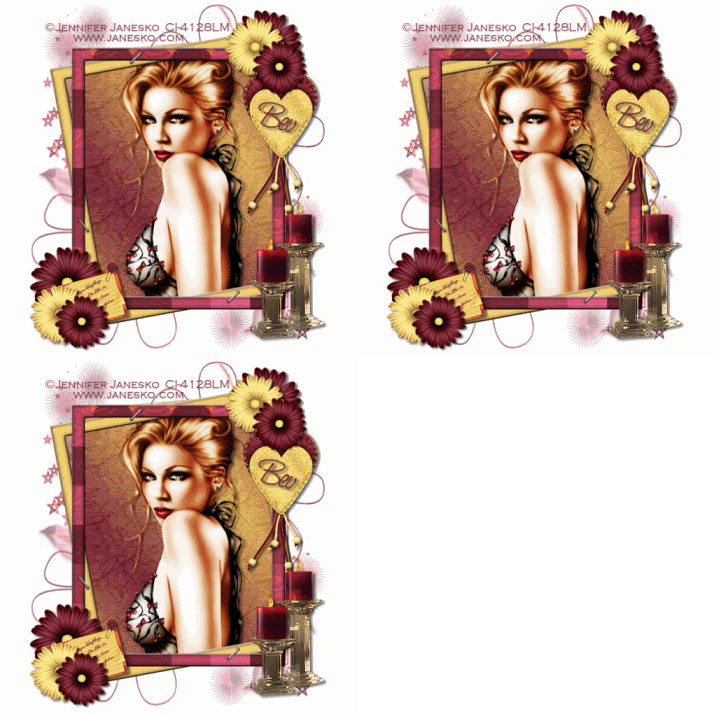
1 Tube of choice – I'm using the artwork of Jennifer Janesko
which you can purchase here
Font of choice - I'm using Saginaw here
Zuzzanna Mask 34 here
A brush of choice with words here
Filters Unlimited 2.0 (optional)
DSB Flux/Bright Noise (optional)
Eyecandy 5 Nature (optional)
Animation Shop (optional)
"After Dusk" a PTU taggers kit by Julie of Bits ‘n Bobs which can be found on her blog here.
What a fabulous kit, Julie! Thank you!!

This tutorial was written assuming you have knowledge of PSP.

~♥~ Let’s get started ~♥~

Open a 600 x 600 image. Flood fill white.

Copy and paste Frame 2 as a new layer. Use your Freehand Selection Tool and outline the frame. Be sure you follow the outer edges and not just one frame.

New Raster Layer. Create a gradient of your choice. Flood fill.
Adjust/Blur/Gaussian Blur
Radius: 20
Filters Unlimited 2 – Paper Texture/Japanese Paper
Use Default settings.

Copy and paste your tube as a new layer. Deselect. Close outyour white canvas and merge visible. Open your white canvas back up.

Copy and paste Flower 3 as a new layer. Resize 50%. Position near the bottom left corner of your frame. See my tag for reference.

Copy and paste Flower 1 as a new layer. Resize 40%. Position near the other flower.

Duplicate Flower 3 and resize 70%. Move into position.

Copy and paste Journal as a new layer. Resize 20%. Free rotate left 15 degrees.

New Raster Layer. Apply your brush. Free rotate left 15 degrees and resize to fit on the journal. Merge down.

Copy and paste Charm 4 as a new layer. Resize 50% and move near the top right corner of your frame. Use your Freehand Selection Tool and outline the hearts. Duplicate 2 times for a total of 3. Rename the layers Charm 1, Charm 2, and Charm 3. Highlight Charm 1 and apply the DSB Flux/Bright Noise plug in with these settings:
Intensity: 25
Click Ok
Highlight Charm 2 and apply the same accept hit the Mix button twice. Highlight Charm 3 and hit the Mix button three times. Close out Charm 3. Reopen Charm 1.

Duplicate the flowers you have on the bottom left corner of your frame and position them where you like at the top right corner of your frame.

Copy and paste Candle 3 as a new layer. Resize 60%. Use your Freehand Selection Tool and outline the flame on each candle. Hit the delete key. Duplicate twice for a total of 3. Rename Candle 1, Candle 2, Candle 3. Highlight Candle 1 and apply EyeCandy 5 Nature/Fire with the following settings:
Fire direction: 97
Flame Width: 83
Expansion: -8
Waver: 0
Turbulence: 25
Flame Intensity: 100
Soften Edges: 20
Random Seed: 2450
OK

Close out Candle 1. Open up Candle 2 and apply the same fire settings accept hit the random seed buttom once. Repeat the same for Candle 3. Close out Candle 3 and reopen Candle 1.

Highlight your white canvas. New Raster Layer. Select All. Copy and paste a paper of choice Into Selection. Deselect. Apply the mask. Merge Group. Use your Deform tool and move the sides of the mask in. See my tag for reference.

Add your copyrights.

Add your name, free rotating 15 degrees to the right and positioning over the heart.

Time to animate. We’re almost done!

Copy Merge and carry into Animation Shop. Paste as New Animation. Go back into PSP. Close out Charm layer 1 and Candle layer 1. Open up Charm 2 and Candle 2. Copy Merge. Carry into AS. Edit/Paste after current frame. Go back into PSP. Close out Charm layer 2 and Candle layer 2. Open up Charm layer 3 and Candle layer 3. Copy Merge. Carry into AS. Edit/Paste after current frame.

Highlight the first frame and then press Alt + A to highlight all frames. Click on Animation/Frame Properties.
Change display time to 15.

If you’d like to resize your animated tag then click on Animation/Resize Animation. Click on Percentage of Original. Highlight the width number and change to 85. The height number should change to the same automatically. Click Ok and save your animation.

I hope you enjoyed this tutorial.
I would love to see your results.
Email me!

Hugs,
Bev