Supplies
1 tube of choice - I’m using the beautiful artwork of Gennadiy Koufay here
Font of Choice - I’m using Nadall here
Becky Mask 22 here
Designs by Ali Template 177 here
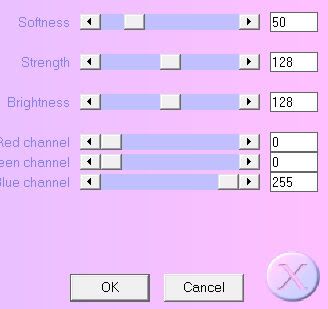
Xero: Porcelain
“Sea Mist” is a PTU tagger size scrap kit created by Shelly of KairinaKat Kreations and can be purchased from Scraps with Attitude. You can visit Shelly’s blog here.
Thank you Shelly for a kit that really made me homesick for the beaches in Ft. Pierce where I grew up...where I call home.
This tutorial was written assuming you have a working knowledge of PSP.
~♥~ Let’s get started ~♥~
Open up the template.
Shift + D
Close out the original.
Delete raster layers 7, 5, and 6.
Highlight Raster 1.
Image/Canvas Size
700 X 700
OK
Flood fill white.
Highlight Raster 2 layer.
Use your Magic Wand and click on the template.
Copy and paste Paper 4 as a new layer.
Resize 70%
Selections/Invert
Tap the delete key.
Deselect.
Highlight Raster 3 layer.
Use your Magic Wand and click on the template.
Copy and paste Paper 3 as a new layer.
Resize 70%
Selections/Invert
Tap the delete key.
DO NOT DESELECT.
Delete the template layer.
Copy and paste your tube as a new layer.
Position over rectangle - resize your tube larger if you have to.
Tap the delete key.
Change the Properties to Multiply.
Apply Xerox - Porcelain:

Highlight Raster 4 layer.
Use your Magic Wand and click on it.
New Raster layer.
Copy and paste Paper 9 Into Selection.
Deselect.
Delete the template layer.
Highlight Copy of Raster 4 layer.
Repeat the above step.
Copy and paste your tube as a new layer.
Add your embellishments. I used:
37: Resize 40%
17: Resize 30%
44: Resize 25% and 30%
33: Resize 50% Free rotate right 20 degrees. Duplicate/Mirror
15: Resize 30% Free rotate right 20 degrees
14: Resize 25% Free rotate left 20 dgrees
74: Resize 60%
Highlight your white background.
New Raster layer.
Select All.
Copy and paste a paper of choice Into Selection.
Deselect.
Apply the Mask.
Merge Group.
Add your copyrights.
Add your name.
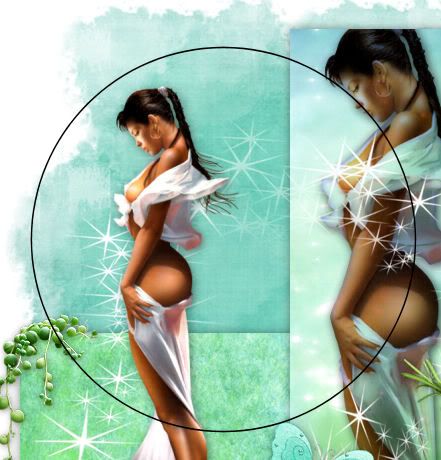
I used the Ellipse Tool set on Circle and made a circle on my canvas:

Make your Text tool active and move your curser along the curve of the circle where you want your name until you see a rocking A.
Click your mouse.
The text box will appear.
Type your name.
OK
In your layer’s pallet click on the plus sign.
Close out the New Ellipse layer by clicking on the eye.
Now highlight the top layer where your name is and convert to a raster layer.
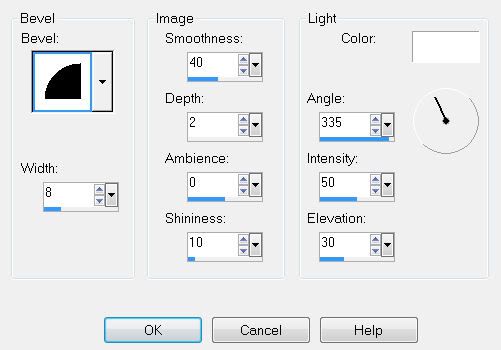
Give it an inner bevel:

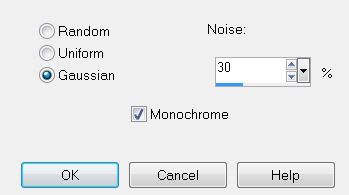
Apply some Noise:

Resize all layers 80%.
I hope you enjoyed this tutorial.
I’d love to see your results and show it off in my gallery.
Email me!
Hugs,
Bev


No comments:
Post a Comment