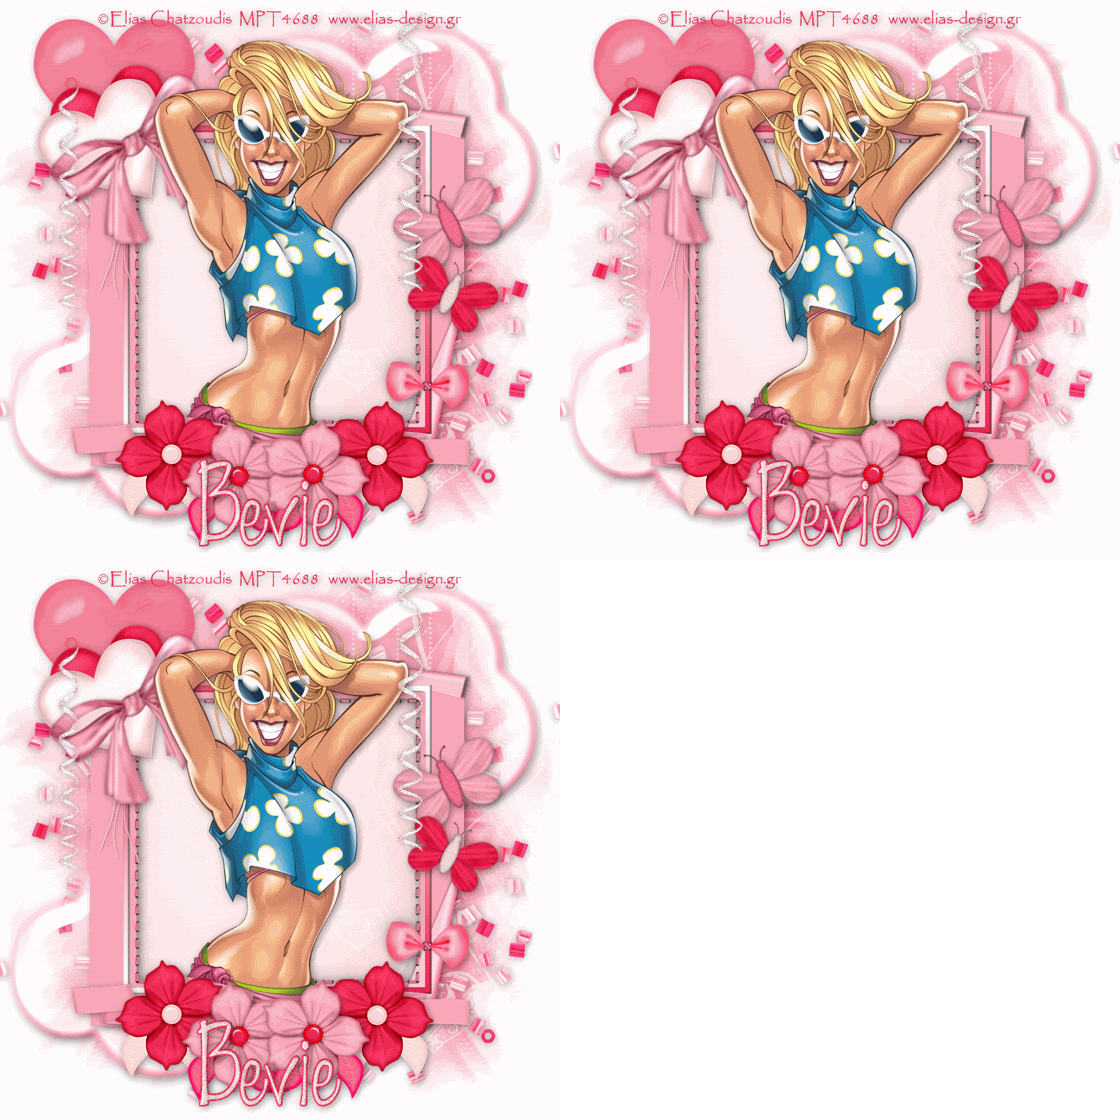
Supplies
1 tube of choice - I’m using the wonderful artwork of Elias Chatzoudis which you can purchase here.
Font of Choice - Fabulous 50s but I can’t seem to find a link for it.
Weescotlass Mask 249 here
DSB Flux - Bright Noise
Animation Shop
“Boop-Licious” is a PTU tagger size scrap kit created by Tina of Tina’s Magic Scrap World and can be purchased at Just 4 Taggers.
Thank you Tina for such a fun-filled kit!
This tutorial was written assuming you have a working knowledge of PSP.
~♥~ Let’s get started ~♥
Open up a 700 X 700 blank canvas.
Flood fill white.
Copy and paste Bow Frame 1 as a new layer.
Resize 80%.
Use your Magic Wand and click inside the frame.
Selections/Modify/Expand by 6.
New Raster layer below the frame.
Copy and paste a paper of choice Into Selection.
Deselect.
Copy and paste your tube as a new layer.
Add your embellishments. I used:
Cloud 1
Beads 2
Balloon 1: Resize 80%
Double Heart 2: Resize 50% Free rotate left 25 degrees
Butterfly 4: Resize 30% Free rotate left 25 degrees
Butterfly 3: Resize 25% Free rotate right 25 degrees
Folded Ribbon 1: Resize 80%
Flowers 1 & 2: Resize 35%
Copy and paste Streamer 4: Resize 60%/Duplicate
Merge visible both Streamer layers.
Duplicate twice for a total of 3 streamer layers.
Rename them Streamer 1, 2, and 3.
Highlight Streamer 1 layer.
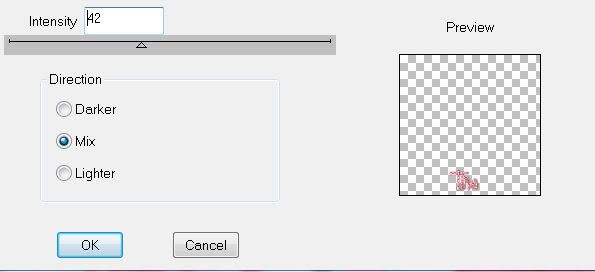
Apply DSB Flux - Bright Noise:
Highlight Streamer 2 layer.
Apply Bright Noise effect again accept hit the mix button twice.
Highlight Streamer 3 layer.
Apply Bright Noise effect again accept hit the mix button three times.
Close out Streamer 2 & 3.
Keep streamer 1 open.
Highlight your white background.
New Raster layer.
Select All.
Copy and paste a paper of choice Into Selection.
Deselect.
Apply the mask.
Resize 120%
Merge Group.
Add your copyrights.
Add your name.
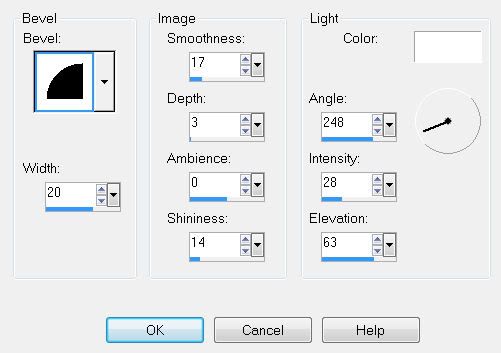
Give it a slight inner bevel:
Duplicate your name layer twice for a total of 3 name layers.
Rename them Name 1, 2, and 3.
Highlight Name 1 layer and the Bright Noise effect:
Same settings as before.
Highlight Name 2 layer and apply the same Bright Noise accept hit the mix button twice.
Highlight Name 3 layer and apply the same Bright Noise accept hit the mix button three times.
Close out Name 2 & 3 layers.
Keep open Name 1 layer.
Resizes all layers 80%.
Copy Merge.
~ Time to Animate ~
Open up Animation Shop
Edit/Paste/As New Animation.
Back into PSP.
Close out Streamer 1 layer and open up Stream 2 layer.
Close out Name 1 layer and open up Name 2 layer.
Copy Merge.
Carry into AS.
Edit/Paste/After Current Frame.
Back into PSP.
Close out Streamer 2 layer and open up Stream 3 layer.
Close out Name 2 layer and open up Name 3 layer.
Copy Merge.
Carry into AS.
Edit/Paste/After Current Frame.
View your animation.
If you’re happy with it then save.
I hope you enjoyed this tutorial.
I’d love to see your results and show it off in my Show Arena.
Email me!
Hugs,
Bev

No comments:
Post a Comment