
 Clicking on the image will enlarge for bigger view.
Supplies
1 tube of choice - I’m using the artwork of Amy Mathews which you can purchase at AMI.
Font of Choice - I’m using Brush Tip Terrence here
Becky Mask 22 here
My Template 31 here
“Leafs are Falling” is a PTU tagger size scrap kit created by Rieneke Designs and can be purchased as Scraps with Attitude.
You can visit her blog here.
Thank you Rieneke for a festive Autumn kit!
Thank you Rieneke for a festive Autumn kit!
This tutorial was written assuming you have a working knowledge of PSP.
~♥~ Let’s get started ~♥~
Open up my template.
Shift + D.
Close out the original.
Delete the credit, bow, and stitches layers.
Highlight the Large Rectangle Layer.
Select All/Float/Defloat
New Raster layer.
Copy and paste a paper of choice Into Selection.
Deselect.
Delete the template layer.
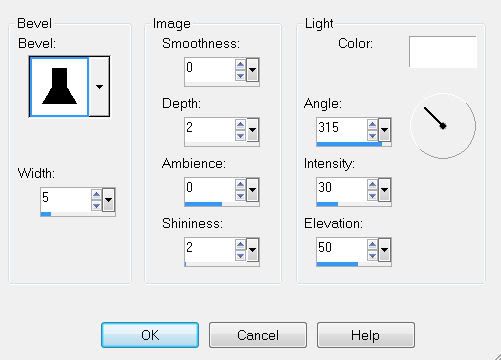
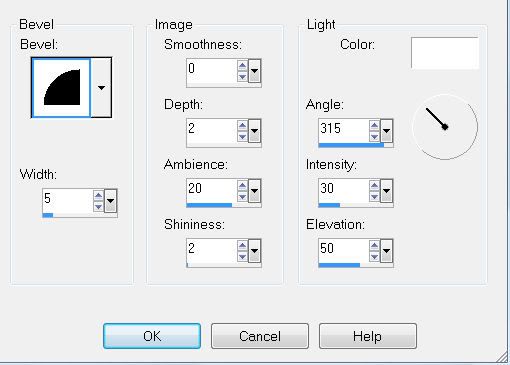
Give it a slight inner bevel:
Highlight the Small Rectangle layer.
Repeat the above step accept use a different paper.
Highlight Oval 2 layer.
Merge down.
Both should be on the same layer now.
Select All/Float/Defloat
New Raster layer.
Create a gradient and flood fill.
DO NOT DESELECT.
Copy and paste your tube of choice and position over one of the ovals.
Selection/Invert
Tap the delete key.
DO NOT DESELECT YET.
Highlight your tube Image.
Mirror.
Copy and paste onto your working canvas as a new layer.
Move into position over the other layer.
Tap the delete key.
DO NOT DESELECT YET.
New Raster layer.
Effect/3D Effects/Cutout
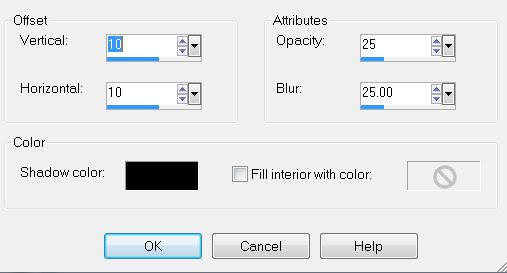
Repeat the above accept change the horizontal and vertical numbers to negative.
Deselect.
Merge visible your gradient and tube layers.
Apply a slight inner bevel:
Copy and paste Eyelet Ribbon 1 as a new layer.
Resize 35%.
Position at the bottom of the small Rectangle.
Duplicate/Mirror/Flip
Position at the top of the small Rectangle.
Close out your white background and merge visible.
Add your embellishments. I used:
Leafs 1: Resize 30%
Acorn: Resize 20%
Acorn 2: Resize 25%. Mirror
Glitter Pear 1: Resize 30%
Glitter Apple 2: Resize 30%. Mirror.
Wrap 1: Resize 30% Free rotate left 45 degrees - erase any that overhangs.
Leafs - copy and pasted in various spots on my tag.
Crop your image but be sure to leave some room at the top and bottom.
Highlight your white background.
New Raster Layer.
Copy and paste paper of choice Into Selection.
Deselect.
Apply the mask.
Merge Group.
Add your copyrights.
Add your name.
I hope you enjoyed this tutorial.
I’d love to see your results and show it off in my Show Arena.
Email me!
Hugs,
Bev
No comments:
Post a Comment