Supplies
1 tube of choice – I’m using the beautiful artwork of Angelica S. which
can be purchased from Scraps and the City. You must have a license to
use.
Font of choice - I used Tribal here
Plug Ins used:
Greg’s Factory Output Vol. II – Pool Shadow
Eyecandy 3.1 - Glow
“Born Free” is a tagger size scrap kit created by Angelica S. and can
be purchased from Scrapsand the City. You can visit her blog
here.
Thank you, Angelica for such a fantastic art kit!
This tutorial was written assuming you have a working knowledge of PSP.
~♥~ Let’s get started ~♥~
Open up a 700 x 700 blank canvas.
Flood fill white.
Copy and paste Element 25 as a new layer.
Resize 85%
Click inside of it with your Magic Wand.
Selections/Modify/Expand by 4.
New Raster layer below the frame.
Copy and paste Paper 4 Into Selection.
Deselect for now.
Copy and paste Element 13 as a new layer below the frame.
Resize 70%
Mirror
Move into position – see my tag for reference.
Highlight the paper layer.
Click anywhere outside of it with your Magic Wand.
Highlight the teepee layer.
Tap the delete key.
Deselect.
Close out your white background.
Merge Visible.
Reopen your white background.
Duplicate the merged layer.
Resize 80%
Don’t worry about placement of either layer yet.
New Raster layer.
Make your Selection Tool active set on Rectangle.
Create a rectangle approximately 275 x 325 pixels.
Copy and paste Paper 9 Into Selection.
New Raster layer.
Copy and paste Paper 11 Into Selection.
Deselect.
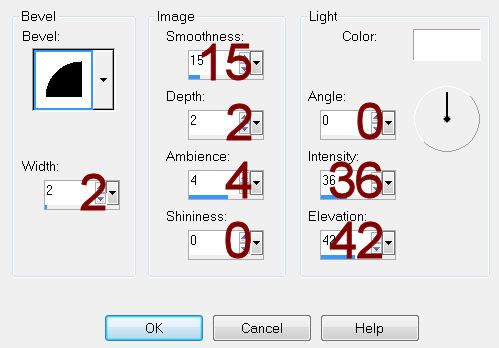
To each paper layer give it a slight Inner Bevel:

Move both merged layer and both paper layers into position – see my tag
for reference.
Open up Paper 3.
Use your Selection tool still set on Rectangle and section out the top
row of print:

Copy.
Make your working canvas active.
Paste as new layer.
Resize 60%
Give it the same slight Inner Bevel.
Move into position – see my tag for reference.
Copy and paste Element 45 as a new layer.
Resize 10%
Make your Pick Tool active and pull down using the tool to make the ribbon
just a tad thinner.
Duplicate 4 times and move them into position so that it looks like the
ribbon runs across the top and bottom of the printed paper.
Copy and paste your tube as a new layer.
If you’re using the same tube as I did, resize 20%/Mirror
Add your elements. I used:
Element 24: Resize 30%/Duplicate
Element 5: Resize 30%/Mirror
Element 12: Resize 40%
Element 26: Resize 40%
Elements 21 & 22: Resize 40%/Place
in front of the frame.
Elements 21 & 22: Resize 50%/Place
behind the rectangles.
Highlight your white background.
New Raster layer.
Select All
Copy and paste Paper 10 Into Selection.
Deselect.
Apply the Mask.
Use your Pick Tool and pull the sides out.
Merge Group
Add your credits.
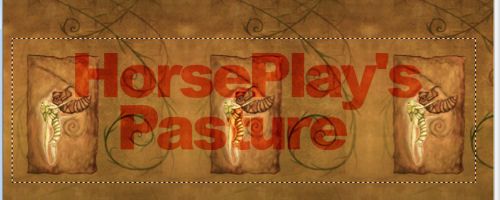
Add your name.
Foreground: #000000
Background: Pattern/Paper 11
Stroke: 1
Type your name.
Convert to Raster layer.
Select All/Float/Defloat
Selection/Modify/Contract by 1.
Apply Greg’s Factory Output Vol. II – Pool Shadow:
Use Default Settings accept raise the Intensity bar to 185
OK
Deselect.
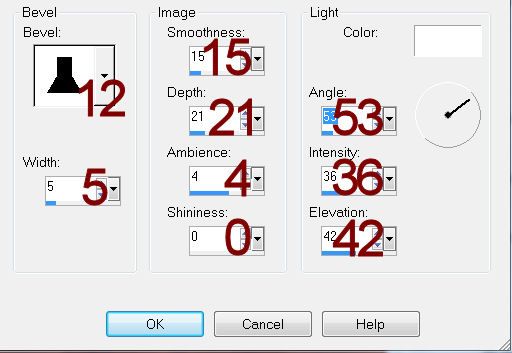
Give it a slight Inner Bevel:

Deselect.
Apply Eyecandy 3.1 – Glow:
Width: 3
Opacity: 100
Opacity Drop Off: Fat
Color: #5eb6db
OK
Resize all layers 80%.


No comments:
Post a Comment