
Supplies
1 tube of choice - I used the artwork of Jennifer Janesko which can now be purchased from CDO. You must have a license to use.
Font of choice - I used CAC Shishoni Brush here
Gem Mark 161 here
Divine Intentionz Template 313 here
“Autumn Wonderland” is a scrap kit created by Heppy of HF Projekte and can be purchased from his store Inspirations of Scrap Friends. You can visit his blog here.
Thank you for another fantastic kit!
This tutorial was written assuming you have a working knowledge of PSP.
~♥~ Let’s get started ~♥~
Open up the template
Shift + D.
Close out the original.
Delete the top 2 layers.
Image/Canvas Size
700 x 650
OK
Open up the background layer.
Flood fill white.
Open up Paper 2.
Mirror
Copy
Make your working canvas active.
Highlight Small Circle 1 layer.
Click on it with your Magic Wand.
New Raster layer.
Paste Into Selection.
Deselect.
Delete the template layer.
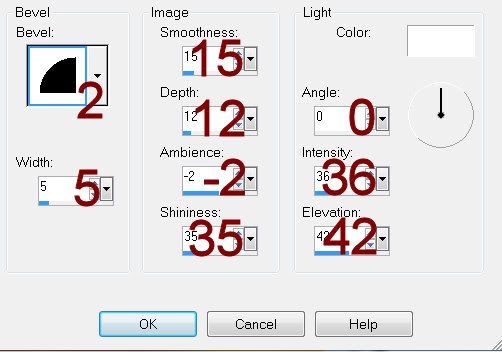
Give it a slight Inner Bevel:
Highlight Small Circle 2 layer.
Repeat the above step.
Highlight Square 1 layer.
Click anywhere outside of it with your Magic Wand.
Copy and paste Paper 10 as a new layer.
Resize 50%
Move into a position you like.
Tap the delete key.
Deselect.
Delete the template layer.
Give it a slight Inner Bevel:
Highlight Square 2 layer.
Repeat the above step.
Highlight Glittered Circle layer.
Click anywhere outside of it with your Magic Wand.
Selections/Invert
New Raster layer.
Copy and paste Paper 7 Into Selection.
Deselect.
Delete the template layer.
Give it the same slight Inner Bevel.
Highlight Glittered Rectangle.
Repeat the above step.
Highlight Frame layer.
Select All/Float/Defloat
New Raster layer.
Paste Paper 7 Into Selection.
Deselect.
Delete the template layer.
Give it the same slight Inner Bevel.
Highlight Large Circle 1 layer.
Click on it with your Magic Wand.
New Raster layer.
Copy and paste Paper 10 Into Selection.
Deselect.
Delete the template layer.
Highlight Rectangle layer.
Repeat the above step.
Highlight Large Circle 2 layer.
Click on it with your Magic Wand.
New Raster layer.
Copy and paste Paper 8 Into Selection.
Deselect.
Delete the template layer.
Highlight Background Frame.
Click on it with your Magic Wand.
New Raster layer.
Copy and paste Paper 1 Into Selection.
Copy and paste your tube above the paper.
Selections/Invert
Tap the delete key.
Deselect.
Delete the template layer.
Add your elements. I used:
5: Resize 50%/Erase what overhangs the circle. It doesn’t have to be very neat as you have another element that covers the trunk.
25: Resize 25%
9: Resize 25%/Free rotate Left 15 degrees/Duplicate/Mirror
4: Resize 35%
31: Resize 15%
30: Resize 25%
Highlight your white canvas.
New Raster layer.
Select All.
Copy and paste Paper 3 Into Selection.
Deselect.
Apply the mask.
Merge Group.
Add your copyrights.
Add your name.
Open up Element 9
Use your Selection Tool and section off an area of a leaf.
Color Pallet:
Foreground: #000000
Background: Pattern/Find the area of the leaf you sectioned off
Stroke: 1.0
Type your name.
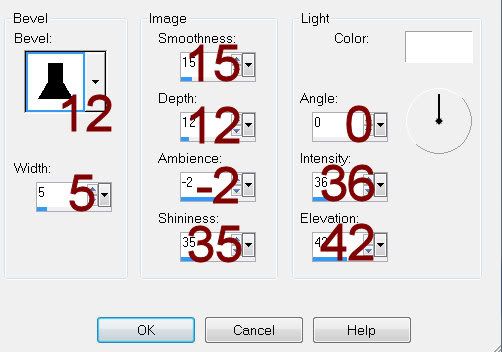
Give it the first Inner Bevel you used in this tutorial.
Resize all layers 80%.
I hope you enjoyed this tutorial.
I’d love to see your results and show it off in my gallery.
Email me!
Hugs,
Bev
No comments:
Post a Comment