
Supplies
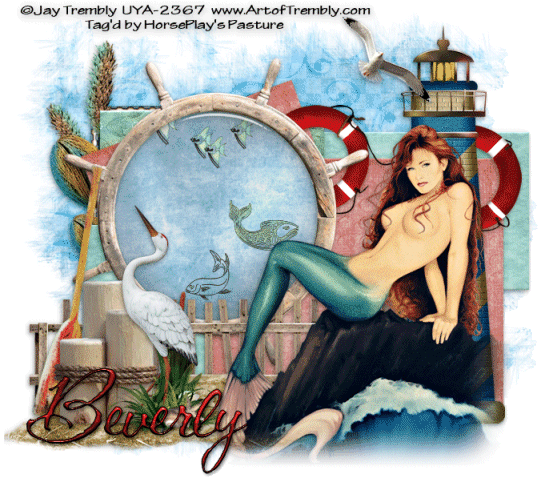
1 tube of choice - I used the artwork of Jay Trembly which can be purchased from Up Your Art You must obtain a license to use.
Font and Ding of Choice - I used WM Aquatic 1 here and CAC Shishoni Brush here
Weescotlass Mask 297 here
Greg’s Factory Output Vol. II - Pool Shadow
Animation Shop - Optional
“My Summer Dream” is a PTU scrap kit created by Artmama Made and can be purchased from her store at Exquisite Scraps. You can visit her blog here.
Thank you Artmama for such a stunning summer kit. I thoroughly enjoyed using this one!
This tutorial was written assuming you have a working knowledge of PSP.
~♥~ Let’s get started ~♥~
Open up a 700 x 700 blank canvas.
Flood fill white.
First we’re going to make all the shape layers
Make your Selection Tool active set on Rectangle.
Make a rectangle approximately 425 x 200.
New Raster layer.
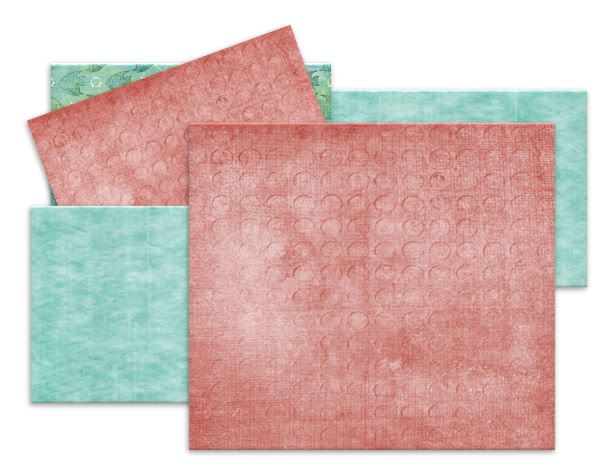
Copy and paste Paper 4 Into Selection.
Deselect.
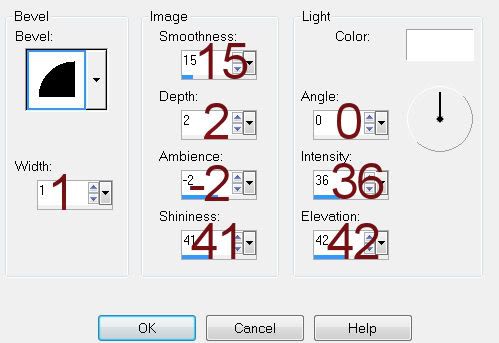
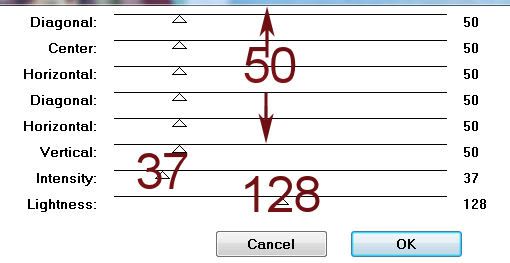
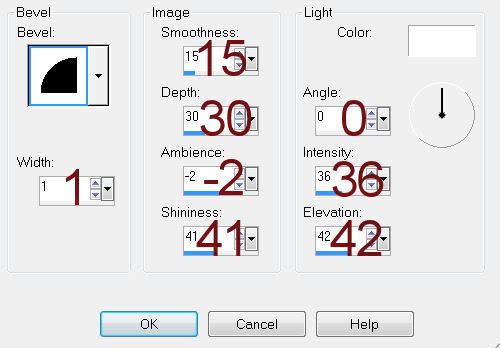
Give it a slight Inner Bevel:
Duplicate
Move both shapes into position:
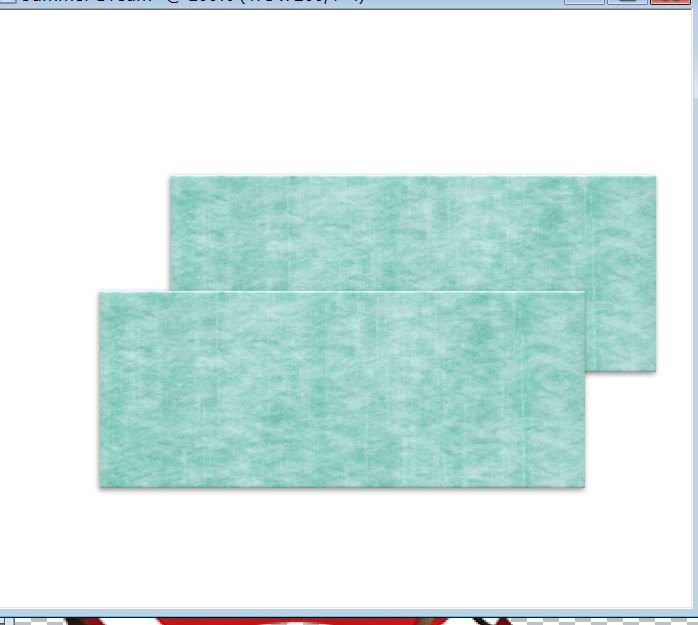
Copy and paste Paper 5 as a new layer.
Resize 35%
Give it the same Inner Bevel and move into position:

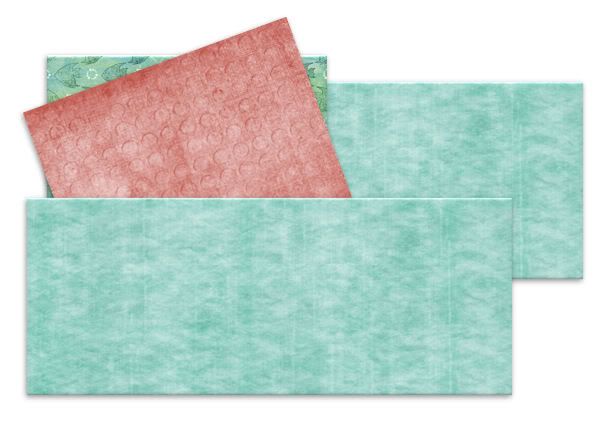
Copy and paste Paper 8 as a new layer.
Resize 35%
Give it the same Inner Bevel.
Free rotate Left 20 degrees
Move into position:
Make your Selection Tool active again - still set on Rectangle.
Make a rectangle approximately 350 x 325.
New Raster layer.
Copy and paste Paper 8 Into Selection.
Deselect.
Give it the same Inner Bevel.
Move into position:
Copy and paste Embellie 5 as a new layer.
Resize 60%
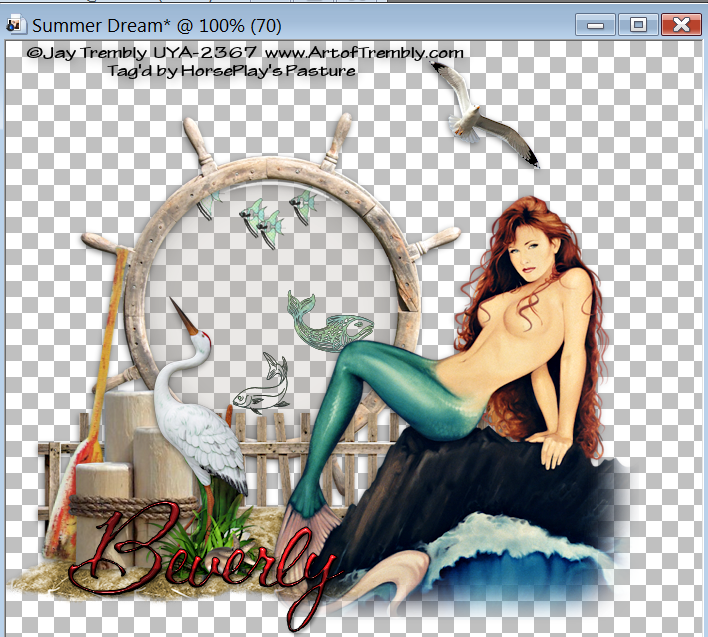
Move into position - see my tag for reference.
Copy and paste your tube as a new layer.
Move both your tube and Embellie 5 into their exact positions.
Highlight Embellie 5 layer.
Use your Freehand Selection Tool and outline the glass - keeping the selection line in the center of the wood frame as you work your way around it.
New Raster layer below the frame.
Copy and paste Paper 3 Into Selection.
Apply Greg’s Factory Output Vol. II - Pool Shadow:
Deselect.
In your color pallet:
Foreground: #000000
Background: Pattern/Paper 5 from the kit
Stroke set at .3
Make your Text tool active using WM Aquatic 1 ding font, type out whichever fish and the size you want.
Tip: Make each fish on it’s own layer so that you can move into positions of your choice. On all of my fish I duplicated each fish layer/merged down and applied the Pool Shadow effect - toying around with the intensity bar to get the shimmered color.
Once you have all the fish you want merge visible all fish so that they’re all on one layer. It’ll make things easier for you when you animate the tag.
Copy and paste Embellie 4 as a new layer.
Resize 70%
Move into position just above your white canvas.
Erase all parts of the frame accept for the corner with the embellishments on it.
Add your embellishments. I used:
Embellie 6: Resize 80%
Embellie 11: Resize 60%
Embellie 2: Resize 50%
Embellie 10
Embellie 17
Embellie 33: Free rotate right 10 degrees
Embellie 12
Embellie 43
Highlight your white background.
New Raster layer.
Select All.
Copy and paste Paper 1 Into Selection.
Deselect.
Apply the mask.
Merge Group.
Add your copyrights.
Add your name.
Give it a slight Inner Bevel:
Apply Pool Shadow effect.
Resize all layers 80%.
If you don’t want to animate then save your tag.
~Time to Animate~
Starting at the very top layer in your layers pallet, shut the layers off until you get to the round paper (just below the merged fish layer)
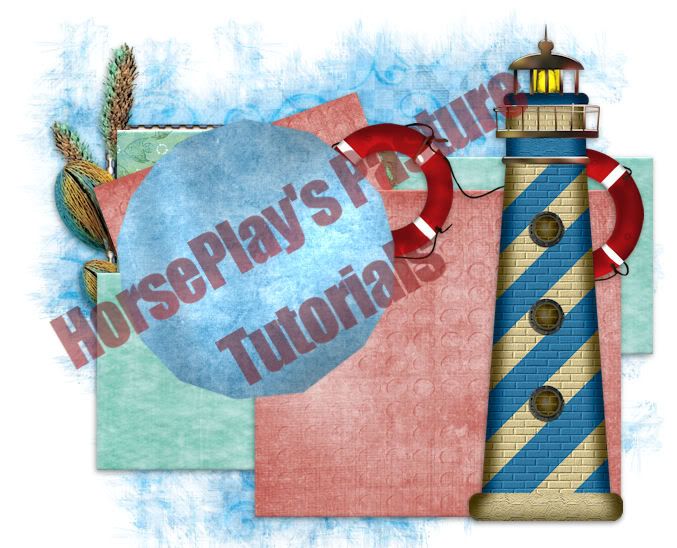
This is what your canvas should look like:
Copy Merged.
Open up AS.
Edit/Paste as New Animation.
Ctrl + L until you have 10 frames.
Back in PSP.
Highlight the round circle paper layer.
Copy
Back in AS
Edit/Paste As New Animation
Effects/Insert Image Effects:
Under Effect choose “Underwater”:
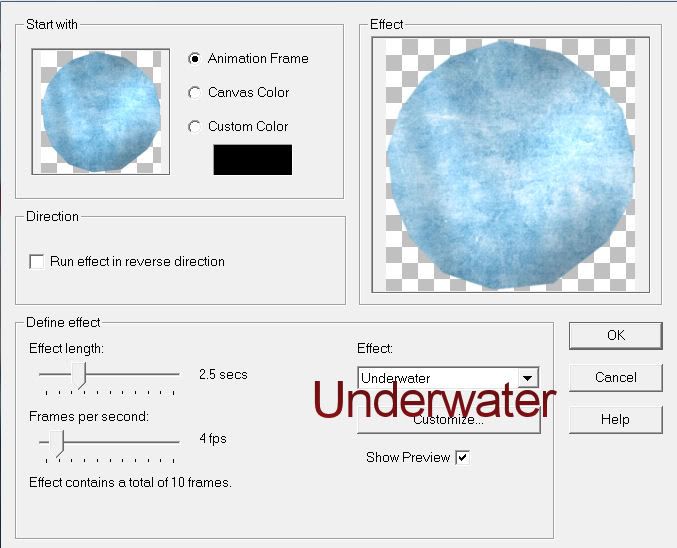
OK
Highlight Frame 1.
Edit/Delete
Ctrl + A (to highlight all frames)
Ctrl + C (to copy all frames)
Make your tag frames active
Ctrl + A
Ctrl + E - position the animated circle over the circle on the tag and click the mouse key to lock it in place.
View your animation so far.
If you like what you see then lets continue.
Back in PSP.
Starting at the very top in your layers pallet click on the eye beside every single layer all the way down to the white canvas.
What you’re doing is opening all the closed layers, closing all the opened layers so that you’ll have something like this:
Edit/Copy Merge.
Carry into AS.
Make sure your tag frames are active.
Ctrl + A
Click the Propagate Paste button at the top (looks like 3 folders with the corners bent)
Ctrl + E
Position your merged layer over your tag into it’s position. Click your mouse button to lock it in place.
View your animation.
If you’re happy then save.
I hope you enjoyed this tutorial.
I’d love to see your results and show it off in my gallery.
Email me!
Hugs,
Bev
No comments:
Post a Comment