Supplies
1 tube and 1 close up of your choice - I used the wonderful artwork of Jamie Kidd at CILM
Font of Choice - I used Impact which came with my pc and Al Sandra here
Monti Circular Mask here
“Spring to the Occassion” is a PTU tagger size scrap kit created by Denise of Lil Country Angel Designs and can be purchased at Lollipops n Gumdrops. You can visit her blog here.
Thank you Denise for such a beautiful kit!
This tutorial was written assuming you have a working knowledge of PSP.
~♥~ Let’s get started ~♥~
Open up a 700 x 700 blank canvas.
Flood fill white.
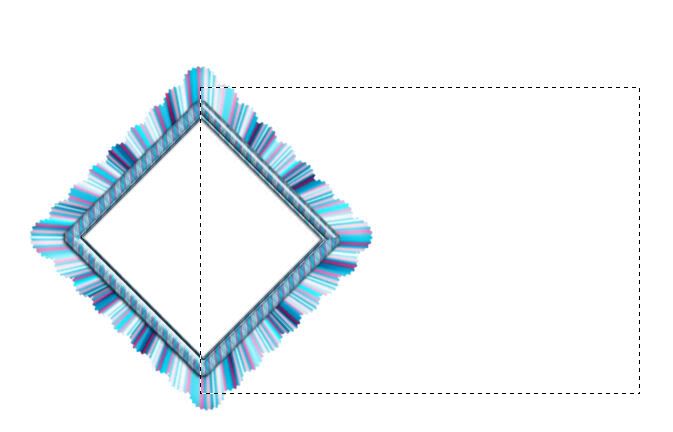
Copy and paste Frame 5 as a new layer.
Resize 50%
Free rotate left 45 degrees
Move into position at the left side of your canvas.
Make your Selection Tool active.
Create a rectangle on your canvas.

New Raster layer below the frame.
Copy and paste a paper of choice Into Selection.
Deselect.
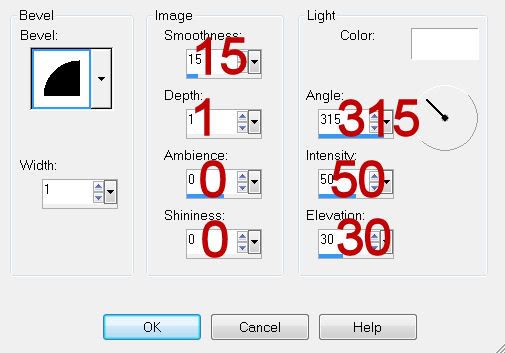
Give it a slight inner bevel:

Highlight the frame.
Click inside of it with your Magic Wand.
Selections/Modify/Expand by 6.
New Raster layer below the frame.
Flood fill with a gradient of your choice.
Copy and paste your close up tube below the frame.
Resize as needed.
Selections/Modify/Feather
Number of Pixels:
23
OK
Selections/Invert
Tap the delete key until your image has a nice feathered look you like.
Deselect.
Change the Properties to Multiply.
Lower the Opacity to about 59 or so.
Close out your white layer and your rectangle layer.
Merge Visible.
Reopen all layers.
Duplicate your merged layer and move it behind the rectangle.
See my tag for reference.
Add your embellishments. I used:
Candle 3: Resize 50%/Duplicate/Mirror/Resize 80%
Bubble 2: Resize 25% and 30%/Duplicate
Hearts 2: Resize 25%/Free rotate left 20 degrees
Flowers 18: Resize 25%/Duplicate/Resize 80%/Free rotate right 15 degrees - position these behind the frame.
Duplicate and resize the flowers as you like and position them in front of the frame.
RHG2 and RHG3: Resize 25% and 80%/Free rotate 15 degrees
Butterfly 3: Resize 25%, 60%, and 80%
Butterfly 5: Resize 25% and 60%
Highlight your white background.
New Raster layer.
Select All.
Copy and paste a paper of choice Into Selection.
Deselect.
Apply the mask.
Resize 110%
Merge Group.
Add your credits.
Add your name.
Type it out using the Impact Font.
Use your Pick Tool to pull the sides out to enlarge.
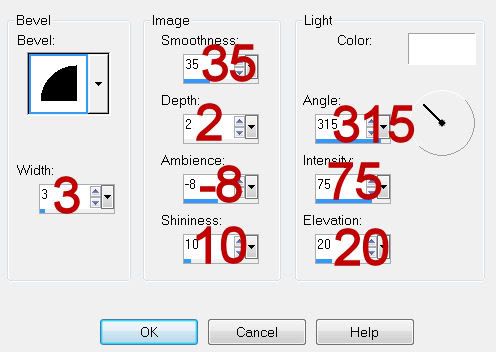
Give it an Inner Bevel.

Type your name again using Al Sandra front.
Use your Pick tool to stretch your name out just a tad.
Give it the same Inner Bevel.
Resize all layers 80%.
I hope you enjoyed this tutorial.
I’d love to see your results and show it off in my gallery.
Email me!
Hugs,
Bev


No comments:
Post a Comment