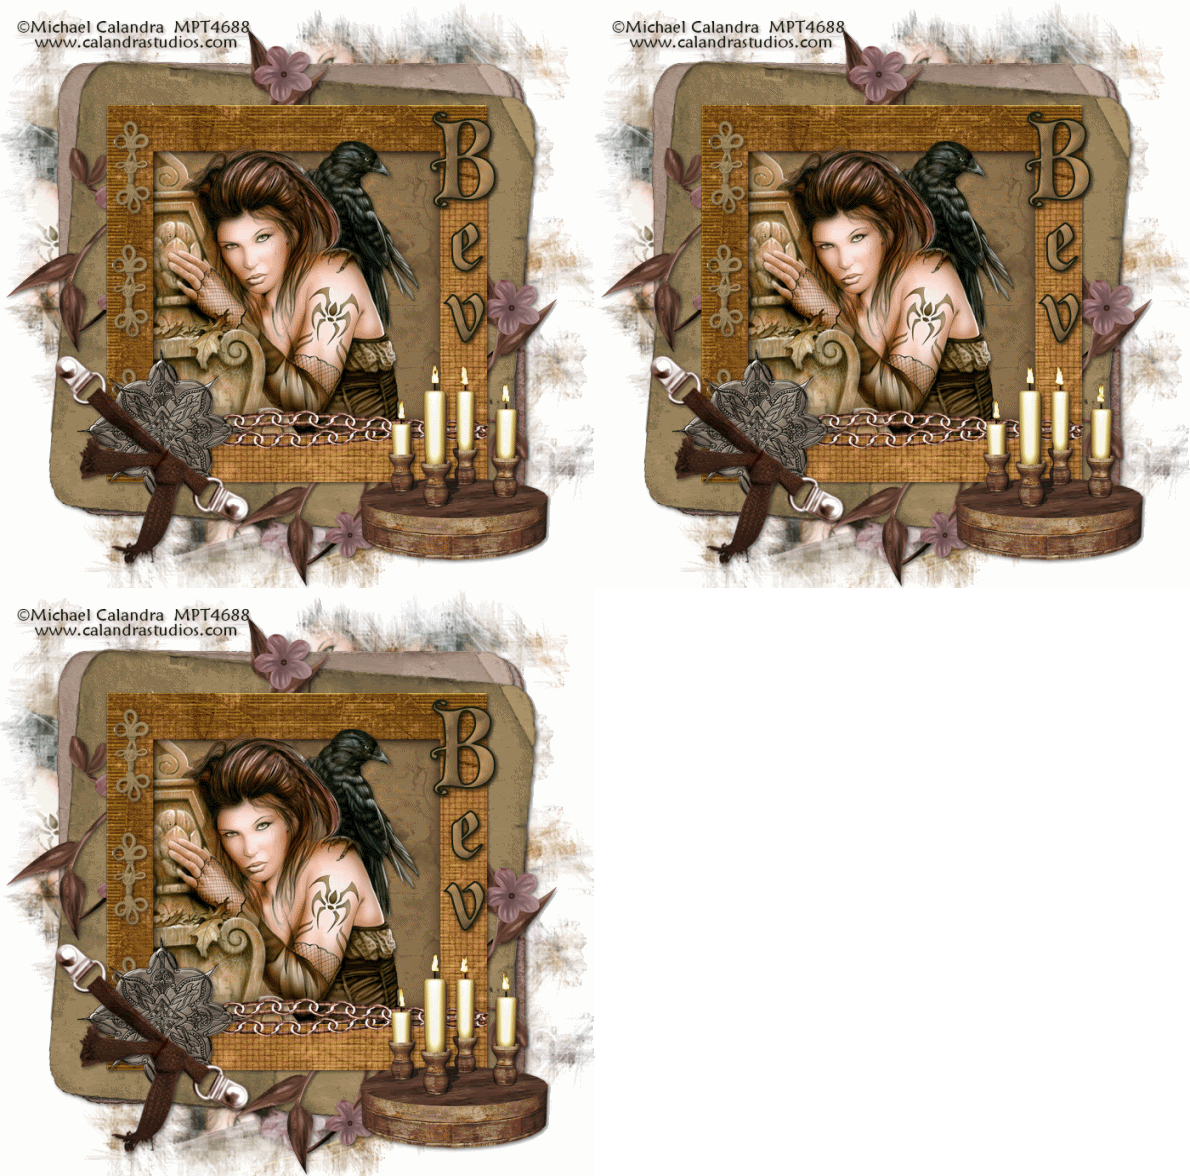
The image below shows the animation.

Supplies
1 tube of choice - I’m using the artwork of Michael Calandra which you can purchase here
Font of Choice - I’m using Malvern here
Weescotlass Mask 297 here
Mura Meister - Copies
Eyecandy 5: Nature - fire
Animation Shop
“Grunge 3” is a FTU tagger size scrap kit created by Distinctively Auri Scraps. It can be downloaded from her blog here. Please be kind and leave a thank you when downloading. It’s a small gesture for hard work given freely.
This tutorial was written assuming you have a working knowledge of PSP.
~♥~ Let’s get started ~♥~
Open up a transparent 700 X 700 canvas.
Flood Fill white.
Copy and paste Frame 3 as a new layer.
Use your Magic Wand and click inside of it.
Selections/Modify/Expand by 6.
Copy and paste a paper of choice below the frame.
Selections/Invert
Hit the delete key.
Deselect.
Copy and paste your tube as a new layer.
Copy and paste a paper of choice just above your white canvas.
Free rotate left 5 degrees.
Copy and paste another paper of choice above that one.
Copy and paste another paper of choice above that one.
Free rotate right degrees.
Add your embellishments. I used:
Clasp 3: Resize 50%
Flower 4
Element 3: Resize 70%
Knot 2: Resize 20% Free rotate 90 degrees
Candle 1 - 60%
Close out your white canvas and the candle.
Merge Visible.
Reopen your white canvas.
Duplicate merged layer.
Duplicate merged layer.
On the original apply Mura Meister Copies
Select Wallpaper (rotate)
Use the default settings.
OK.
Select Wallpaper (rotate)
Use the default settings.
OK.
Apply the mask.
Merge Group.
Resize 110%
Add your copyrights.
Add your name.
Resize all layers 85%.
Duplicate the candle two times for a total of 3.
Rename them Candle 1, 2, and 3.
Highlight Candle 1.
Using your Freehand Selection Tool, above each candle draw a flame.
It doesn’t have to be perfect or exact!!
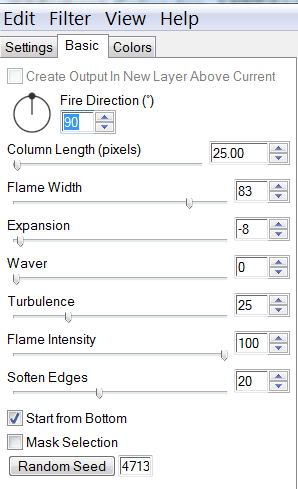
Apply Eyecandy 5: Nature - Fire

Highlight Candle 2 and repeat the Eyecandy plug in accept hit the random seed button once.
Repeat the above step for Candle 3.
Deselect.
Close out Candle layers 2 & 3. Make sure Candle 1 layer is open.
Copy Merge
Time to Animate:
Carry into Animation Shop
Edit/Paste/As New Animation.
Back into PSP.
Close out Candle 1 and open up Candle 2.
Copy Merge
Carry into AS
Edit/Paste/After current Frame.
Back into PSP.
Close out Candle 2 and open up Candle 3.
Copy Merge
Carry into AS
Edit/Paste/After current Frame.
Animation/Frame Properties
Change the display time to 20.
View your animation.
If you like it then save.
I hope you enjoyed this tutorial.
I’d love to see your results and show it off in my Show Arena.
Email me!
Hugs,
Bev


No comments:
Post a Comment