Supplies
1 tube of choice - I’m using the artwork of KatNKDA which you can purchase here
Font of Choice - I’m using XXII Arabian-Onenightstand here
Weescotlass Mask 39 here
Alien Skin - Xenofex 2: Burnt Edges
“Oasos” is a PTU full size scrap kit created by KatNKDA. It can be downloaded from her store NK Art Shop. You can visit Kat’s blog here.
Thank you Kat for another stunning kit!
~♥~ Let’s get started ~♥~
Open up a transparent 700 X 700 canvas.
Flood Fill white.
Copy and paste Element 23 as a new layer.
Resize 35%
Duplicate
Close out Raster 2
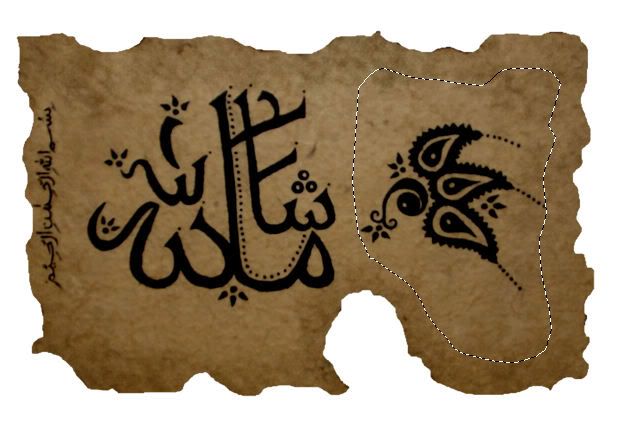
Outline the right side of the element.

Highlight Raster 2
Duplicate
Rename all layers starting at the bottom with the white canvas.
Background
Raster 1
Raster 2
Delete the top layer - you don’t need it any more.
Highlight Raster 2
Tap the delete key
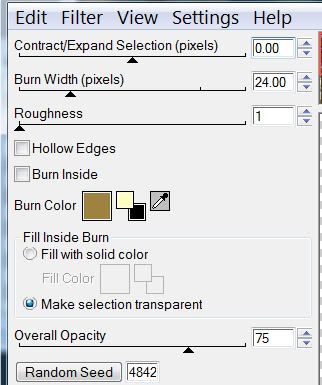
Apply Xenofex 2 - Burnt Edges

You’ll end up with only the center of the page.
Open up Raster 1.
Select None.
With Raster 2 still highlighted
Select All/Float/Defloat
Highlight Raster 1 and use the Eraser Tool to erase the center of the cutout area.
Deselect and carefully erase everything leftover in the center.
Using your Freehand Selection Tool, draw around the cutout. It doesn’t have to be neat.
New Raster layer above your white canvas.
Flood fill with a gradient.
DO NOT DESELECT YET.
Copy and paste your tube above your gradient layer.
I also pasted the camel, too.
Change the Properties to Luminescence.
Close out your white background.
Merge Visible.
Reopen the background.
Make sure your merged layer is highlighted.
Resize 85%
Free rotate right degrees.
Copy and paste your tube as a new layer.
Copy and paste the Camel as a new layer.
Resize 85%.
Add your embellishments. I used:
Elements 13 & 14: Resize 25% & 50%
Element 19: Resize 25% and 50%
Element 28: Resize 40%
Element 37: Resize 25% and 80%
Element 29: Resize 25% and 70%
Highlight your white background.
New Raster Layer.
Copy and paste a paper of choice Into Selection.
Deselect.
Copy and paste Element 34 as a new layer above the paper.
Resize 50%
Merge Down.
Apply the Mask.
In your layer pallet make sure the layer with the mask is highlighted.
Using your Pick Tool and pull all the sides out just a little.
Merge Group.
Add your copyrights.
Add your name.
Resize all layers 85%.
I hope you enjoyed this tutorial.
I’d love to see your results and show it off in my Show Arena.
Email me!
Hugs,
Bev


No comments:
Post a Comment