

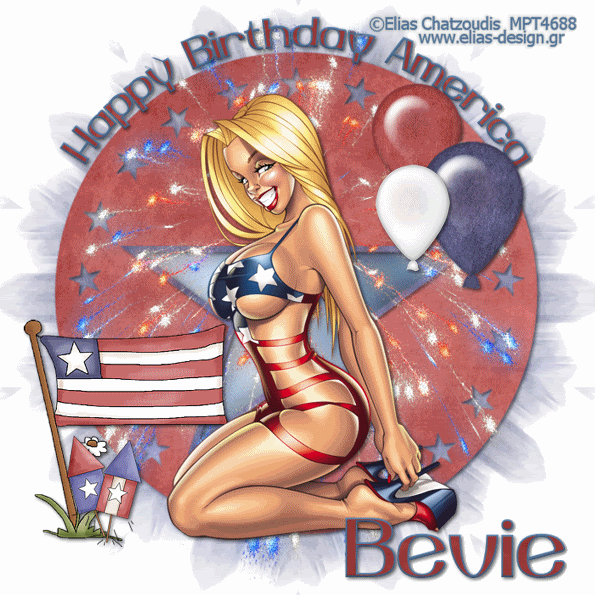
Clicking on the above image will enlarge to full view.
Image below shows the animation.
Clicking on the image will enlarge to full view.
Supplies
1 tube of choice - I’m using the artwork of Elias Chatzoudis which you can purchase here
Font of Choice - Yiggivoo here
Weescotlass Mask 259 here
Divine Intentionz Template #213 here
DSB Flux - Bright Noise Animation Shop
“Happy birthday America” is a PTU tagger size scrap kit created by Designs by Denise and can be purchased here. You can visit her blog here.
Thank you so much Denise for this terrific birthday kit!!
This tutorial was written assuming you have working knowledge of PSP.
~♥~ Let’s get started ~♥~
Open up the template.
Shift + D and close out the original.
Delete the copyright layer.
Resize all layers 130%
Change canvas size to 700 X 700
Flood fill white.
Highlight the Circle layer.
Select All/Float/Defloat
Copy and paste a paper of choice as new layer.
Selections/Invert
Hit the delete key.
Deselect.
Delete the template layer.
Repeat the above step with the Star Frame and Star Background layers.
Now we’re going to write Happy Birthday America at the top of the circle.
Choose black for your foreground color in your color pallet. Stroke Width set at 2. Close out the background color.
Using your Ellipse Tool, make a circle bigger than the circle on your canvas.
Don’t worry if it’s much too big…you can always resize and make it smaller.
Objects/Align/Center in Canvas.
Choose the colors you want for your font.
Click on your text tool and move your cursor over the top part of the circle you just drew. When you see a Rocking A, click the mouse. A text box will appear.
Type Happy Birthday America.
In your layers pallet, click on the + sign next to Happy Birthday America.
Click on the eye on the New Ellipse layer.
Right click on the Vector Layer.
Convert to Raster layer.
Copy and paste Fireworks as a new layer.
Duplicate 2 times for a total of 3 and rename Fireworks 1, 2, and 3.
Highlight Fireworks 1.
Apply DSB Flux - Bright Noise:
Intensity 39
Mix button checked
OK
Highlight Fireworks 2 and apply the DSB Flux again accept this time hit the mix button twice. Do the same for Fireworks 3 accept hit the mix button three times.
Close out Fireworks 2 & 3.
Copy and paste your tube as a new layer.
Add your embellishments. I used:
Balloons: Resized from 35% down to 25%
Rockets: Resize 35%
Flag: 40%
Highlight your white canvas.
New Raster Layer.
Select All.
Copy and paste a paper of choice Into Selection.
Deselect.
Apply the mask.
Merge Group.
Add your copyrights.
Add your name.
Resize all layers 85%.
Moving onto the animation.
Copy Merge and carry into Animation Shop.
Edit/Paste/As New Animation.
Back into PSP.
Close out Fireworks 1 and open up Fireworks 2.
Copy Merge and carry into Animation Shop.
Edit/Paste/After Current Frame.
Back into PSP.
Close out Fireworks 2 and open up Fireworks 3.
Copy Merge and carry into Animation Shop.
Edit/Paste/After Current Frame.
View your animation. If you’re happy with it then save.
Hugs,
Bev
No comments:
Post a Comment