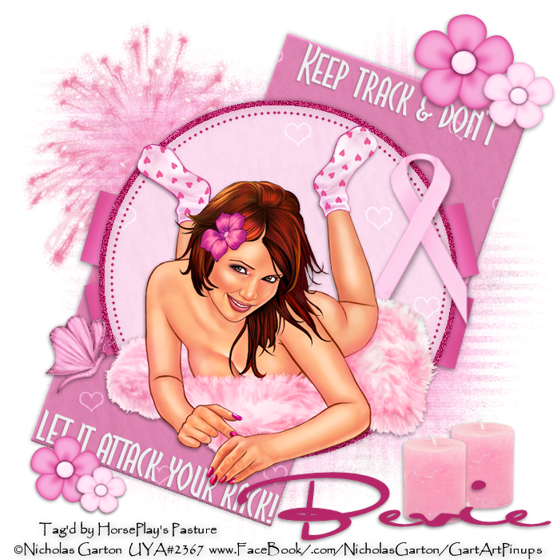
Supplies
1 tube of choice - I used the awesome artwork of Nicholas Garton and can be purchased from Up Your Art. You must have a license to use.
Font of choice - I used Al Sandra here
Weescotlass Mask 81 here
Tonya’s template here at Misfit Creations under September 25, 2011
“Awareness” is a FTU scrap kit created by Pandora and can be downloaded from Misfit Creations here under September 30, 2011.
Please leave a thank you after downloading. It’s a small gesture for hard work given freely.
This tutorial was written assuming you have a working knowledge of PSP.
~♥~ Let’s get started ~♥~
Open up the template.
Shift + D.
Close out the original.
Image/Canvas Size:
700 x 700
Delete the top 5 layers, Weirdo Shape 1 & 2 layers.
Highlight Rectangle 1 layer.
Click on it with your Magic Wand.
New Raster layer.
Copy and paste Paper 19 Into Selection.
Deselect.
Delete the template layer.
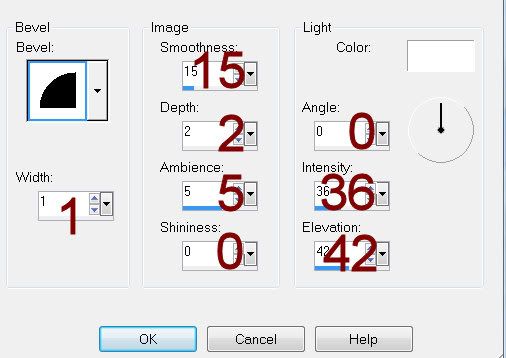
Give it a slight Inner Bevel:

Highlight Rectangle 2 layer.
Repeat the above step.
Highlight Circle Background layer.
Click anywhere outside of it with your Magic Wand.
New Raster layer.
Copy and paste Paper 17 Into Selection.
Adjust/Add Remove Noise/Add Noise:
Uniform and Monochrome checked
Noise: 50%
OK
Deselect.
Delete the template layer.
Highlight Circle layer.
Click on it with your Magic Wand.
New Raster layer.
Copy and paste Paper 20 Into Selection.
Deselect.
Delete the template layer.
Highlight Dotted Circle layer.
Select All/Float/Defloat
New Raster layer.
Copy and paste Paper 17 Into Selection.
Deselect.
Delete the template layer.
Highlight Wordart by Tonya layer.
Select All/FloatDefloat
New Raster layer.
Flood fill with #efefef.
Deselect.
Delete the template layer.
Copy and paste your tube as a new layer.
Add your embellishments. I used:
54: Resize 75%
19: Resize 25%/Duplicate/Resize 70%
20: Resize 25% and 70%/Duplicate/Resize 70%
Ribbon 3: Resize 75%
57: Resize 25%
35: Resize 25%/Duplicate
7
Highlight your white canvas.
New Raster layer.
Select All.
Copy and paste Paper 2 Into Selection.
Deselect.
Apply the mask.
Merge Group.
Add your copyrights.
Add your name.
Resize all layers 80%
I hope you enjoyed this tutorial.
I’d love to see your results and show it off in my gallery.
Email me!
Hugs,
Bev

No comments:
Post a Comment