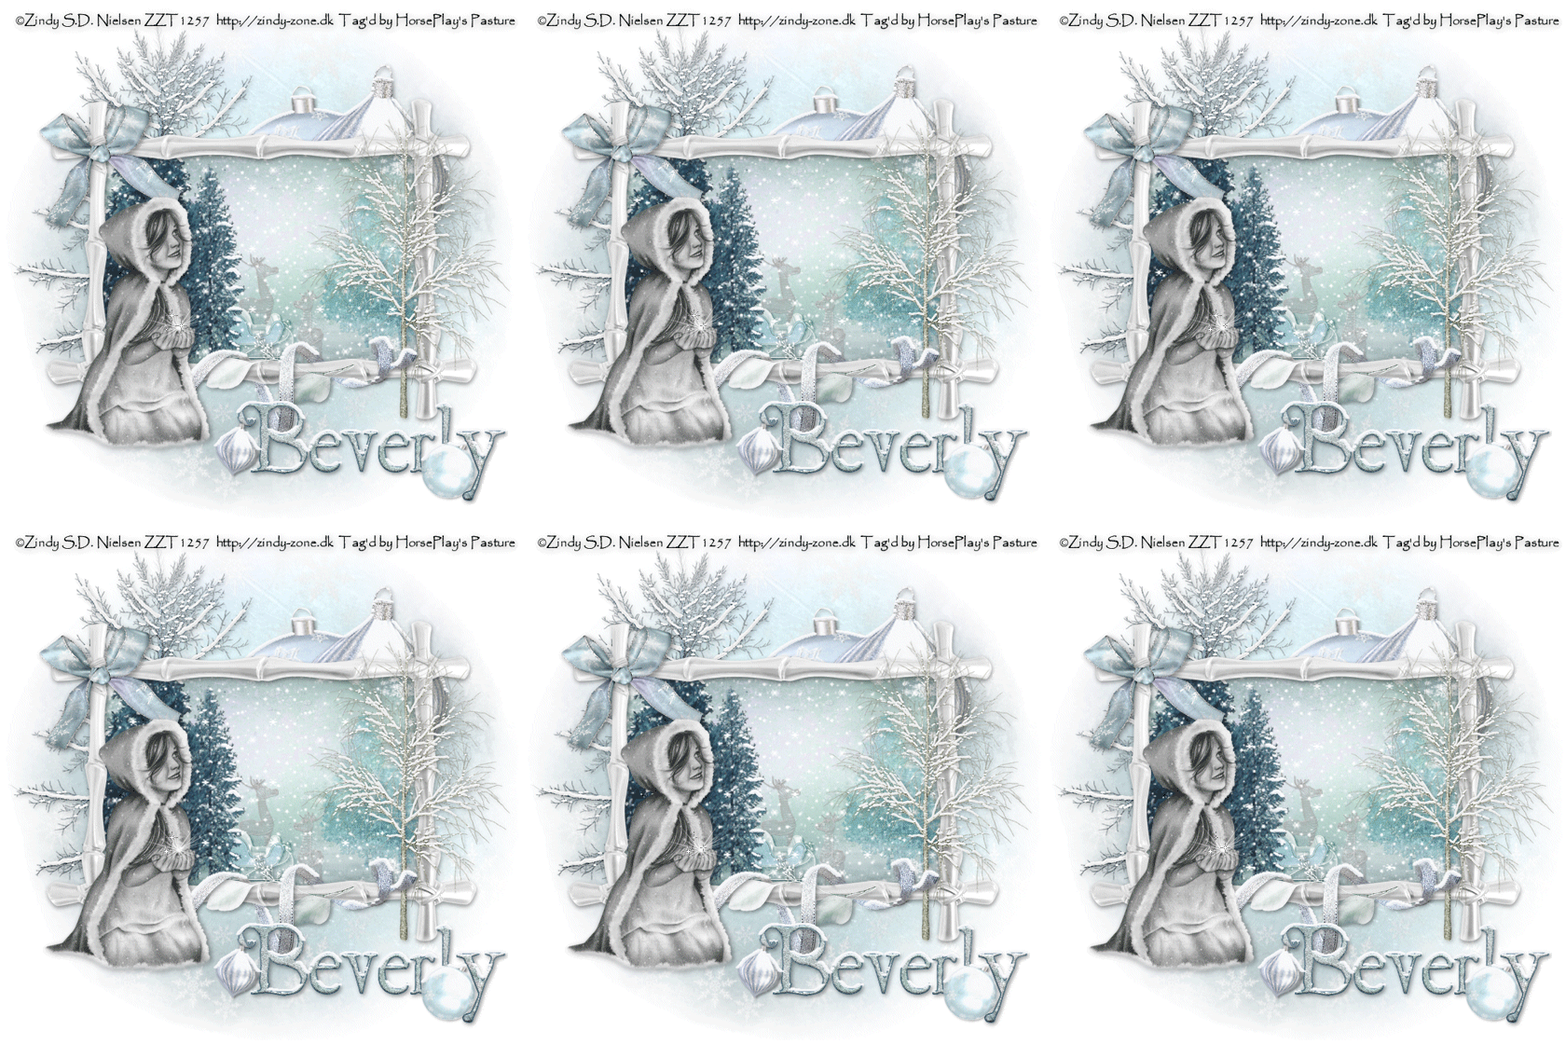
Supplies
1 tube of choice - I used the artwork of Zindy S.D. Nielsen here - this tube was a freebie holiday gift
Font of Choice - I used St. Nicholas here
Monti Circular Mask here
Eyecandy 5: Nature - Snow Drift
DSB Flux - Bright Noise
Snow which I’ve supplied here
Twinks which I’ve supplied here
Animation Shop
“Dashing Through the Snow” is a PTU tagger size scrap kit created by Gina’s Gems Scraps and can be purchased from Butterfly Blush Designs. You can visit her blog here.
Thank you Gina for such a beautiful as well as delicate seasonal kit. You certainly have captured the seasonal feelings!
This tutorial was written assuming you have a working knowledge of PSP.
~♥~ Let’s get started ~♥~
Open up a 700 x 700 blank canvas.
Flood fill white.
Copy and paste Frame 1 as a new layer.
Resize 80%
Click inside of it with your Magic Wand.
Selections/Modify/Expand by 6.
New Raster layer.
Copy and paste Paper 23 Into Selection.
Deselect.
Copy and paste below the frame:
Move them into position - see my tag for reference (and don’t worry about elements sticking outside of the frame - we’ll take care of that in a bit)
Evergreen Trees 1: Resize 50%
Evergreen Trees 1 again: Resize 30%/Change the Properties to Overlay
Sleigh 1: Resize 25% and 50%/Change the Properties to Overlay
Wire Deer 1: Resize 25% and 80%
Wire Deer 2: Resize 25% and 80%
Highlight the paper layer.
Click anywhere outside of it with your Magic Wand.
Highlight each element that’s sticking out of the sides of the frame and tap the delete key.
Deselect.
Open up the snow animation that I’ve supplied.
Highlight Frame 1
Copy
Make your working canvas active and past just below the frame in your layers pallet.
Rename the layer Snow 1.
Make the animated snow frame active.
Highlight Snow 2.
Copy
Make your working canvas active and paste just above Snow 1.
Rename it Snow 2.
Repeat the above steps until you have all 10 snow frames copied onto your working canvas.
Highlight the frame paper layer.
Click anywhere outside of it with your Magic Wand.
Highlight each Snow layer and tap the delete key.
Close out all snow layers accept for Snow 1.
Copy and paste your tube as a new layer.
Add your embellishments. I used:
Tree 2: Resize 70%
Tree 1: Resize 50%
Bauble 3: Resize 70%/Free rotate left 5 degrees
Frosted Glass Ornament 2: Resize 70%/Free rotate right 5 degrees
Frosted Leaves: Resize 30%/Flip
Bow 1: Resize 50%/Mirror
Curled Ribbon 1: Resize 60%
Sparkles - optional - I used only one of them and put it in the palm of the tube I used.
Merge Visible the 2 baubles behind the frame.
Highlight your white background.
Select All.
New Raster layer.
Copy and paste Paper 31 Into Selection.
Deselect.
Apply the mask.
Merge Group.
Add your credits.
Add your name.
Apply DSB Flux - Bright Noise:
Intensity: 27
Mix checked
OK
Resize baubles of your choice and scatter them around your name.
Merge Visible your name and the baubles.
Apply Eyecandy 5 - Nature - Snow Drift the following elements on your tag:
The merged baubles behind the frame.
The larger trees inside the frame.
Ribbon
Your name with the baubles.
Settings Tab:
Small, First Flakes
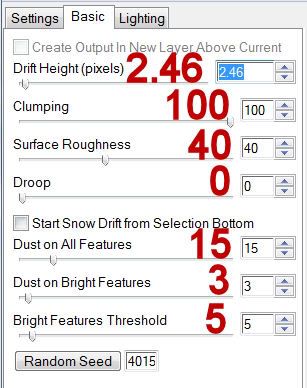
Basic Tab:

Resize all layers 80%.
Copy Merge
~Time to Animate~
Open up AS
Edit/Paste/As New Animation
Back into PSP.
Close out Snow 1 layer.
Open up Snow 2 layer.
Copy Merge
Back into AS.
Edit/Paste/After Current Frame.
Back into PSP.
Close out Snow 2 layer.
Open up Snow 3 layer.
Copy Merge
Back into AS.
Edit/Paste/After Current Frame.
Repeat the above steps until you have all 10 frames pasted in AS.
Open up the Twinks that I’ve supplied.
Ctl + A to highlight all frames.
Edit/Copy
Make your tag frames active.
Control + A to highlight all frames.
Ctl + E
Place the twinks wherever you like.
View your Animation.
If you’re happy with it then save.
I hope you enjoyed this tutorial.
I’d love to see your results and show it off in my gallery.
Email me!
Hugs,
Bev

No comments:
Post a Comment