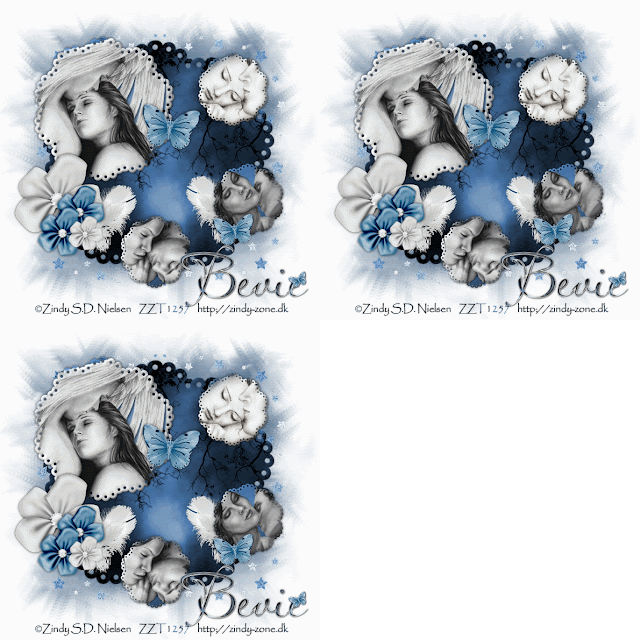
 Clicking on the above image will enlarge to full view
and show the animaiton.
Supplies
4 tubes of choice - I’m using the artwork of Zindy S.D. Nielsen which you can purchase here
Font of Choice - I’m using LavishlyYours. It’s a pay font and cannot share, but Aquarelle is nearly identical here
Weescotlass Mask 249 here
Dezigns by Ali Template 76 here
Animation Shop (Optional)
“Goodnight My Little Angel” is a scrap kit created by Victoria of Pink Princess Designs and can be purchased from her blog here.
Thank you Victoria for this amazingly beautiful kit!
This tutorial was written assuming you have working knowledge of PSP.
~♥~ Let’s get started ~♥~
Open up the template. Shift + D. Close out the original.
Delete the copyright layer.
New Raster Layer. Send to bottom
Flood fill white.
Image/Canvas Size
700 X 700 pixels
Highlight the Back Shape layer.
Select All/Float/Defoat
Copy and paste Background Paper as a new layer.
Resize 50% and 70%
Selections/Invert.
Hit the delete button.
Deselect.
Delete the template layer.
Highlight Shape 4 layer.
Select All/Float/Defoat
Copy and paste Background Paper as a new layer.
Selections/Invert.
Hit the delete button.
Copy and paste your tube as a new layer - resizing as necessary.
Hit the delete button.
Deselect.
Merge Down.
Delete the template layer.
Repeat the above step with the remaining layers.
Add your embellishments. I used:
Flower 1: Resize 25% & 70%
Flower 2: Resize 25% and 60%
Feather: Resize 25% and 80%
Butterfly: Resize 25% and 40%
Copy and paste Star Border as a new layer.
Resize 25% twice
Position at the bottom right of the background circle and arrange just above your white canvas in your layer pallet.
Duplicate/Mirror.
Duplicate/Flip
Duplicate/Mirror
Merge visible these 4 star layers.
Duplicate twice for a total of 3 merged star layers.
Rename 1, 2, and 3 (only for animation purposes)
Highlight 1.
Adjust/Add Remove Noise/Add Noise
Random and Monochrome checked
Noise: 25%
OK
Highlight 2.
Add the noise again accept change the noise to 30%
Highlight 3. Add the noise again accept change the noise to 35%
Close out layers 2 & 3.
Add your copyrights.
Add your name. I gave mine an inner bevel:
Bevel: 2
Width: 7
Smoothness: 55
Depth: 16
Ambience: -27
Shininess: 45
Color: white
Angle: 135
Intensity: 31
Elevation: 88
OK
Time to Animate.
Copy Merge and carry into Animation Shop.
Edit/Paste as New Animation
Back into PSP.
Close out layer 1.
Open layer 2.
Copy Merge and carry into AS.
Edit/Paste/After Current Frame.
Back into PSP.
Close out layer 2.
Open layer 3.
Copy Merge and carry into AS.
Edit/Paste/After Current Frame.
View your animation. If you’re happy then resize.
Animation/Resize Animation
Percentage of Original checked
85
OK
I hope you enjoyed this tutorial.
I’d love to see your results.
Email me!
Hugs,
Bev

No comments:
Post a Comment