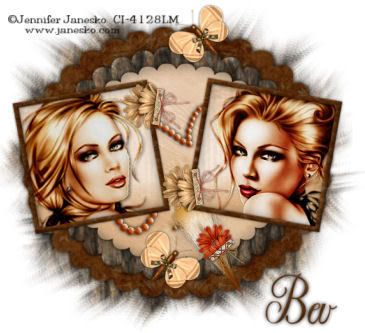
Supplies Needed
2 tubes of choice – I'm using the artwork of Jennifer Janesko
which you can purchase here
2 tubes of choice – I'm using the artwork of Jennifer Janesko
which you can purchase here
Font of choice - I'm using Willegha here
Weescotlass Mask 241 here
Template #14 – Designs by Ali here
"Terra" PTU tagger kit by Swheat Creations which can be purchased here. You can visit her blog here.
Norma, thank you so much for such a stunning kit!!
This tutorial was written assuming you have working knowledge of PSP.
~♥~ Let’s get started ~♥~
Open up the template. Shift + D. Close out the original. Delete the DBA, Staples, and Doodle layers.
Highlight Temp 3 layer. Select All/Float/Defloat. Copy and paste a paper of choice as a new layer. Selections/Invert. Hit the delete key. Apply the following inner bevel:
Bevel: 2
Width: 8
Smoothness: 40
Depth: 2
Ambience: 34
Shininess: 10
Color: white
Angle: 315
Intensity: 50
Elevation: 20
Ok
Delete the template layer.
Repeat the above step for all the layers accept DO NOT give the Back Frames layer an inner bevel.
Copy and paste your tubes of choice just below the frame layer. After you’ve moved them into position Select/Invert and hit the delete button on each tube.
Apply the elements you wish. I used the following:
Flower Bow 1 & 5 – resize 25%
Dot Doodle – resize 50%
Butterfly 5 – resize 20%. Free rotate right 40 degrees. Layer/Duplicate/Mirror.
Feather 3 – resize 60%. Free rotate left 30 degrees.
Highlight your white canvas. New Raster Layer. Select All. Copy and paste a paper of choice Into Selection. Deselect. Apply your mask. Merge Group.
Add your copyrights.
Add your name.
I gave mine the same inner bevel as I used on all the layers.
Crop your image and save your tag:o)
I hope you enjoyed this tutorial.
I’d love to see your results and put them into my gallery.
Email me!
Hugs,
Bev


No comments:
Post a Comment