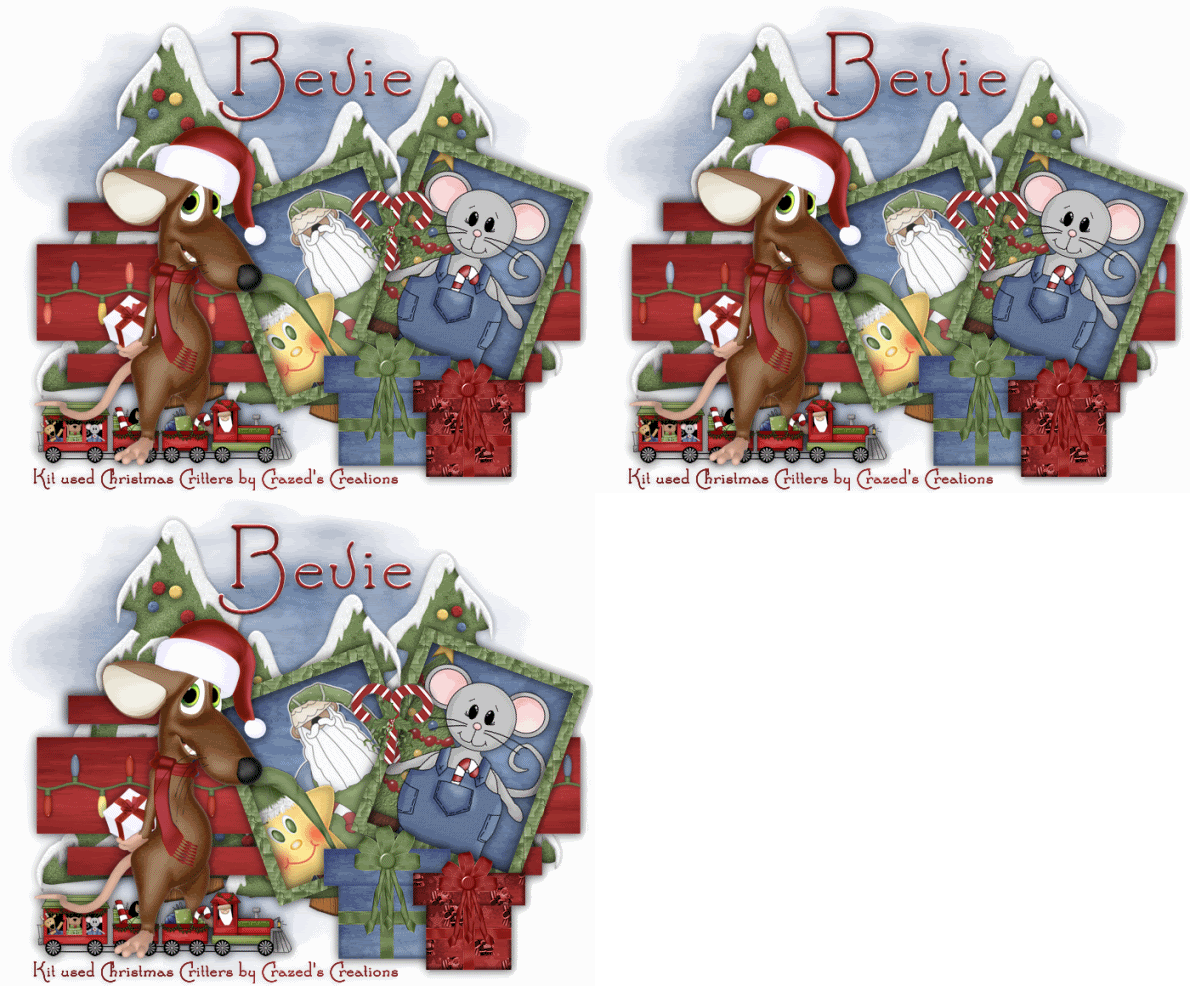
Supplies
Font of choice - I used Santa’s Sleigh here
Becky Mask 23 I’ve supplied here
Essence of Creativity Template 1 here
Animation Shop
“Christmas Critters” is a PTU tagger size scrap kit created by Katie of Crazed’s Creations and can be purchased at Twilight Scraps. You can visit her blog here.
Thank you Katie for such a fun kit!
This tutorial was written assuming you have a working knowledge of PSP.
~♥~ Let’s get started ~♥~
Open up the template.
Delete the credit layer.
Open up Frame 6.
Using your Selection Tool select an area of the frame.
Set your foreground to Pattern using the selection of the frame.
Make your template active.
Highlight Frame 1 layer.
Select All/Float/Defloat
New Raster Layer.
Flood fill with the pattern.
Deselect.
Delete the template layer.
Repeat the above step with Frame 2 layer.
Highlight Photo 1 layer.
Select All/Float/Defloat
Copy and paste a paper of choice as a new layer.
Selections/Invert
Tap the delete key.
Deselect.
Copy and paste Sticker 4 as a new layer.
Resize 60%
Free rotate left 20 degrees.
Move into position below the frame.
We’ll take care of what’s overhanging the frame in a bit.
Copy and paste Star 1 as a new layer.
Resize 50%
Free rotate left 20 degrees.
Move into position below the frame.
Highlight the frame.
Use your Magic Wand and click inside of it.
Selections/Modify/Expand by 6.
Highlight each of the elements you moved below the frame and tap the delete key.
Deselect.
Highlight Photo 2 Layer.
Select All/Float/Defloat
Copy and paste the same paper you already used as a new layer.
Selections/Invert
Tap the delete key.
Deselect.
Copy and paste Tree 2 as a new layer.
Resize 80%
Free rotate right 20 degrees
Move into position below the frame.
We’ll take care of what’s overhanging the frame in a bit.
Copy and paste Mouse 1 as a new layer.
Resize 60%
Free rotate right 20 degrees
Highlight the frame.
Use your Magic Wand and click inside of it.
Selections/Modify/Expand by 6.
Highlight each of the elements you moved below the frame and tap the delete key.
Deselect.
Highlight Rectangle 1 layer.
Select All/Float/Defloat
New Raster Layer.
Copy and paste a paper of choice Into Selection.
Deselect.
Delete the template layer.
Copy and paste Lights 1 as a new layer.
Resize 50%.
Duplicate/Mirror
Overlap them to create one long string of lights.
Merge down.
Highlight the Rectangle layer.
Select All/Float/Defloat
Highlight the merged string of lights layer.
Selections/Invert
Tap the delete key.
Deselect.
Duplicate the string of lights twice for a total of 3 light layers.
Rename them Lights 1, 2, and 3.
Highlight Light 1 layer.
Using your Light/Darken Tool, run it over each of the red light bulbs 3 times.
Highlight Light 2 layer.
Again, using your Light/Darken tool, run it over each of the blue light bulbs 3 times.
Highlight Light 3 layer.
Run the Light/Darken tool over each of the yellow light bulbs 3 times.
Close out Light 2 & 3 layers.
Highlight Rectangle 2 layer.
Select All/Float/Defloat
Copy and paste a paper of choice as a new layer.
Selections/Invert
Tap the delete key.
Deselect.
Delete the template layer.
Add your embellishments. I used:
Tree 3
Mouse 2
Train: Resize 50%
Present 1: Resize 40%
Present 6: Resize 50%
Candy Cane 2: Resize 25% Free rotate Left 20 degrees
Highlight your white background.
New Raster layer.
Select All.
Copy and paste a paper of choice Into Selection.
Deselect.
Apply the mask.
Merge Group.
Add your copyrights.
If you didn’t use an artists tubes and only used the kit, please give credit to the designer of the kit.
Add your name.
~Time to Animate~
Copy Merge and carry into Animation Shop.
Edit/Paste/As New Animation.
Back into PSP.
Close out Lights 1
Open up Lights 2.
Copy Merge.
Carry into AS
Edit/Paste/After Current Frame.
Back into PSP.
Close out Lights 2.
Open up Lights 3.
Copy Merge
.
Carry into AS.
Edit/Paste/After Current Frame.
Shift + A to highlight all frames.
Animation/Frame Properties
Change the number to 20.
View your animation.
If you’re happy then save.
I hope you enjoyed this tutorial.
I’d love to see your results.
Email me!
Hugs,
Bev

No comments:
Post a Comment