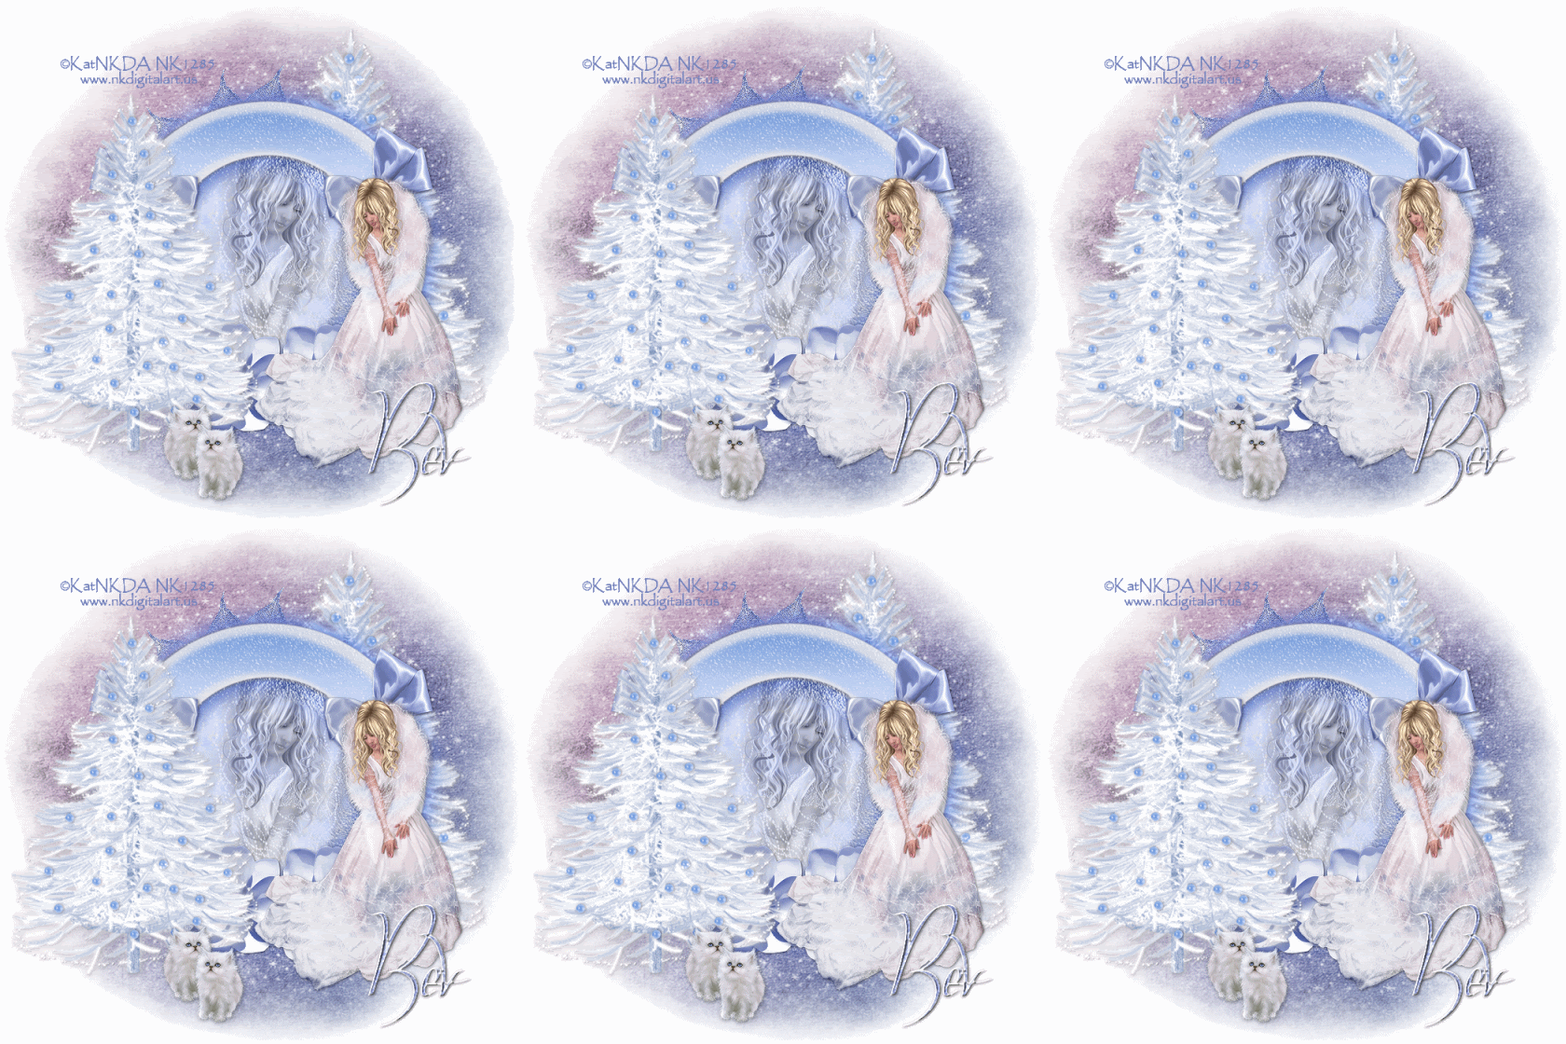
Supplies
1 tube of choice - I used the amazingly beautiful artwork of KatNKDA here
Font of choice - I used OhLara - I'm sorry, I wasn't able to find a link
Monti Circular Mask here
Snow - which I’ve supplied here
Animation Shop
“Ice Princess” is a PTU full size scrap kit created by Kat of KatNKDA and can be purchased at her store NK Art Shop. You can visit her blog here.
Your talent is truly amazing, Kat!
This tutorial was written assuming you have a working knowledge of PSP.
~♥~ Let’s get started ~♥~
Open up a 700 x 700 transparent image.
Flood fill white.
Copy and paste Element 8 new layer.
Resize 50%
Use your Freehand Selection Tool and outline the inside of the circle.
New Raster layer below the frame.
Copy and paste a paper of choice Into Selection.
DO NOT DESELECT.
Copy and paste your tube below the frame.
(If you’re using the same tube as I used then resize it 25%)
Selections/Invert
Tap the delete key.
Deselect.
Change the Opacity of the tube to Luminance Legacy.
Copy and paste your tube as a new layer.
I used Kat’s tube - Crystal: Resized it 25% and 50%
I also used the kitten tube, Snowflake: Resized it 25% and 40%
Add your embellishments. I used:
Element 23: Resize 35% (Place behind the frame)
Paste Element 23 again: Resize 35% and 80% (Place in front of the frame)
Element 62: Resize 25%
Element 63: Resize 25%
Element 59: Resize 25% Mirror
Element 39: Resize 40%
Highlight your white background.
New Raster layer.
Select All.
Copy and paste a paper of choice Into Selection.
Deselect.
Apply the mask.
Merge Group.
Add your copyrights.
Add your name.
Highlight your mask layer.
Open up the snow supplied.
Copy Frame 10 and paste as a new layer on your working canvas.
Rename Snow 10.
Go back to your snow.
Copy Frame 9 and paste as a new layer on your working canvas.
Rename Snow 9
Continue this until you have all 10 snow layers copied and pasted onto your working canvas.
Highlight your mask layer.
Select All/Float/Defloat
Selections/Invert
Highlight each of the snow layers and tap the delete key.
Deselect.
Be sure all snow layers are closed out accept keep Snow 1 open.
Edit/Copy Merged.
~Time to Animate~
Carry into Animation Shop.
Edit/Paste/As New Animation
Go back into PSP.
Close out Snow 1.
Open up Snow 2.
Copy/Merge
Carry into AS.
Edit/Paste/After Current Frame.
Back Into PSP.
Close out Snow 2.
Open up Snow 3.
Copy/Merge
Carry into AS.
Edit/Paste/After Current Frame.
Back Into PSP.
Close out Snow 3.
Open up Snow 4.
Copy/Merge.
Carry into AS.
Edit/Paste/After Current Frame.
Back Into PSP.
Close out Snow 4.
Open up Snow 5.
Copy/Merge.
Carry into AS.
Edit/Paste/After Current Frame.
Back Into PSP.
Close out Snow 4.
Open up Snow 5.
Copy/Merge.
Carry into AS.
Edit/Paste/After Current Frame.
Back Into PSP.
Close out Snow 5.
Open up Snow 6.
Copy/Merge.
Carry into AS.
Edit/Paste/After Current Frame.
Back Into PSP.
Close out Snow 6.
Open up Snow 7.
Copy/Merge.
Carry into AS.
Edit/Paste/After Current Frame.
Back Into PSP.
Close out Snow 7.
Open up Snow 8.
Copy/Merge
Carry into AS.
Edit/Paste/After Current Frame.
Back Into PSP.
Close out Snow 8.
Open up Snow 9.
Copy/Merge
Carry into AS.
Edit/Paste/After Current Frame.
Back Into PSP.
Close out Snow 9.
Open up Snow 10.
Copy/Merge.
Carry into AS.
Edit/Paste/After Current Frame.
View your animation and save if your like it.
I hope you enjoyed this tutorial.
I’d love to see your results.
Email me!
Hugs,
Bev

No comments:
Post a Comment