Supplies
1 tube of choice - I used the wonderful artwork of Brynn Elizabeth Hughes which can be purchasedfrom PSP Tube Stop. You must have a license to use.
Font of choice - I used Foglihten No 7 here
Vix mask 451 here
My Template 156 here
Snow which I supply here
Eyecandy 5: Nature - Snow Drift
Animation Shop
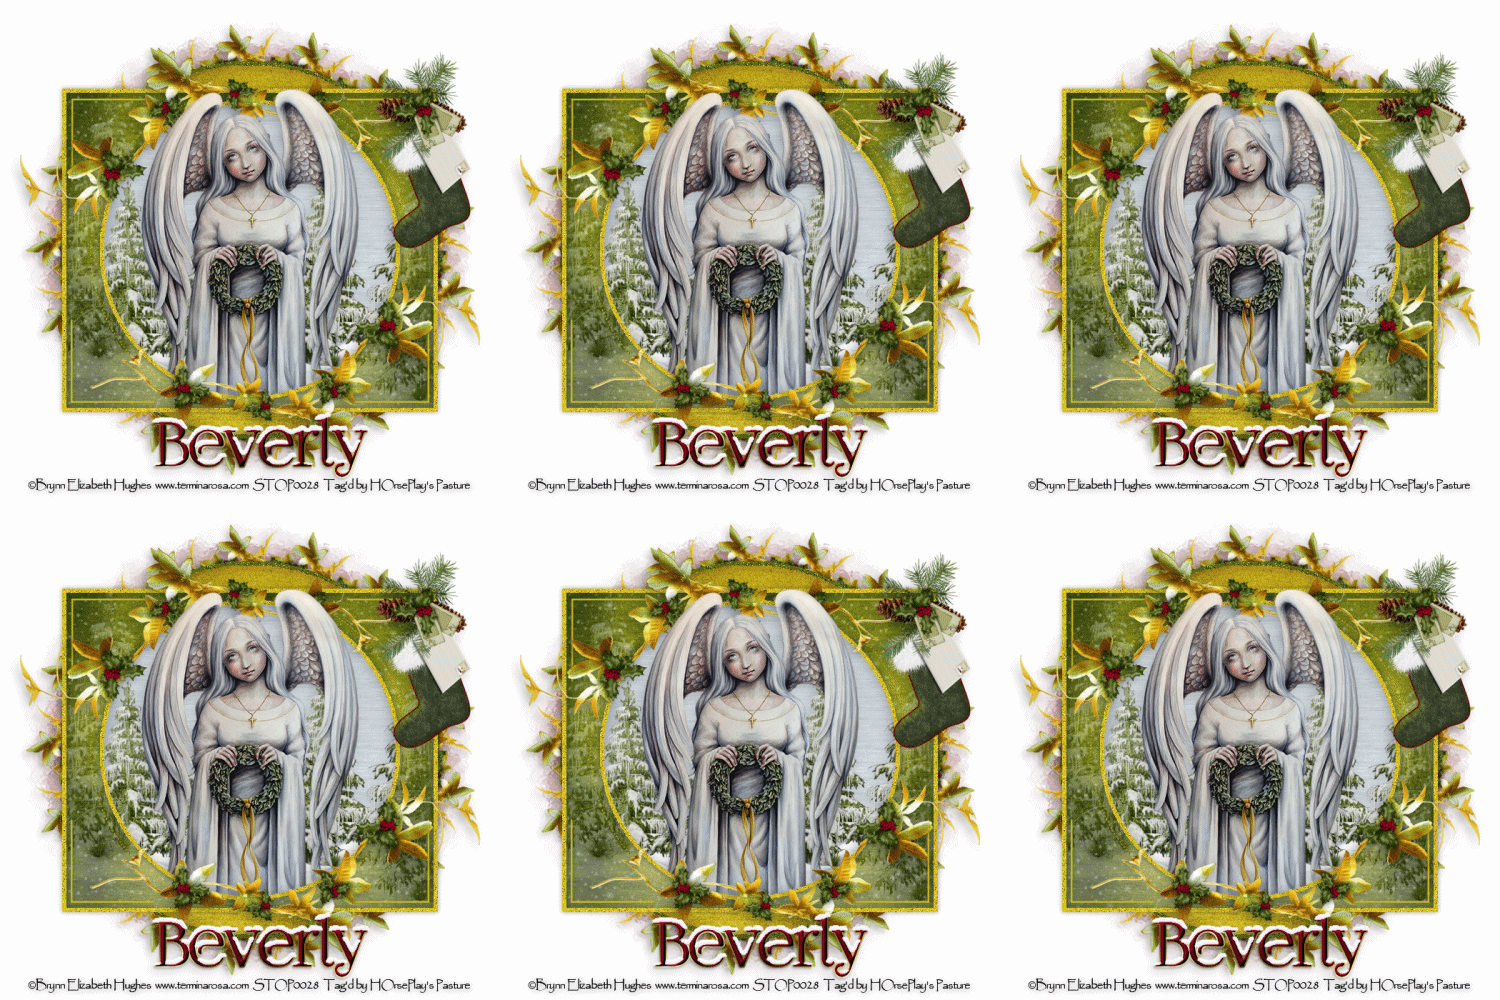
"Christmas by the Pond" is a tagger size scrap kit created by Susan of TootyPup Scraps and can be purchased from any of her stores here.
This tutorial assumes you have a working knowledge of PSP.
~♥~ Let's get started ~♥~
Open up the template.
Shift + D.
Close out the original.
Image/Canvas Size:
700 x 700
OK
Highlight Raster 1 layer.
Flood fill white.
Delete the credit layer.
Highlight Raster 2 layer.
Click anywhere outside of it with your Magic Wand.
Selections/Invert
New Raster layer.
Flood fill with #5e6b0e
Adjust/Add Remove Noise/Add Noise:
Random and Monochrome checked
Noise: 23%
OK
Deselect.
Delete the template layer.
Highlight Raster 3 layer.
Click on it with your Magic Wand.
New Raster layer.
Copy and paste Paper 8 Into Selection.
Deselect.
Delete the template layer.
Highlight Raster 5 layer.
Merge Down.
Raster 4 and 5 should now be on the same layer.
Click anywhere outside of it with your Magic Wand.
New Raster layer.
Flood fill with #d5bd21
Apply the same Noise Effect.
Deselect.
Delete the template layer.
Highlight Raster 7 layer.
Click on it with your Magic Wand.
New Raster layer.
Copy and paste Paper 9 Into Selection.
Deselect.
Duplicate
Mirror
Merge Visible these 2 rectangle papers and rename "Merged Rectangles"
Delete Raster 6 and Raster 7 Template layer.
Copy and paste Snow Tree 01 and Snow Tree 02 as new layers just above the merged rectangles paper.
Resize each 60%
Lower the Opacity of each to 36
Move both tree layers into a position you like
Highlight the Paper layer.
Click anywhere outside of it with your Magic Wand.
Highlight each tree layer and tap the delete key.
Deselect.
Open up the snow that I provided.
Highlight and Copy Frame 10.
Highlight your working canvas.
Paste as a New layer.
Rename Snow 10
Back to the snow layers.
Highlight and Copy Frame 9.
Highlight your working canvas.
Paste as a new layer (just over Snow 10 layer)
Rename Snow 9
Repeat the above step until you have all 10 snow layers pasted on your working canvas.
Highlight the Merged Rectangles layer.
Click anywhere outside of it with your Magic Wand.
Highlight each snow layer and tap the delete key.
Deselect.
Lower the Opacity of each snow layer to 36.
TIP: Keyboard shortcut - Ctrl + Y - it repeats your last action. So change the Opacity of the first snow layer to 36 then highlight each snow layer and press Ctrl + Y on your keyboard. It saves a heap of time!
Close out all snow layers but keep Snow 1 layer open.
Highlight Raster 9 layer.
Select All/Float/Defloat
New Raster layer.
Flood fill with #d5bd21
Deselect.
Delete the template layer.
Highlight Raster 10 layer.
Click anywhere outside of it with your Magic Wand.
Selections/Invert
New Raster layer.
Flood fill with the same color.
Apply the same Noise effect.
Deselect.
Delete the template layer.
Highlight Raster 11 layer.
Click on it with your Magic Wand.
New Raster layer.
Copy and paste Paper 11 Into Selection.
Copy and paste your tube as a new layer.
Selections/Invert
Use your Eraser Tool and erase the parts of the tube you don't want to overhang the paper layer.
Deselect.
Delete the template layer.
Add the elements. I used:
Wreath Frame 03: Resize 47%
Holly Vine 02: Resize 70%/Duplicate/Mirror/Flip
Stocking 02: Resize 35%
Highlight your blank canvas.
New Raster layer.
Select All.
Copy and paste Paper 10 Into Selection.
Deselect.
Apply the mask.
Resize 105%
Merge Group.
Add your credits.
Type your name.
Color Pallet:
Foreground & Background: #780019
Type your name.
Select All/Float/Defloat
Selections/Modify/Expand by 2.
New Raster layer below the name.
Flood fill with Brass Metal Gradient
Style/Linear
Angle: 325
Repeats: 0
Stroke: 1
Deselect.
Give your name that's in red a slight Inner Bevel:
Merge Visible both name layers.
Effects/Edge Effects/Enhance
Copy Merge.
~Time to Animate~
Open up Animation Shop.
Edit/Paste/As New Animation.
Back in PSP.
Close out Snow 1.
Open up Snow 2.
Copy Merge.
Carry into AS.
Edit/Paste/After Current Frame.
Back in PSP.
Close out Snow 2.
Open up Snow 3.
Copy Merge
Carry Into AS.
Edit/Paste/After Current Frame.
Continue copy merge and carrying each into AS until you have copied and pasted all 10 snow frames in AS.
View your animation.
If you're happy then resie:
Animate/Resize Animation:
Pixel Size checked
Width: 500
OK
View your animation again.
If you're happy then save.
I hope you enjoyed this tutorial as much as I did creating it for you.
I'd really love to see your results.
Email me!
Hugs,
Bev


No comments:
Post a Comment