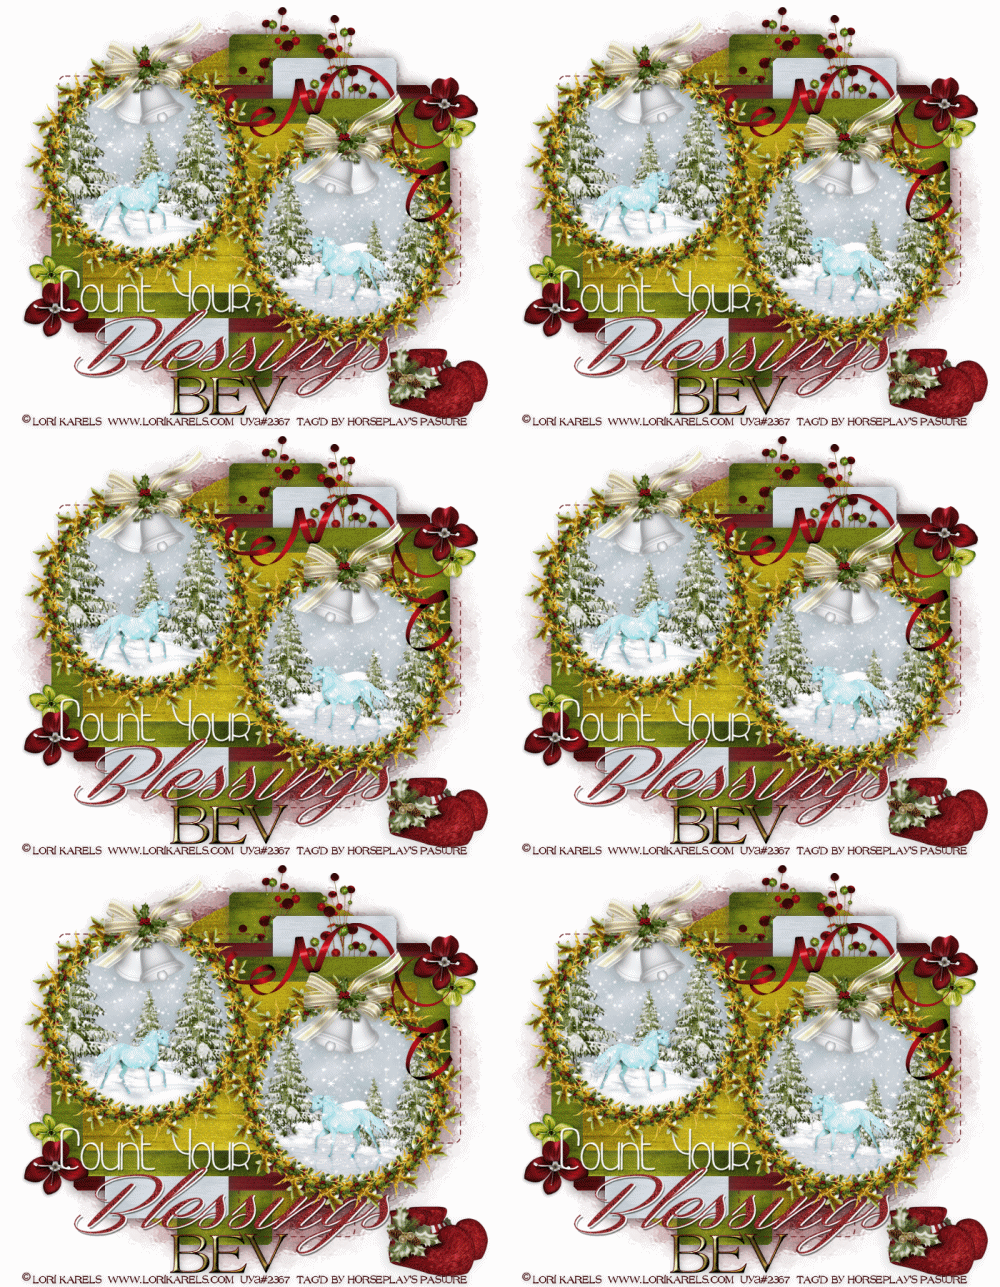
Supplies
1 tube of choice - I used the wonderful artwork of Lori Karels which can be purchased from Up Your Art. You must have a license to use.
Font of choice - I used LD Hot Betty which came with my version of PSP
Vix mask 451 here
Dangerously Delicious template 21_Blessings here
Snow which I supply here
Animation Shop
"Christmas by the Pond" is a tagger size scrap kit created by Susan of TootyPup Scraps and can be purchased from any of her stores here.
This tutorial assumes you have a working knowledge of PSP.
~♥~ Let's get started ~♥~
Open up the template.
Shift + D.
Close out the original.
Resize all layers 90%
Image/Canvas Size:
700 x 600
OK
Highlight bg layer.
Flood fill white.
Delete the top 2 layers, Creme Circle Frame, Francy Frame, Fancy Frame DS
Color Pallet:
Foreground: #ecdcbb
Background: #6d2022
Highlight Side Creme Dotted layer.
Make your Color Replacer Tool active and double right click on the dotted line.
It should have turned to your background color.
Repeat the above step with:
Top Creme Dotted
Bottom Creme Dotted
Highlight Top Rust Circle layer.
Click on it with your Magic Wand.
New Raster layer.
Copy and paste Paper 8 Into Selection.
Deselect.
Delete the template layer.
Repeat the above step with:
Bottom Rust Circle
Center Brown Rectangle
Highlight Bottom Blue Square layer.
Click on it with your Magic Wand.
New Raster layer.
Copy and paste Paper 9 Into Selection.
Deselect.
Delete the template layer.
Repeat the above step with:
Top Blue Square
Right Blue Rectangle
Left Blue Rectangle
Highlight Top Brown Strip layer.
Click on it with your Magic Wand.
New Raster layer.
Copy and paste Paper 10 Into Selection.
Deselect.
Delete the template layer.
Repeat the above step with Bottom Brown Strip layer.
Highlight Top Creme Square layer.
Click on it with your Magic Wand.
New Raster layer.
Copy and paste Paper 11 Into Selection.
Deselect.
Delete the template layer.
Repeat the above step with Bottom Creme Square layer.
Copy and paste Wreath Frame 03 as a new layer.
Resize 25%
Duplicate
Move both frames over Left and Right Rust Circle layers.
Delete both Circle templates.
To each frame:
Click inside of it with your Magic Wand.
Selections/Modify/Expand by 6.
New Raster layer below the frame.
Copy and paste Paper 5 Into Selection.
Deselect.
Merge Visible both Circle papers.
Merge Visible both frame layer.
Copy and paste the following elements below the left frame: (see my tag for reference)
Snow 01: Resize 25%
Snow Tree 02: Resize 25%
Snow Tree 01: REsize 30%
Your tube. If you're using the same as I did, Resize 20%
Highlight the merged paper layer.
Click anywhere outside of it with your Magic Wand.
Highlight each element that's below the frame and tap the delete key.
Deselect.
If any of the elements show up in the right frame then erase it.
Copy and paste the following elements below the Right Frame: (see my tag for reference)
Snow Pond 01: Resize 40%
Your tube. If you're using the same as I did, resize 20%/Mirror
Duplicate your tube/Flip/Move to match it up over the ice to look like a reflection. Change the Properties of this tube to Burn.
Highlight the merged circle paper layer.
Click anywhere outside of it with your Magic Wand.
Highlight each element and tube layer below the frame and tap the delete key.
Deselect.
If any of the elements appear in the Left frame then erase it.
Highlight the element layer that's just below the merged frame layer.
Open up the snow that I provided.
Highlight and Copy Frame 10.
Highlight your working canvas.
Paste as a New layer.
Rename Snow 10
Back to the snow layers.
Highlight and Copy Frame 9.
Highlight your working canvas.
Paste as a new layer (just over Snow 10 layer)
Rename Snow 9
Repeat the above step until you have all 10 snow layers pasted on your working canvas.
Highlight the merged circle layer.
Click anywhere outside of it with your Magic Wand.
Highlight each snow layer and tap the delete key.
Deselect.
Close out all Snow layers except Snow 1 layer.
In your color pallet change the foreground color to #8b2829
Highlght Blessings Brown layer.
Use your Target Tool and change to your foreground color.
Add the elements. I used:
Flower 01: Resize 20%/Duplicate
Flower 03: Resize 20% and 70%/Flip/Duplicate
Deco 2: Resize 45%/Duplicate/Mirror
Ribbon 01: Resize 40%
Bells 01: Resize 15%/Duplicate
Snowboots 02: Resize 25%
Bow 03b: Resize 20%/Duplicate
Highlight your blank canvas.
New Raster layer.
Select All.
Copy and paste Paper 10 Into Selection.
Deselect.
Apply the mask.
Resize 110%
Merge Group.
Add your credits.
Type your name.
Color Pallet:
Foreground: #430b0d
Background: Gradient/Metal Brass
Style/Linear
Angle: 325
Repeats: 0
Stroke: 1
Type your name.
Give it a slight Inner Bevel:
Copy Merge.
~Time to Animate~
Open up Animation Shop.
Edit/Paste/As New Animation.
Back in PSP.
Close out Snow 1.
Open up Snow 2.
Copy Merge.
Carry into AS.
Edit/Paste/After Current Frame.
Back in PSP.
Close out Snow 2.
Open up Snow 3.
Copy Merge
Carry Into AS.
Edit/Paste/After Current Frame.
Continue copy merge and carrying each into AS until you have copied and pasted all 10 snow frames in AS.
View your animation.
If you're happy then resize:
Animate/Resize Animation:
Pixel Size checked
Width: 500
OK
View your animation again.
If you're happy then save.
I hope you enjoyed this tutorial as much as I did creating it for you.
I'd really love to see your results.
Email me!
Hugs,
Bev


No comments:
Post a Comment