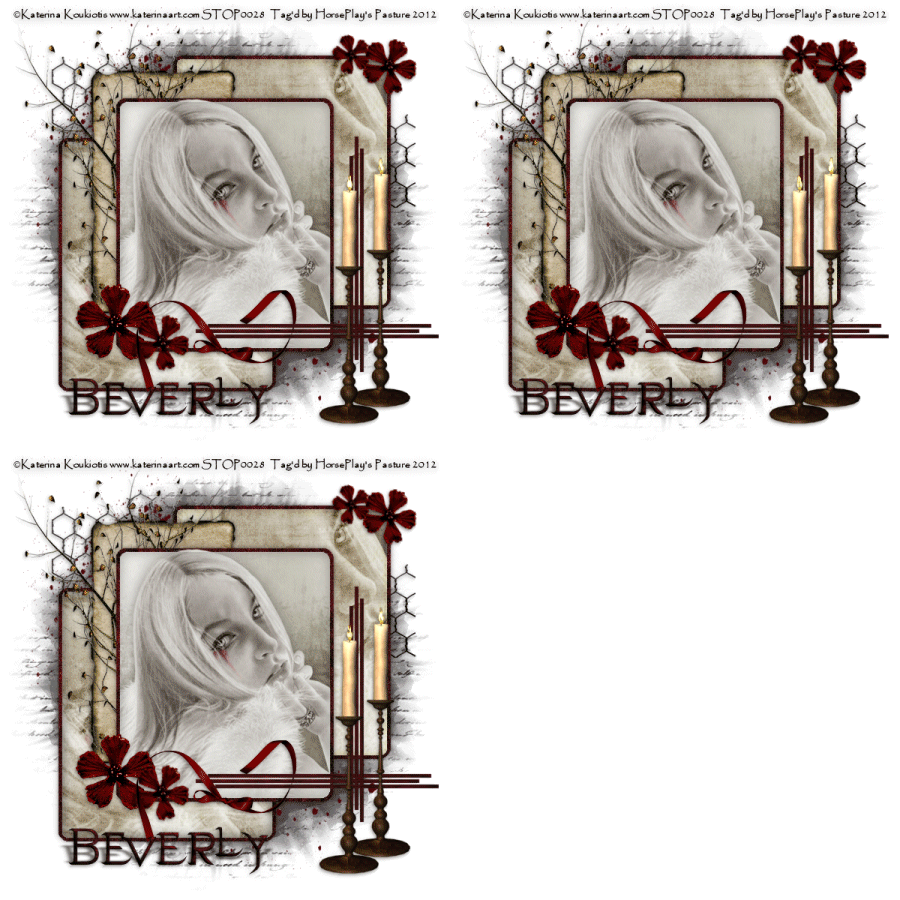
Supplies
1 tube of choice – I used the beautiful artwork of Katerina Koukiotis
which can be purchased from PSP Tube Stop. You must have a license to use.
Plug Ins Used:
Eyecandy5: Nature – Fire
Animation Shop
“Beautiful Monster” is a tagger size scrap kit created by Jessica of
Gothic Inspirations and can be purchased from her store here. You can visit her blog here.
Thank you Jessica for another fantastic kit!
This tutorial was written assuming you have a working knowledge of PSP.
~♥~ Let’s get started ~♥~
Open up the template.
Shift + D.
Close out the original.
Delete the credit layer and Circle layer.
Highlight Glitter Rectangle 1 layer.
Click anywhere outside of it with your Magic Wand.
Selections/Invert
New Raster layer.
Copy and paste Paper 7 Into Selection.
Deselect.
Delete the template layer.
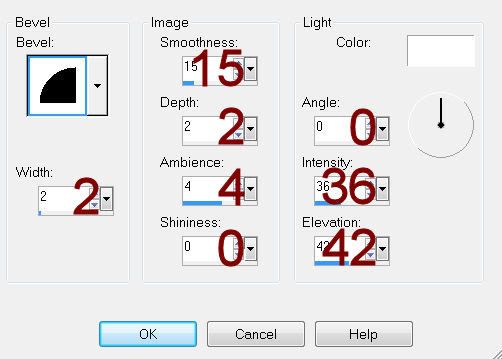
Give it a slight Inner Bevel:

Adjust/Add Remove Noise/Add Noise:
Gaussian and Monochrome checked
Noise: 25%
OK
Repeat the above step with:
Glitter Rectangle 2
Glitter Rectangle 3
Highlight Rectangle 1 layer.
Click on it with your Magic Wand.
New Raster layer.
Copy and paste Paper 15 Into Selection.
Copy and paste your tube as a new layer over the paper layer.
Selections/Invert
Tap the delete key.
Change the Properties to Overlay.
Deselect.
Delete the template layer.
Highlight Rectangle 2 layer.
Repeat the above step accept.
Highlight Rectangle 3 layer.
Click on it with your Magic Wand.
New Raster layer.
Copy and paste Paper 14 Into Selection.
Copy and paste your tube as a new layer over the paper layer.
Selections/Invert
Use your Eraser Tool to erase the areas of the tube you don’t want to
hang over the edges of the rectangle.
Deselect.
Delete the template layer.
Highlight Slats 1 layer.
Click anywhere outside of it with your Magic Wand.
Selections/Invert
New Raster layer.
Copy and paste Paper 7 Into Selection.
Deselect.
Delete the template layer.
Give it the same slight Inner Bevel.
Highlight Slats 2 layer.
Repeat the above step.
Color Pallet:
Foreground: Set to Pattern/Paper
7
Copy and paste Flower as a new layer.
Resize 25%
Use your Target Tool and change the color to the foreground pattern.
Duplicate/Resize 70%
Duplicate both flowers
Add your elements. I used:
Add your elements. I used:
Tab: Resize 70%/Free rotate Left
90 degrees
Tree 1: Resize 70%/Erase the
bottom that sticks out from the rectangle
Splatter: Resize 50%/Duplicate
Fence Piece: Resize 60%
Candle 1: Resize
70%/Duplicate/Merge Visible both Candle layers.
Bow 1: Resize 30%/Free rotate
Left 90 degrees
Highlight your white background.
New Raster layer.
Select All.
Copy and paste Paper 4 Into Selection.
Apply the mask.
Resize 110%
Merge Group.
Add your credits.
Add your name.
Foreground” #000000
Background: Pattern/Paper 7
Stroke: 0.5
Type your name.
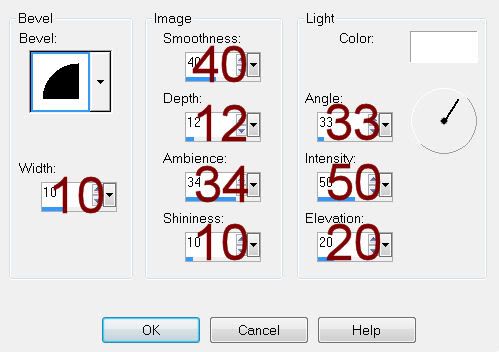
Apply a slight Inner Bevel:

Resize all layers 80%.
If you don’t want to animate then save your tag.
To animate, continue:
Highlight the merged candle layer.
Duplicate it 2x’s for a total of 3.
Rename them Candle 1, Candle 2, and Candle 3.
Highlight Candle 1 layer.
Make your Freehand Selection Tool active set on Freehand.
Zoom in and outline the flame of each candle.
Apply Eyecandy 5: Nature – Fire:
Settings Tab:
Small, Candle
Basic Tab:
Change Column Length to 20
Keep the rest set on default
OK
Highlight Candle 2 layer.
Apply the same fire effect again accept click the Random Seed button
once.
OK
Highlight Candle 3 layer.
Repeat the above step.
Deselect.
Close out Candle 2 and Candle 3 layer.
Copy merge.
~Time to Animate~
Open up AS.
Edit/Paste/As New Animation.
Back in PSP.
Close out Candle 1 layer.
Open up Candle 2 layer.
Copy Merge
Carry into AS.
Edit/Paste/After Current Frame.
Back in PSP.
Close out Candle 2 layer.
Open up Candle 3 layer.
Copy Merge
Carry into AS.
Edit/Paste/After Current Frame.
Ctrl + A to highlight all frame.
Animation/Frame Properties
Change the Display time to 21.
OK
Animation/Resize Animation:
Percentage of Original checked
Width & Height: 80
OK
Save your anmimation.

No comments:
Post a Comment