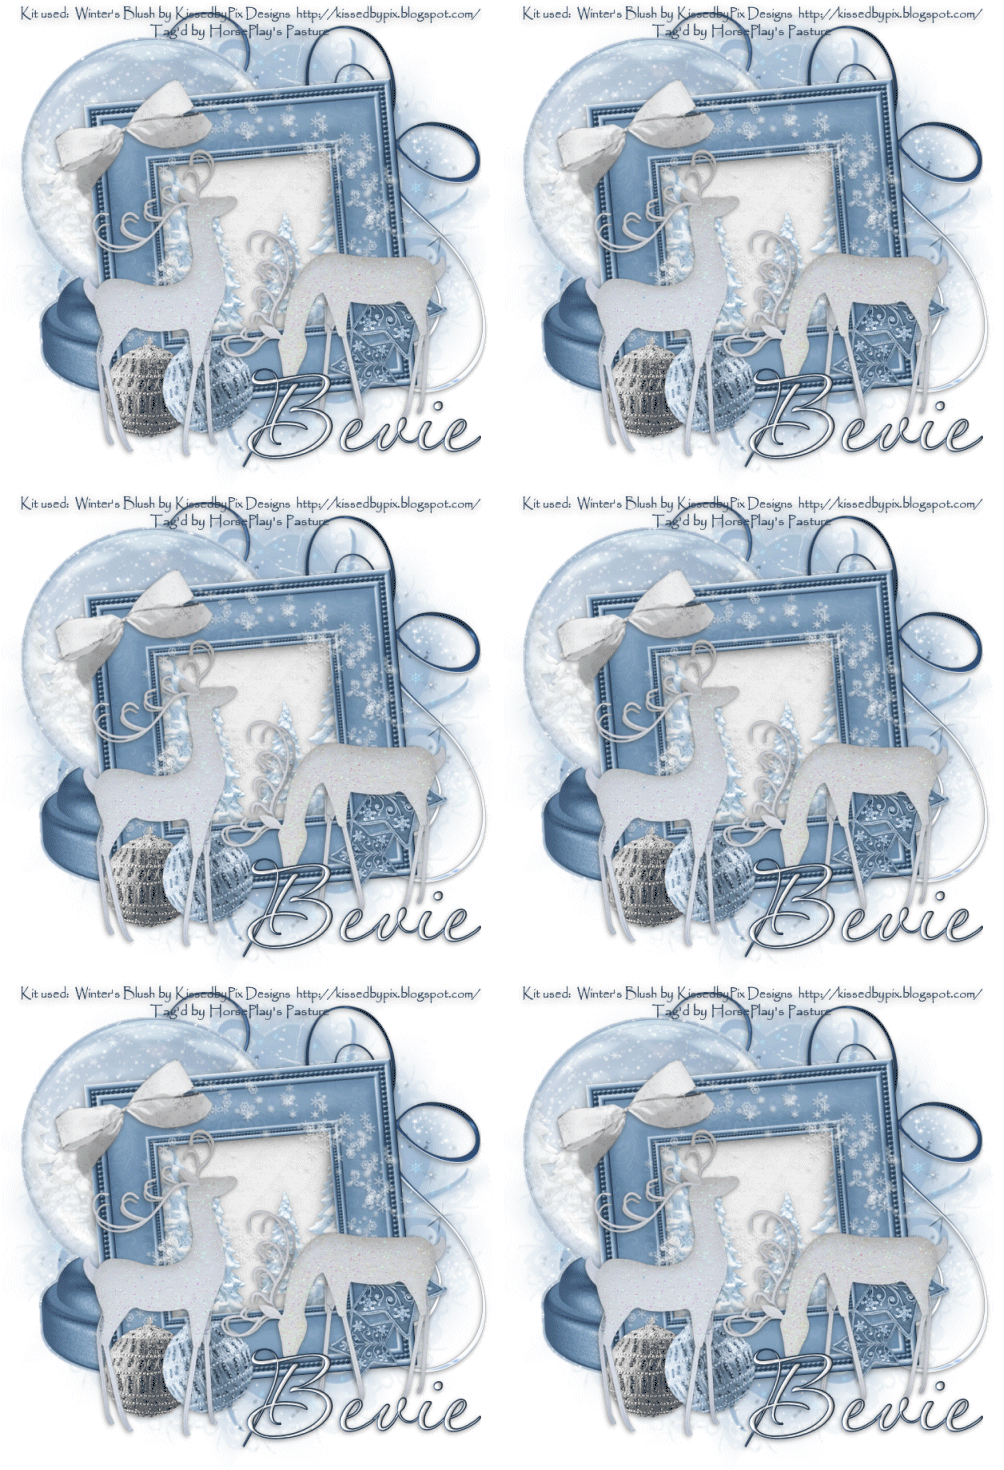
Supplies
Font of Choice - I used Aquarelle here
Gem Mask 70 here
Mura’s Meister - Cloud
Snow which I’ve supplied here
Animation Shop
“Winter‘s Blush” is a PTU scrap kit created by Pixie of KissedbyPix Designs and can be purchased from her store TKO Scraps. You can visit her blog here.
Thank you Pixie for an incredibly beautiful kit!
This tutorial was written assuming you have a working knowledge of PSP.
~♥~ Let’s get started ~♥~
Open up a 700 x 700 blank canvas.
Flood fill white.
Copy and paste Frame Blue as a new layer.
Resize 80%
Free rotate left 5 degrees
Click inside of it with your Magic Wand.
Selections/Modify/Expand by 6.
New Raster layer below the frame.
Copy and paste Glittery Paper White Into Selection.
Deselect.
Copy and paste Snow Trees 2 as a new layer below the frame.
Resize 60%
Move into position - see my tag for reference.
Copy and paste Snow Globe as a new layer.
Resize 70%
Move it into position behind the frame.
We’ll come back to decorate that in a bit.
For now go ahead and add your embellishments. I used:
Snow Bulb 1: Resize 25%
Snow Bulb 2: Resize 25%/Free rotate Left 15 degrees
Snowflake Bow White: Resize 30%/Free rotate Left 25 degrees
Star Blue: Resize 30%/Duplicate/Mirror/Resize 70%
Snowflake Swirl White: Resize 80%
Deer 2a: Resize 60%
Deer 1a: Resize 50%/Mirror
Blue Doodle: Mirror/Flip
Highlight your white background.
Select All.
New Raster layer.
Copy and paste a paper of choice Into Selection.
Deselect.
Apply the mask.
Merge Group
Add your credits.
Add your name.
Move the Snow Globe into the exact position where you want it behind the frame.
In your color pallet:
Foreground: #bfd1e0
Background: #efefef
Click anywhere outside of the globe with your Magic Wand.
Selections/Invert
New Raster layer below the globe.
Apply Mura’s Meister - Cloud
Click on the reset button.
Move the “Amount” slider to your choice.
OK
Rename this layer “Cloud”
Copy and paste Snow Trees 1 as a new layer just above the Cloud layer.
Resize 70%
Move into position.
Selections/Invert
Tap the delete key.
Deselect.
Open up the snow that I supplied.
Highlight Frame 1/Copy
Make your working canvas active.
Highlight the layer that’s just below the Snow Globe.
Paste the snow layer - Rename Snow 1.
Highlight the snow I supplied again.
Highlight Frame 2/Copy
Make your working canvas active.
Paste - (it should be just above Snow 1 layer). Rename Snow 2.
Continue this until you have all 10 snow layers copied onto your working canvas.
Highlight the Cloud layer.
Click anywhere outside of it with your Magic Wand.
Highlight each of the snow layers and tap the delete key.
Deselect.
Close out all snow layers accept for Snow 1.
Resize all layers 80%
Copy Merge
~Time to Animate~
Open up Animation Shop.
Edit/Paste as New Animation.
Back in PSP.
Close out Snow 1 layer.
Open up Snow 2 layer.
Copy Merge.
Carry into AS.
Edit/Paste/After Current Frame.
Back in PSP.
Close out Snow 2 layer.
Open up Snow 3 layer.
Copy Merge.
Carry Into AS.
Edit/Paste/After Current Frame.
Continue copying all snow layers from PSP and pasting in AS.
Once you have them all copied over into AS view your animation.
If you’re happy then save.
I hope you enjoyed this tutorial.
I’d love to see your results and show it off in my gallery.
Email me!
Hugs,
Bev

No comments:
Post a Comment