Supplies
Font of Choice - I used RoseDiFont here
Monti Circular mask here
Snow which I’ve supplied here
Animation Shop
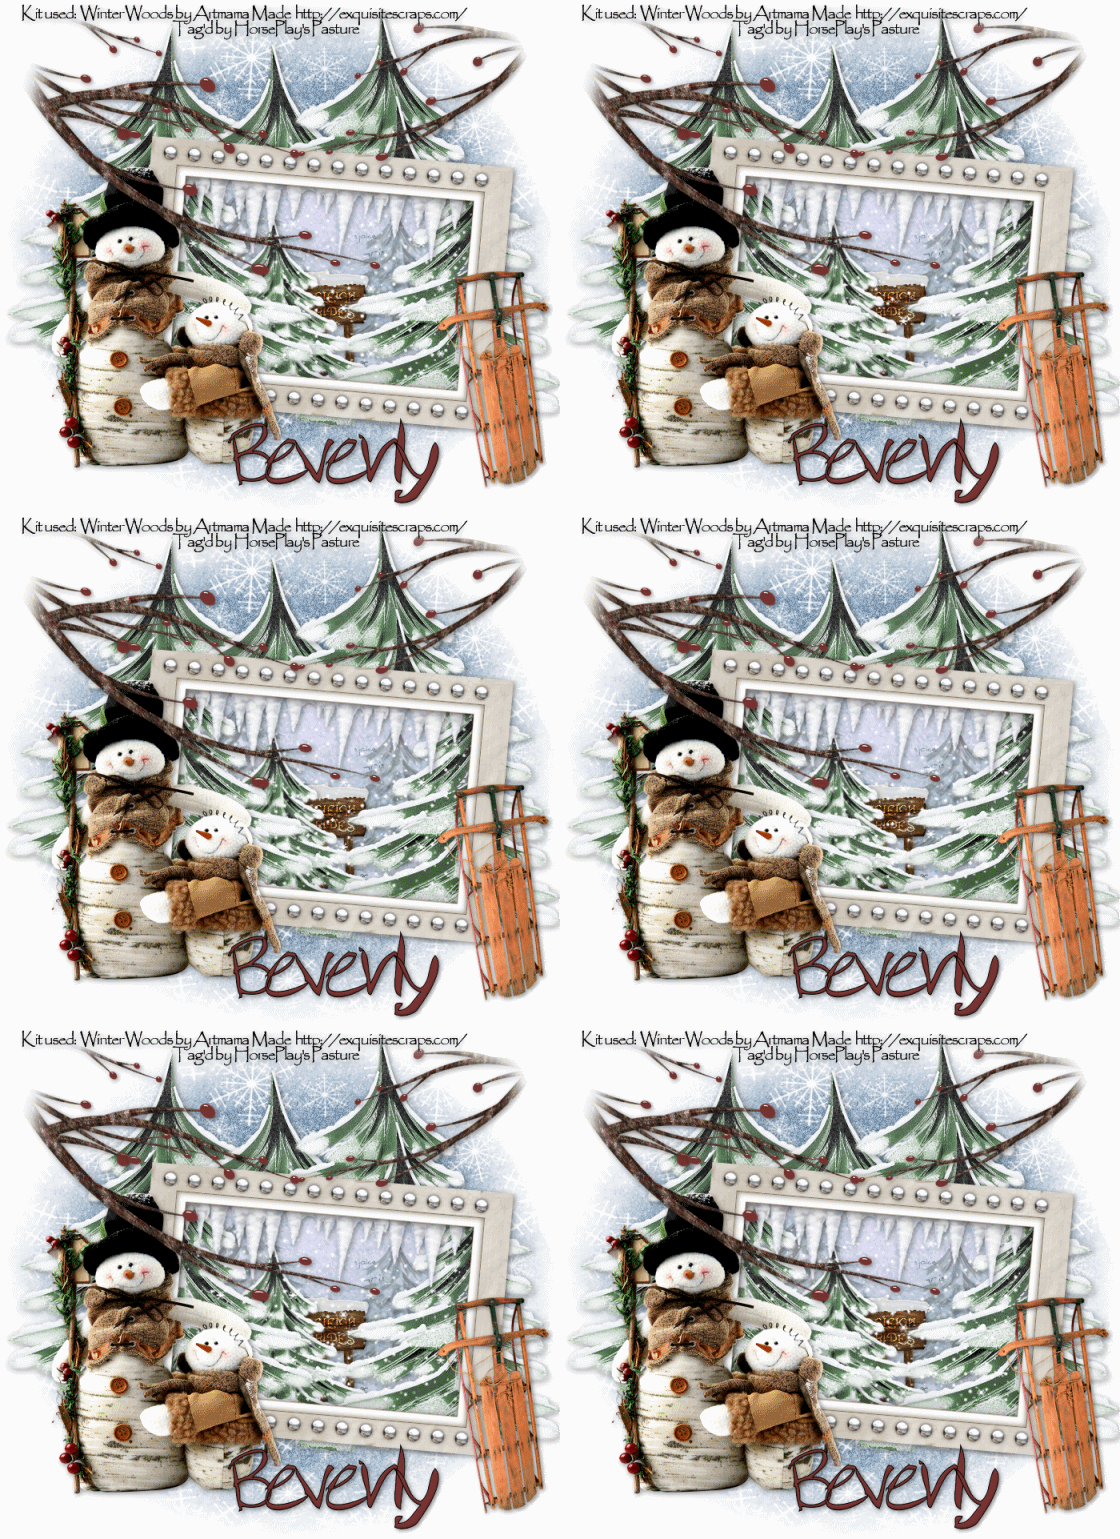
“Winter Woods” is a PTU tagger size scrap kit created by Artmama Made and can be purchased from her store here. You can visit her blog here.
Thank you Artmama for a truly beautiful wintry kit. Makes me feel like I want to live up north again in the cold…hehehe
This tutorial was written assuming you have a working knowledge of PSP.
~♥~ Let’s get started ~♥~
Open up a 700 x 700 blank canvas.
Flood fill white.
Copy and paste Embellie 01 as a new layer.
Resize 70%
Free rotate right 5 degrees.
Click inside of it with your Magic Wand.
Selections/Modify/Expand by 5.
Copy and paste Paper 1 as a new layer below the frame.
Selections/Invert
Tap the delete key.
Deselect for now.
Copy and paste Embellie 9 as a new layer below the frame.
Move the tree to the right side of the frame - (don’t worry about any of the embellishments that overhang the frame right now. We’ll take care of that in a bit.)
Duplicate the tree/Mirror/position at the other side of the frame.
Duplicate/Mirror/Resize 70%/position near the left tree.
Paste the tree again - resize 50%/Duplicate - move both of these trees into position and change the Properties of both of these trees to Multiply and lower the Opacity to about 42.
Copy and paste Embellie 41 as a new layer.
Resize 30%
Move into position - see my tag for reference.
Copy and paste Embellie 40 as a new layer just below the frame.
Resize 70%
Free rotate right 5 degrees.
Move into position - see my tag for reference.
Highlight the paper layer.
Click anywhere outside of the paper with your Magic Wand.
Highlight each element layer and tap the delete key.
Deselect.
Open up the animated snow that I’ve supplied.
Highlight Frame 1
Copy
Make your working canvas active.
In your layers pallet highlight the element that’s just below the icicle element.
Paste the snow layer - rename Snow 1
Make the animated snow layers active.
Highlight Frame 2
Copy
Make your working canvas active.
Paste - it should be just above Snow 1 layer. Rename this layer Snow 2.
Repeat until you have all 10 frames pasted onto your working canvas.
Highlight the paper layer.
Click anywhere outside of it with your Magic Wand.
Highlight each of the snow layers and tap the delete key.
Deselect.
Close out all snowflake layers accept for Snowflake 1 layer.
Add your embellishments. I used:
Embellie 7: Resize 70%/Free rotate right 5 degrees/Duplicate
Embellie 9
Embellie 19
Embellie 32: Resize 60%
Choose any of the snowflake embellishments - Resize 25%
Embellie 25: Duplicate/Mirror/Resize 70%/Duplicate/Mirror
After you’ve gotten all branch layers moved into position Merge Visible all of them.
Select All/Modify/Feather
Number of Pixels:
53
OK
Selections/Invert
Tap the delete key until you have a nice feathered effect.
Crop your tag.
Highlight the white background.
New Raster layer.
Select All
Copy and paste a paper of choice Into Selection.
Deselect.
Apply the mask.
Merge Group.
Add your credits.
If you didn’t use a tube that requires credit then the kit designer would sure appreciate credit on the tag - but is not required.
Add your name.
Resize all layers 80%.
Be sure Snowflake 1 layer is open and all the rest are closed.
Copy Merge.
~Time to Animate~
Open up Animation Shop
Edit/Paste/As New Animation
Go back into PSP.
Close out Snow 1.
Open up Snow 2.
Copy Merge.
Carry into AS
Edit/Paste/After Current Frame.
Back into PSP.
Close out Snow 2.
Open up Snow 3.
Copy Merge.
Carry into AS.
Edit/Paste/After Current Frame.
Continue copying the snow layers one at a time, carrying and pasting them into AS.
Once you’ve done this to all 10 snow layers view your image.
If you’re happy with it then save.
I hope you enjoyed this tutorial.
I’d love to see your results and show it off in my gallery.
Email me!
Hugs,
Bev

No comments:
Post a Comment