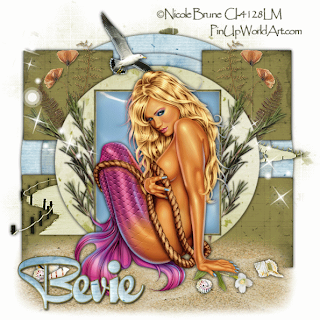
 Clicking on the image will enlarge to full view.
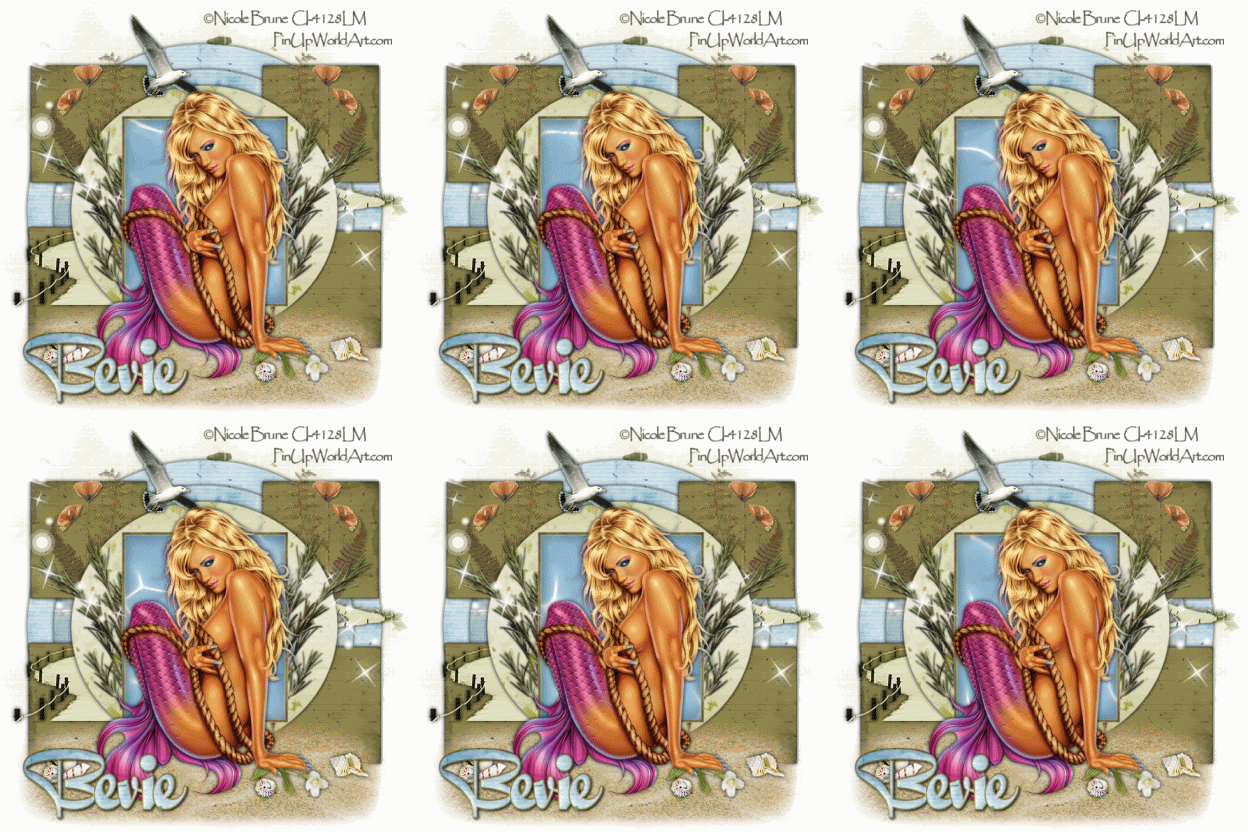
Since I can't get the animation to show, you can see it on the tag below

Supplies
1 tube of choice - I’m using the artwork of Nicole Brune which you can purchase here
Font of Choice - I’m using QuigleyWiggly here
Weescotlass Mask 84 here
Dezigns by Ali Template 55 here
Animation Shop - optional
“By the Sea” a PTU tagger scrap kit by Chili Designz and can be purchased at Exquisite Scraps here
Thank you Chili for an amazing kit!!
Dezigns by Ali Template 55 here
Animation Shop - optional
“By the Sea” a PTU tagger scrap kit by Chili Designz and can be purchased at Exquisite Scraps here
Thank you Chili for an amazing kit!!
This tutorial was written assuming you have working knowledge of PSP.
~♥~ Let’s get started ~♥~
Open up the template. Shift + D. Close out the original.
Image/Resize 120% - Resize all layers checked.
Image/Canvas Size
Width & Height: 700
New Raster layer. Send to Bottom. Flood fill white.
Delete the credit layer.
For each of the template layers do the following:
Select All/Float/Defloat
Copy and paste a paper of choice as a new layer. Selections/Invert. Hit the delete key. Deselect. Delete the template layer. Give a heavy drop shadow.
It is not important that the layer names get changed accept PLEASE KEEP THE MIDDLE RECTANGLE name the same - or you’ll be completely lost when it comes time to animate.
Add your embellishments. I used:
Plant (I used the selection tool to only use the large plant) Resize: 50%. Free rotate right 25 degrees
Pressed Flowers: Resize 40%
Promenade: Resizes 70%
Sparkles
Seagull: Resize 50%
Various Seashells: 25%
Copy and paste your tube as a new layer.
Copy and paste the sand as a new layer beneath your tube. Position near the bottom of your canvas. Use your Freehand Selection Tool and make a large oval beneath your tube.
Selections/Modify/Feather
Number of Pixels: 53
Selections/Invert
Tap the delete key until you’re satisfied with the feathered look of the sand.
Highlight your white canvas. New Raster Layer. Select All. Copy and paste a paper of choice Into Selection. Apply the mask. Merge Group. Resize 120%.
Add your copyrights.
Add your name.
Time to Animate :O)
In PSP copy Middle Rectangle layer.
In Animation Shop:
Click on Effects/Insert Image Effects.
Under Effect you want to choose Underwater.
Effect Length: 1.3 sec
Frames per second: 6
Click Customize
Under Effects:Apply Sunlight Dappling
Under Effects:Apply Sunlight Dappling
Sun Intensity: 25
Liquid Properties:
Water Depth: 20
Waves:
Wave 1: X -24, Y 61
Wave 2: X 0, Y 33
Wave 3: X 11, Y 83
Wave 4: X 50, Y 72
Wave 5: X 18, Y 47
Wave 6: X 21, Y 15
Wave 7: X 52, Y 24
Wave 8: X 36, Y 0
Wave 9: X 12, Y -49
Wave 10: X -19, Y -26
Wave 11: X -48 Y -3
Wave 12: X -29, Y 17
Wave 13 – 16: X 0, Y 0
Click Ok, and then OK again.
View/Normal Viewing
Your Middle Rectangle should now have 8 frames. Highlight and delete Frame 1.
Go back into PSP.
Close out all the layer. Re-open only the layers from just below the Middle Rectangle layer. (DO NOT OPEN THE MIDDLE RECTANGEL LAYER). Copy Merge and carry into AS.
Edit/Paste/As New Animation
Ctl + L. Hit the L key until you have 7 frames.
View/Normal Viewing
Highlight the animated Middle Rectangle. Ctl + A. Copy
Highlight the merged layer from PSP.
Ctl + A.
Ctl + E
Be sure to position the animated water in the center of the circle.
Go back into PSP. Close out all the layers and only open up the layers from ABOVE the Middle Rectangle layer. (DO NOT OPEN UP THE MIDDLE RECTANGLE LAYER) Copy Merge. Carry into AS.
Ctl + A
Click on the Propogate paste button (It looks like 3 folders with the corners bent down)
Ctl + E
Position it so that the frame fits nicely over the animated water.
If you’re happy with how it looks then go to:
Animation/Frame Properties
Change the number to 20
OK
Animation/Resize Animation
Click Percentage of Original
85
OK
Hugs,
Bev

No comments:
Post a Comment