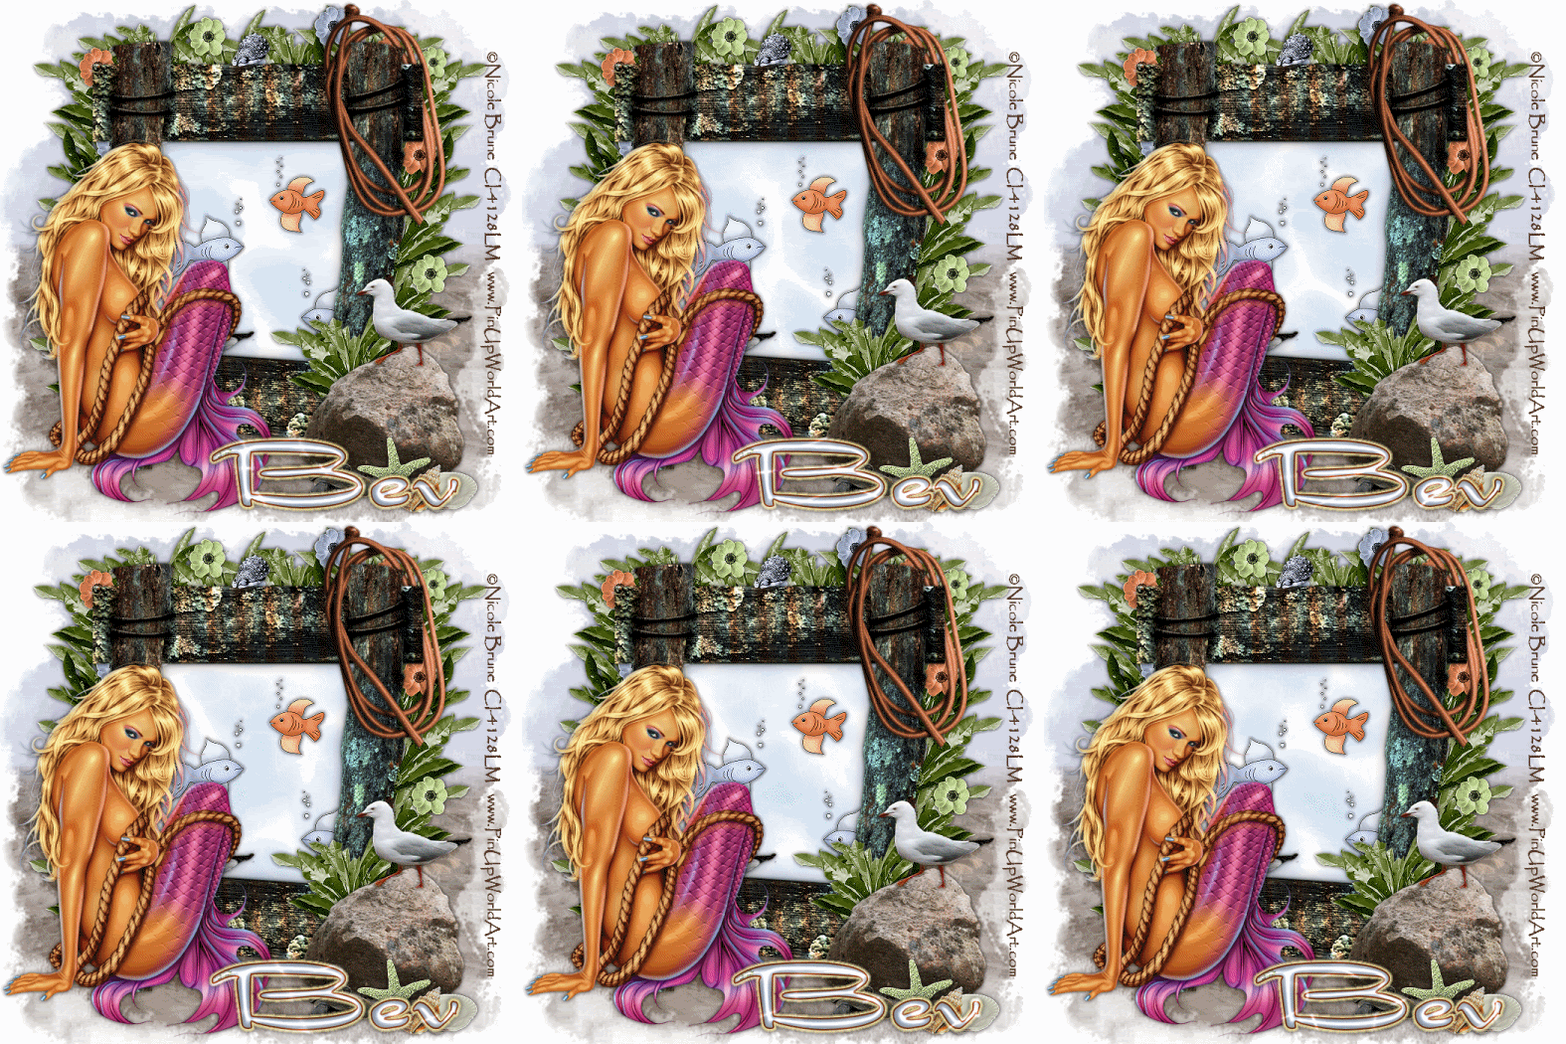
Supplies Needed
1 tube of choice. I'm using the artwork of Nicole Brune which you can purchase here
Font of choice - I'm using Dragonfly here
Becky Mask 22 here
EyeCandy 3.: Glow – Optional
Animation Shop - Optional
"Beach Bum" scrap kit by Creationz by Jo which can be found here. You can visit her blog here.
This kit is packed full of “beach” and loads of fun to use!!
This tutorial was written assuming you have working knowledge of PSP. For this particular tut you must have loads of patience, but it does pay off in the end…hehehe
~♥~ Let’s get started ~♥~
Open a blank canvas 700 X 700. Flood fill white. We’re going to do the mask layer first. Copy and paste Paper 11 as a new layer. Copy and paste the sand as a new layer. Resize 60% and move into the bottom left corner of your canvas. Duplicate/Mirror. Duplicate once more and move to the bottom middle to close the gap. The sand layers should look blended now. Close out your white canvas and merge visible. Apply your mask. Merge Group. Duplicate 3 times to darken the appearance more. Merge visible all mask layers. Resize 110%.
Copy and paste Wood Frame as a new layer. Resize 70%. Use your Magic Wand and click inside the frame. Selections/Modify/Expand by 20. Copy and paste Paper 5 as a new layer. Resize 50%. Selections/Invert. Hit the delete button. Rename this paper layer as Aquarium Water.
Copy and paste Rock. Resize 85%. Position at the bottom right corner of the frame.
Copy and paste Leaves. Position behind the rock. Duplicate and position at the bottom left frame. Duplicate as many times as your like, move them behind the frame and position so the leaves peek out from behind the sides and top of the frame. Merge visible only the leave layers that are behind the frame.
Copy and paste Flowers of your choice. I used:
Flower, Flower 2, and Flower 3. Resize 15% and 50%. Duplicated and resized 80%. Position these in various places on the leaves. Merge visible the leave layer and all the flower layers.
Add your embellishments. I used:
Fish 1 & 2: Resize 25%. (place them below the frame layer)
Pebbles – Resize 25%.
Sea Gull: Resize 60%.
Starfish – Resize 20%.
Shell Pile: 20%.
Shell – Resize 15%.
Wrap String: 50%. Mirror. Free Rotate right 80 degrees
Copy and paste your tube as a new layer. How’s it lookin’? :O)
Add your copyright.
Add your name. I used:
Foreground: #8d3817
Background: Paper 5 set as Pattern
Then added an inner bevel:
Bevel: 2
Width: 7
Smoothness: 55
Depth: 16
Ambience: -27
Shininess: 45
Color: white
Angle: 135
Intensity: 31
Elevation: 88
OK
Then I gave it a glow:
EyeCandy 3.1/Glow
Width: 5
Opacity: 100
Color: #f6e28f
OK
Give it a drop shadow.
If you don’t want to animate then resize and save your tag.
~Onward to the Animation~
In PSP copy the Aquarium Water layer. Carry into Animation shop:Edit/Paste as New Animation.
Click on Effects/Insert Image Effects.
Under Effect you want to choose Underwater.
Effect Length: 1.3 sec
Frames per second: 6
Click Customize
Under Effects:
Apply Sunlight Dappling
Sun Intensity: 25
Liquid Properties:
Water Depth: 20
Waves:
Wave 1: X -24, Y 61
Wave 2: X 0, Y 33
Wave 3: X 11, Y 83
Wave 4: X 50, Y 72
Wave 5: X 18, Y 47
Wave 6: X 21, Y 15
Wave 7: X 52, Y 24
Wave 8: X 36, Y 0
Wave 9: X 12, Y -49
Wave 10: X -19, Y -26
Wave 11: X -48 Y -3
Wave 12: X -29, Y 17
Wave 13 – 16: X 0, Y 0
Click Ok, and then OK again.
Your Aquarium Water should now have 8 frames. Highlight and delete Frame 1.
Go back into PSP and copy your name. Repeat the above step. Please don’t forget after you’ve animated it to delete that first frame. :O)
Now if up to this point hasn’t tried your patience then hang onto your computer seat…hehehe
Go back into PSP. Close out all your layers. Only open up your white canvas, mask, and merged leaves and flowers layers. Copy Merged. Carry into AS.
Edit/Paste as New Animation.
CTL + L and hit the L key until you have 7 frames.
Go back into PSP. Open up the Aquarium Water layer. YOU ARE NOT COPYING ANYTHING AT THIS TIME! Study it for a minute to see where it is on the canvas. I focused on a corner of the water and made a mental note of where it was touching the leaves. Now go back into AS. Highlight the Aquarium Water Animation.
CTL + A
Edit/Copy
Highlight the merged background image with the mask and leaves.
View/Normal Viewing
Ctl + A
Ctl + E
Position the Aquarium Water animation where you remembered it should go.
Go back into PSP. Close out all layers. Open up all layers FROM ABOVE the Aquarium Water layer accept your name – keep your name closed. Copy Merged. Carry it into AS.
Click the Propogate Paste icon button at the top of the screen. It looks like 3 pieces of paper with the corners folded.
Ctl & E.
Move the rest of your tag into position over the aquarium water.
Looking good? Yes? :O)
Now copy your animated name.
Ctl + E.
Position it where you like.
Ctl + A
Animation/Frame Properties:
Change the number to 20.
Animation/Resize Animation:
Percentage of Original:
85%
View your tag. If you’re happy with it then save.
I hope you enjoyed this tutorial.
I’d love to see your results.
Email me!
Hugs,
Bev


No comments:
Post a Comment