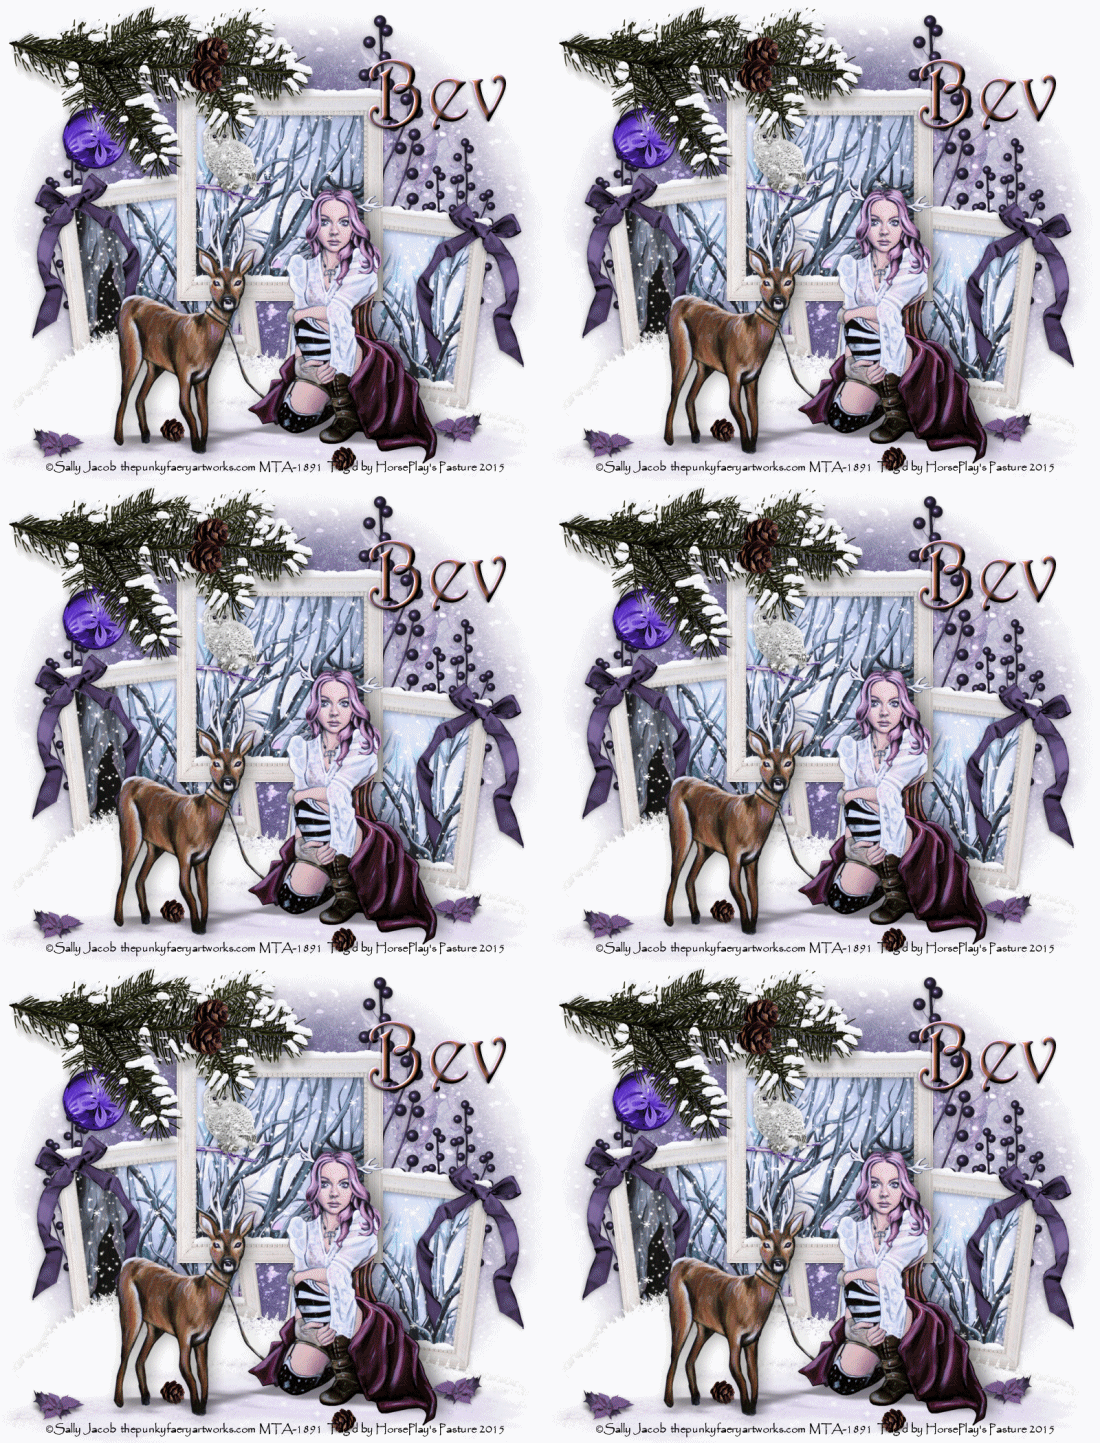
Supplies Needed
1 tube of choice and 1
image – I used the beautiful artwork of Sally Jacob which can be purchased from
My Tubed Art.
Monti Circular Mask here
Animated Snow here
Plug-Ins used:
Eyecandy 5: Nature – Snow Drift
Animation Shop
“Purpleicious Christmas” is a PTU tagger size scrap kit
created by Kim of Chili Designz and can be purchased from Mystical Scraps. You can visit
her blog here.
This tutorial was
written assuming you have working knowledge of PSP.
~♥~ Let’s get started ~♥~
Open up an 800 x 700 blank canvas.
Flood fill white.
Copy and paste Frame 8 as a new
layer.
Resize 50%
Duplicate
Resize 90% and Free rotate Right 7
degrees
Duplicate/Mirror
Go ahead and Copy and Paste your
tube as a new layer now just so you can move all 3 frames into their exact
position – see my tag for reference. Be
sure the largest of the 3 frames is at the top of your layers pallet.
Close out your tube layer for now.
Copy and paste the Background
(image) layer of the tube as a new layer just over your white canvas layer.
Rename this layer “Image”.
Working with the largest frame
first:
Highlight the frame.
Click inside of it with your Magic
Wand.
Selections/Modify/Expand by 4.
Highlight and move the “Image” layer into a position you
like.
Right click on it in your layers
pallet and choose “Promote Section to Layer” from the sub menu that appears.
Move the promoted layer just under
the large frame.
Repeat the above step with the Right
and Left frames.
You can then delete “Image” layer.
Your layer pallet should now be in
this order – starting at the top:
Large Frame
Image that belongs to it.
Right Frame.
Image that belongs to it.
Left Frame.
Image that belongs to it.
Your white background layer.
Close out the Image that belongs to
the large frame.
Highlight the large frame.
Click inside of it with your Magic
Wand.
Selections/Modify/Expand by 4.
Highlight each of the smaller frames
and the images that belong to them and tap the delete key on each one.
Merge Visible all the frames.
Merge Visible all the image layers.
Your layers pallet should now
consist of 3 layers:
Merged Frame layer.
Merged Images layer.
White background.
Copy and paste Owl as a new layer.
Resize 40%
Move into position beneath the
largest frame – see my tag for reference.
Open up the animated snow layers.
Copy and paste each snow layer
beneath the merged frame layer (rename each snow layer as you go...S1, S2, S3
etc) or you can use the “drag and drop” method – you can follow a quick
tutorial in a tutorial I wrote not long ago here to learn how to do the
drag/drop method here.
Once all snow layers are now on your
working canvas:
Highlight the merged image layer.
Click anywhere outside of it with
your Magic Wand.
Highlight each snow layer and tap
the delete key.
Close out all snow layers accept for
S1.
Reopen your tube layer.
Add your elements. I used:
Christmas Pine: Resize 50%/Mirror
Cone 4: Resize 20%/Duplicate/Flip
Bulb 3: Resize 35%
Bow:
Resize 40%/Duplicate/Mirror
Fog:
Resize 75%
Snow 3: Resize 70%Duplicate
Flower: Resize 10%/Duplicate/Mirror
Berries 5: Resize
70%/Duplicate/70%/Duplicate/Mirror/Duplicate
Add your copyrights.
Add your name:
Color Pallet:
Foreground: #9e85a8
Background: #7c5239
Make your Text Tool active
Set the Stroke Width to 2.0
Type your name
Give it a slight Inner Bevel:
Highlight your white background.
New Raster layer.
Select All.
Copy and paste Paper 2 Into
Selection.
Deselect.
Apply the mask.
Merge Group.
Highlight the branch layer.
Apply Eyecandy 5 – Nature – Snow Drift.
Settings Tab:
Small, First Flakes
Basic Tab:
OK
Highlight the merged frame layer.
Repeat the snow effect.
Copy Merged.
~Time to Animate~
Open up Animation Shop.
Edit/Paste/As New Animation.
Back in PSP.
Close out S1 layer.
Open up S2 layer.
Copy Merged.
Carry into AS.
Edit/Paste/After Current Frame.
Back in PSP.
Close out S2 layer.
Open up S3 layer.
Copy Merged.
Back in PSP.
Edit/Paste/After Current Frame.
Repeat the above steps until you
have all 10 frames in AS.
View your animation.
Don’t panic if the snow is drifting
upward! If it is:
Ctrl + A (to highlight all frames)
Animation/Reverse Frames.
View your animation.
If you’re happy with it then save.
I hope you enjoyed this tutorial.
I’d love to see your results.
Hugs,
Bev


No comments:
Post a Comment