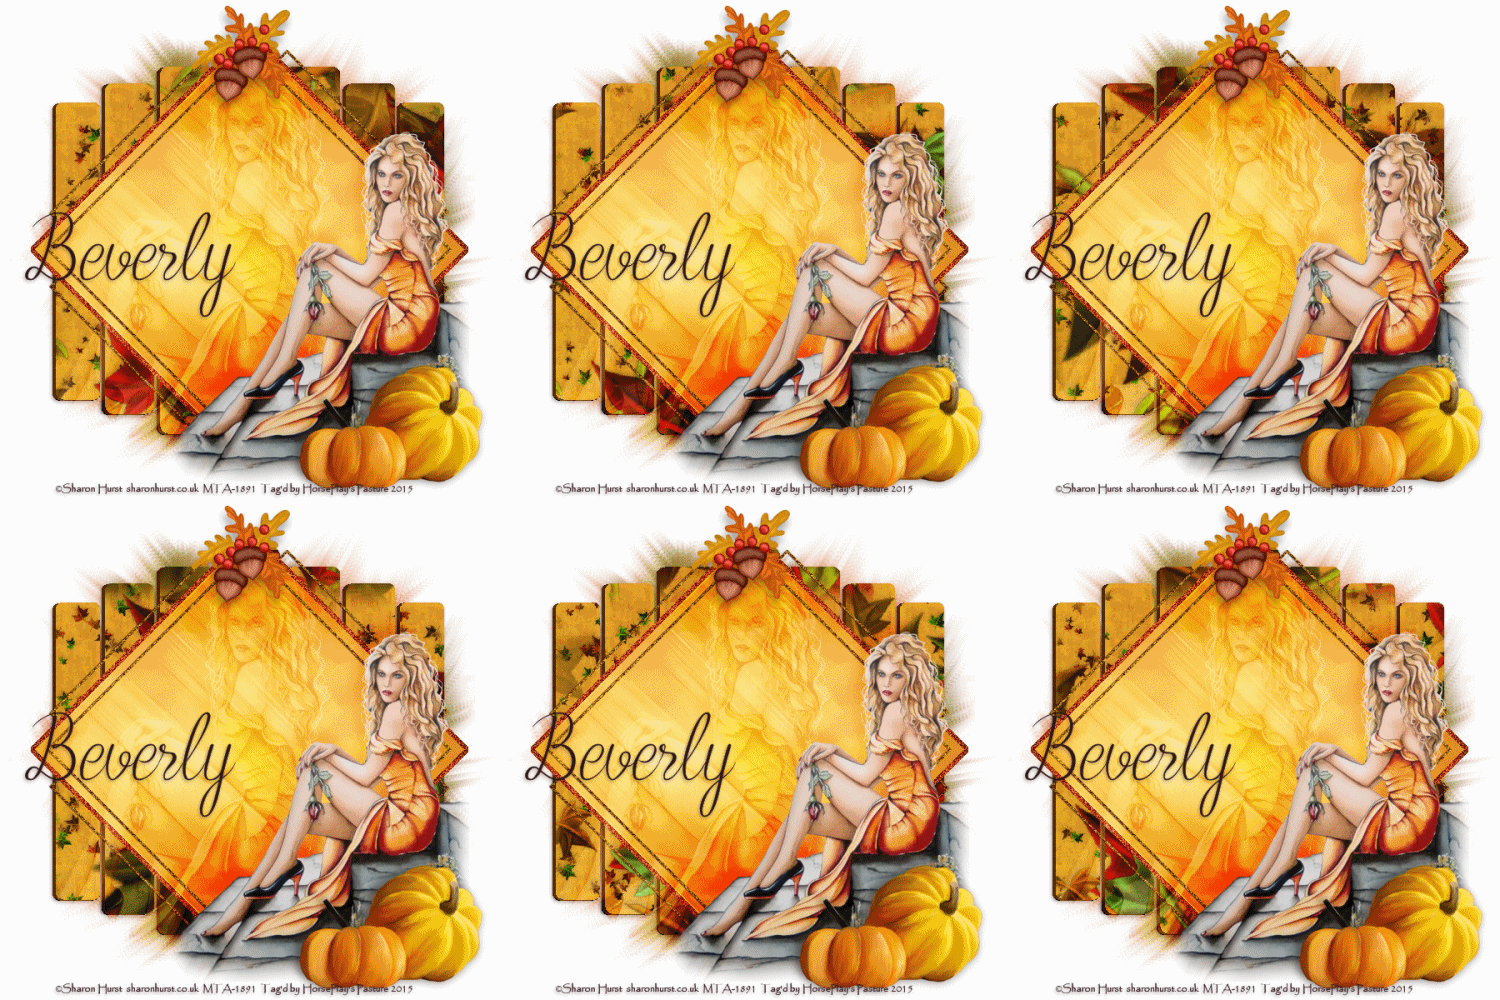
Supplies Needed
1 tube of choice – I
used the beautiful artwork of Sharon Hurst and can be purchased from My Tubed Art. You must have a license
to use.
I also used the
fabulous animation “Falling Leaves” by ©Cat from My Tubed Art as well, and can
be purchased here.
My Template 148 here
Weescotlass Mask 241 here
Plug Ins used:
Artistic – Sponge
Animation Shop
“Autumn Sunset” is now a FTU scrap kit created by me
and can be downloaded from my designing blog here.
This tutorial was
written assuming you have working knowledge of PSP.
~♥~ Let’s get started ~♥~
Open up template.
Shift + D.
Close out the original.
Delete the credit layer.
Highlight Slats layer.
Open up the PSD version of the
animated leaves.
Image/Resize All layers 600 pixels.
(I have a TIP below if you’d rather try that as a way to copy and paste the
leaves)
Highlight Frame 18.
Copy
Make your working canvas active.
Paste as a New Layer just above the
slats layer.
Rename this layer F18.
Make Animated Leaves active.
Highlight Frame 17.
Copy.
Make your working canvas active.
Paste as a new layer just above F18.
Rename this layer F17.
Repeat the above steps until you
have all 18 Frames copied, pasted, and renamed onto your working canvas.
TIP:
Instead of copying and pasting each
and every layer you can do the “drag/drop method”
Move your PSD leaves canvas and
working canvas into position in your program like this:
Simply highlight the layer you want
to copy. Hold your mouse key down on the
layer until you see the pointer turn into a hand. Still holding the mouse key down, move it to
your working canvas (the hand will turn into a tiny dotted box with a white box
with a + sign in it). Once the mouse is
over your working canvas, release the mouse key.
Take my advice…. Don’t try to do this too quickly (you’ll be
tempted – trust me!). But layers won’t
get copied and you’ll just make yourself frustrated trying to figure out which
layer(s) were missed.
Once you have all the leaf layers are
on your working canvas, highlight Slats layer.
Use your Magic Wand and click on
each slat.
Selections/Invert
Highlight each leaf layer and tap
the delete key.
Do Not Deselect.
Be sure all leaf layers are closed
out accept for F1 layer.
Highlight Slats template layer.
New Raster layer.
Copy and paste Paper 11 Into
Selection.
Apply Artistic – Sponge:
Brush Size: 6
Definition and Smoothness: 2
OK
Deselect.
Duplicate the paper layer and move
it slightly to the side. Move this layer
below the original paper layer.
Shift + B (to get the
brightness/colorize box to appear)
Brightness: -159
Contrast: -30
OK
Highlight the original paper layer,
merge down.
Open Paper 10.
Color Pallet:
Foreground: #808080
Background: Pattern/Paper 10/Scale
set at 40
Highlight Diamond 1.
Make your Color Replacer Tool
active.
Double right click your mouse on the
template.
Adjust/Add Remove Noise/Add Noise:
Uniform & Monochrome checked
Noise: 67%
OK
Repeat the above step with Diamond
2, 3, 4, and 5.
Highlight Glitter Diamond.
Click anywhere outside of it with
your Magic Wand.
Selections/Invert
New Raster layer.
Copy and paste Paper 5 Into
Selection.
Apply the same Noise effect.
Deselect.
Delete the template layer.
Highlight Diamond layer.
Click on it with your Magic Wand.
New Raster layer.
Copy and paste Paper 9 Into
Selection.
Do Not Deselect
Flip Paper 9 and Copy.
Paste Into Selection.
Deselect.
Make your Selection Tool active and
set the Feather Option to 30. Section
off the top half of the paper you just pasted Into Selection.
Tap the delete key.
Merge Down.
Deselect.
DO NOT delete the template layer
yet.
Copy and paste your tube as a new
layer.
Move it into the position at the
bottom right of the diamond.
Paste your tube again just over the
merged paper layer. Keep this tube layer
slightly larger than the other tube.
Change the Properties to Soft Light.
Duplicate – change the Properties to
Overlay and move below the Soft Light tube.
Adjust/Blur/Motion Blur 2x’s:
Angle: 315
Strength: 100
OK
Adjust/Sharpeness/Sharpen More 2x’s
Lower the Opacity to about 71.
Highlight Diamond template layer.
Click anywhere outside of it with
your Magic Wand.
Highlight each of the tube above the
paper and tap the delete key.
Deselect.
Delete the template layer.
Add your elements. I used:
El 13: Resize 55%
El 53: Resize 30%
Highlight your white canvas.
Select All.
New Raster layer.
Copy and paste Paper 12 Into Selection.
Deselect.
Adjust/Blur/Gaussian Blur:
Radius: 10
OK
Apply the mask.
Merge Group.
Add your credit.
Add your name:
Color Pallet:
Foreground and Background: #2f171a
Copy Merged.
~Time to Animate~
Open up Animation Shop.
Edit/Paste/As New Animation
Back in PSP.
Close out F1.
Open up F2.
Copy Merged.
Carry Into AS.
Edit/Paste/After Current Frame.
Back in PSP.
Close out F2.
Open up F3.
Copy Merged.
Carry Into AS
Edit/Paste/After Current Frame.
Continue to copy from PSP and
pasting in AS.
Once you have all 18 frames pasted
into AS, view your animation.
If you’re happy with it then save.
I’d love to see your results.
Hugs,
Bev


No comments:
Post a Comment