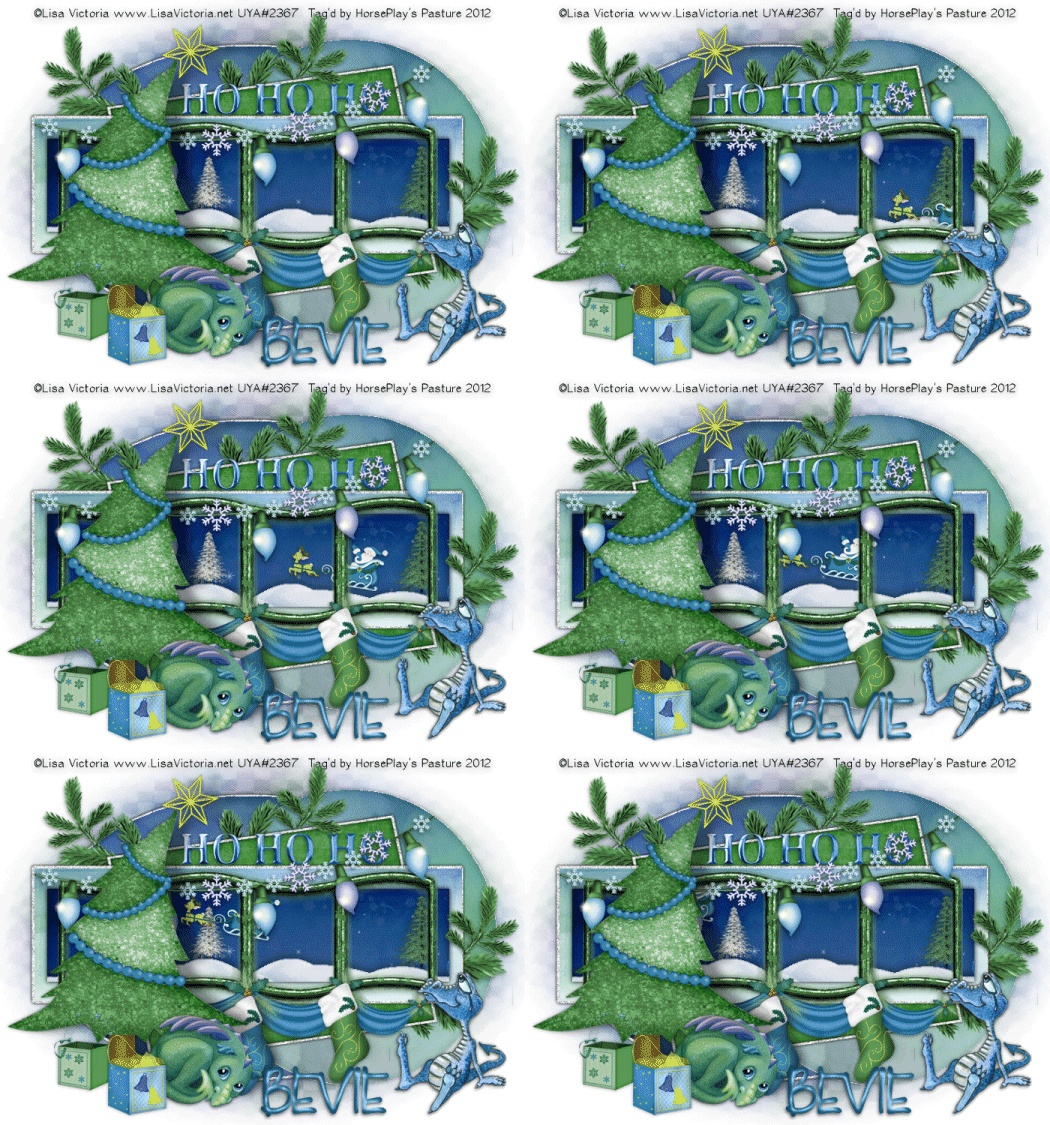
Supplies
2 tubes of choice – I’m using the adorable artwork of Lisa Victoria
which can be purchased from Up Your Art. You must have a license to
use.
Font of choice – I used LD Gregarious – a pay font
Weescotlass Mask 208 here
Scroll down the blog on the left side.
You’ll see “Tracy’s Xmas Temps 1 – 10”.
Animation Shop
“On a Winter’s Day” is a tagger size scrap kit created by me, Bev of
HorsePlay’s Pasture Designs and can be purchased from either of your favorite stores – Lollipops n Gumdrops or Butterfly Blush Designs or Inspirations of Scrap Friends. You can visit
my designing blog here.
~♥~ Let’s get started ~♥~
Open up the template.
Shift + D.
Close out the original.
Delete the top 3 layers.
Resize all layers 90%.
Image/Canvas Size
700 x 500
OK
New Raster layer.
Send to bottom.
Flood fill white.
Highlight Oval 2 layer.
Click anywhere outside of it with your Magic Wand.
Selections/Invert
New Raster layer.
Copy and paste Paper 3 Into Selection.
Deselect.
Delete the template layer.
Highlight Circle 1 layer.
Click anywhere outside of it with your Magic Wand.
Selections/Invert
New Raster layer.
Copy and paste Paper 1 Into Selection.
Deselect.
Delete the template layer.
Highlight Square layer.
Click anywhere outside of it with your Magic Wand.
Selections/Invert
New Raster layer.
Copy and paste Paper 12 Into Selection.
Deselect.
Delete the template layer.
Highlight Rectangle 1 layer.
Click anywhere outside of it with your Magic Wand.
Selections/Invert
New Raster layer.
Copy and paste Paper 2 Into Selection.
Deselect.
Delete the template layer.
Highlight Rectangle 2 layer.
Click anywhere outside of it with your Magic Wand.
Copy and paste Paper 5 as a new layer.
Resize 70%
Move into a position you like over the template layer.
Tap the delete key.
Deselect.
DO NOT delete the template layer.
Highlight Frame 2 layer.
Use your Target Tool and change the color to #8cbb87.
Add the following elements below the frame. Don’t worry about what overhangs the
frame. We’ll clean that up in a bit.
El 51
El 30: Resize 25% and 50%
El 31: Resize 25% and 70%
Highlight the template layer.
Click anywhere outside of it with your Magic Wand.
Highlight each frame that overhangs the starry paper and tap the delete
key.
Deselect.
If any of the trees overhang the frame, use your Erase Tool and erase
the part you don’t want to hang over.
Add the rest of the elements to your tag. I used:
El 64: Resize 70%/Mirror
El 20: Resize 30%
El 21: Resize 30%/Mirror
El 10
El 38: Resize 80%
El 59 & 60: Resize 45% and
80%
57: Resize 50%/Duplicate/Mirror/Duplicate
El 24
Copy and paste your tubes as new layers.
Highlight your white background.
New Raster layer.
Select All.
Copy and paste Paper 6 Into Selection.
Deselect.
Apply the mask.
Resize 115%
Use your Pick Tool and pull the sides out slightly.
Merge Group.
Add your credits.
Add your name.
Foreground and Background: #206b92
Type your name.
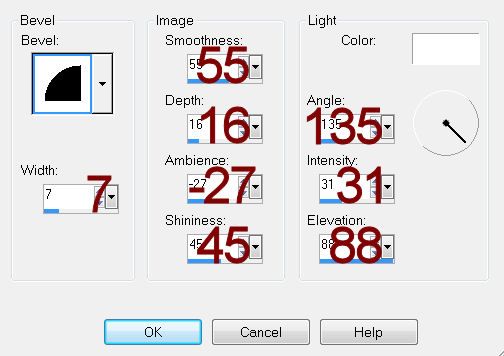
Give it a slight Inner Bevel:

To get the tag ready for animation:
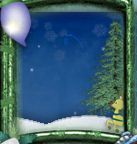
Copy and paste El 49 as a new layer below the wavy frame.
Resize 25%
Give it the drop shadow of choice.
Position the sleigh way down in the far right corner so that just the
reindeer’s head is in the frame:

Duplicate the elements and move it up – keeping the elements lined up.
Keep duplicating and moving them to form a line of them across the sky:

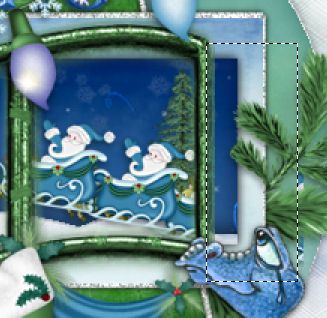
Once you have a line of santa’s across the sky, make your Selection
Tool active set on Rectangle.
Section off the area where the element overhangs the wavy frame.

Highlight the element that’s overhanging and tap the delete key.
Deelect.
Rename all your Santa sleigh elements starting with the first one in
the bottom right corner – Santa 1, Santa 2, Santa 3, Santa 4.
Once the layers are renamed close ALL the santa layers out.
Resize all layers 80%.
Resize all layers 80%.
Copy Merge.
~Time to Animate~
Open up Animation Shop.
Edit/Paste as New Animation.
Back in PSP.
Open up Santa 1 layer.
Copy Merge.
Back in AS.
Edit/Paste/After Current Frame.
Back in PSP.
Close out Santa 1 layer.
Open up Santa 2 layer.
Copy Merge
Back in AS.
Edit/Paste/After Current Frame.
Continue the above 2 steps until all Santa layers are copied into AS.
Once all layers are copied into AS:
Ctrl A (to highlight all frames)
Animation/Frame Properties
Display Time: 17
OK
Highlight Frame 1.
Animation/Frame Properties
Display Time: 350
OK
View your animation.
If you’re happy with it then save.

No comments:
Post a Comment