

Supplies
Font of choice - I used Cinnamon Cake here
Weescotlass Mask 208 here
Plug Ins used:
Photo Tools – Gradient Sky
“Puddles n Pansies” is a tagger size scrap kit created by Pixie of Kissed
by Pix and can be purchased from her store TKO Scraps. You can visit her blog here.
Thank you Pixie for a really adorable kit.
This tutorial was written assuming you have a working knowledge of PSP.
~♥~ Let’s get started ~♥~
Open up a 700 x 700 blank canvas.
Flood fill white.
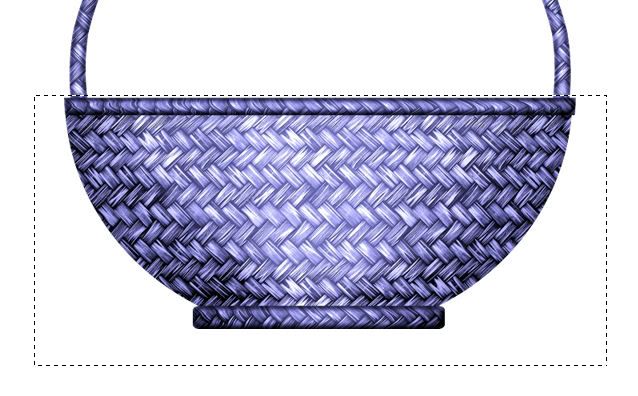
Copy and paste Lavendar Basket as a new layer.
Resize 80%
Make your Selection Tool active set on Rectangle.
Section off the basket part of the element:
Tap the delete key.
Deselect.
Duplicate/Flip
It didn’t look exactly like a circle to me, so move the bottom part of
the basket handle up just a little to make a circle.
Merge Visible both basket handle layers.
Click inside the circle with your Magic Wand.
Selections/Modify/Expand by 4.
New Raster layer below the circle.
Copy and paste Paper 9 Into Selection.
Apply Photo Tools – Gradient Sky:
Use Default Settings.
OK
Copy and paste Easter Grass Border as a new layer below the frame.
Resize 70%
Selections/Invert
Tap the delete key.
Copy and paste Rooster as a new layer.
Resize 70%
Tap the delete key.
Deselect.
Close out your white canvas.
Merge Visible.
Reopen your white canvas.
Move slightly to the right on your canvas.
Copy and paste Pansie Frame 5 as a new layer.
Resize 80%
Move behind the merged layer – see my tag for reference.
Click inside the frame with your Magic Wand.
Selections/Modify/Expand by 4.
New Raster layer below the frame.
Copy and paste Paper 6 Into Selection.
Deselect.
Copy and paste Folded Ribbon 6 as a new layer.
Move into position – see my tag for reference.
Use your Pick Tool to pull the bottom up just a little so you don’t see
it stick out at the bottom.
Add the elements. I used:
Flutter 1: Resize 15%/Free
rotate Right 25 degrees/Duplicate/Mirror
Duckie Girl: Resize 45%
Bunny: Resize 70%
Jellybeans 1 – 6: Resize 10%/Use
the Pick Tool to turn this way and that.
Highlight your white background.
Select All.
New Raster layer.
Copy and paste Paper 2a Into Selection.
Deselect.
Apply the mask.
Resize 115%
Merge Group.
Duplicate
Add your name.
Foreground: #fafed5
Background: #000000
Stroke: .50
Type your name.
Convert to Raster layer.
Resize all layers 80%
No comments:
Post a Comment