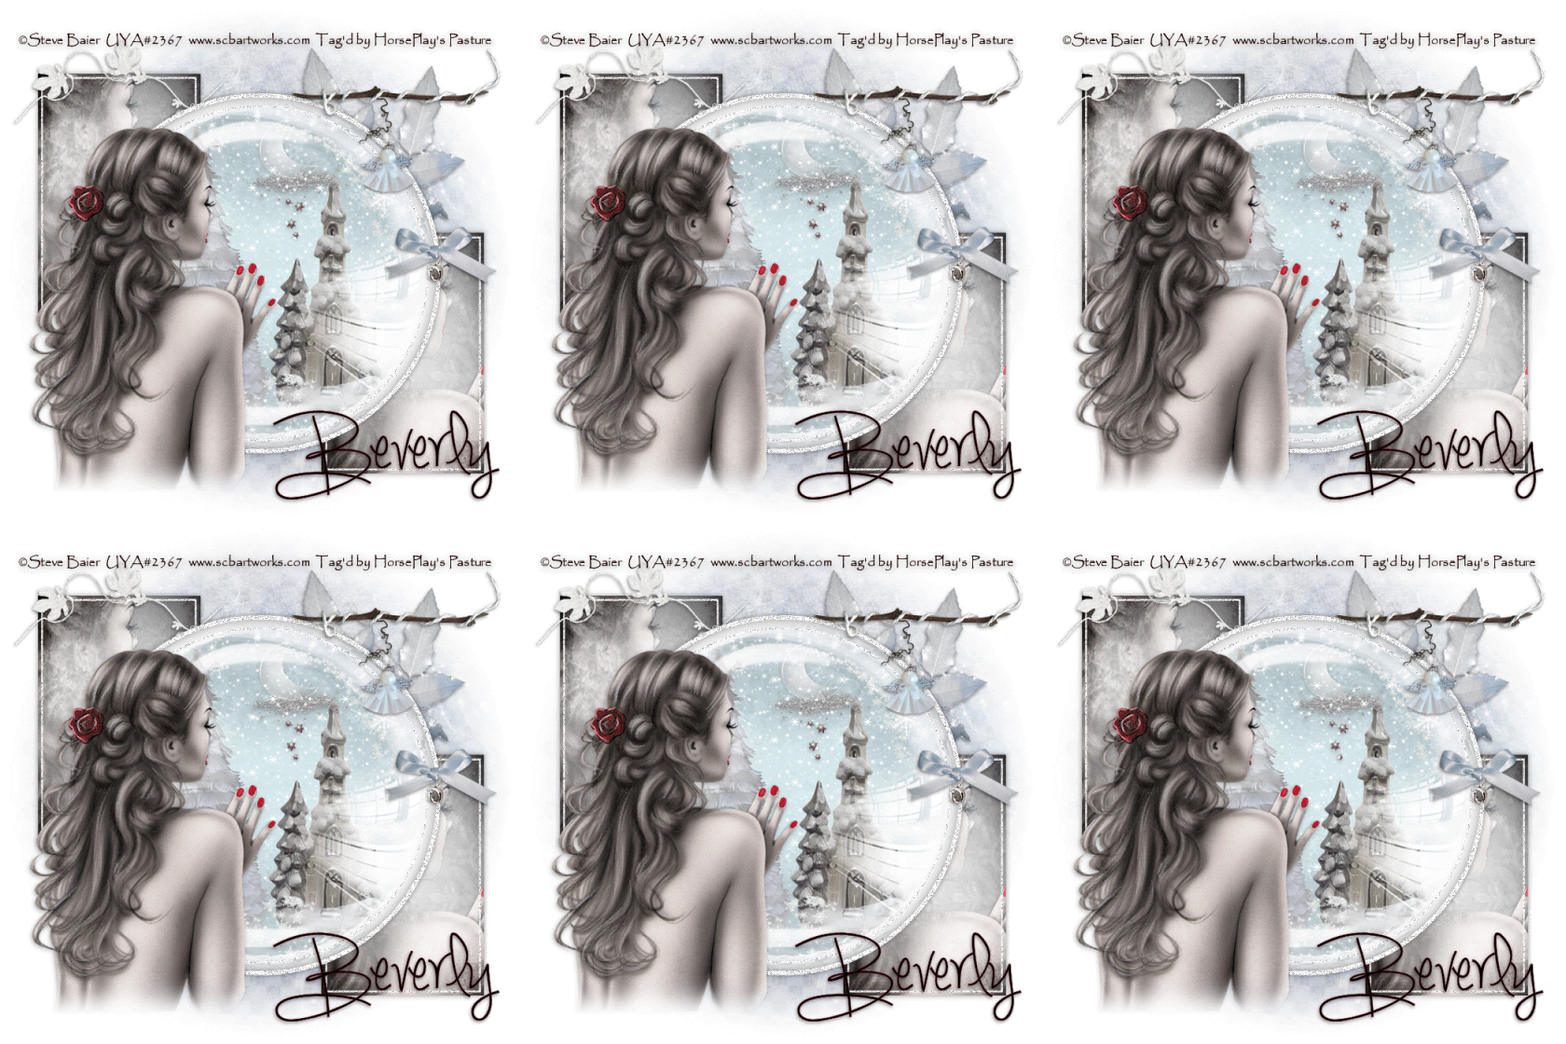
Supplies
1 tube of choice - I used the gorgeous artwork of Steve Baier which can be purchased from Up Your Art. You must have a license to use.
Font of choice - I used Simply Glamorous here
Weescotlass Mask 208 here
Scrap Rebellion Template 62 here
Supplies of Snow here and Glass here. Do not share either element. If you would like to use for anything else please email me.
Animation Shop
“Winter Tenderness” is a tagger size scrap kit created by Conchi of DnScraps and can be purchased from Butterfly Blush Designs. You can visit her blog here.
Thank you Conchi for this beautiful seasonal kit.
This tutorial was written assuming you have a working knowledge of PSP.
~♥~ Let’s get started ~♥~
Open up the template.
Shift + D.
Close out the original.
Image/Canvas size:
700 x 700
OK
Highlight Background layer.
Flood fill white.
Delete Info, Dotted Circles, 3 lines, both small Circle layers and the frames that go with them.
Highlight Top Rectangle layer.
Click on it with your Magic Wand.
New Raster layer.
Copy and paste Paper 2 Into Selection.
Copy and paste your tube as a new layer over the paper.
Change the Properties to Overlay.
Selections/Invert
Tap the delete key.
Deselect.
Delete the template layer.
Highlight Btm Rectangle layer.
Repeat the above step.
Highlight Gradient Circle layer.
Click anywhere outside of it with your Magic Wand.
Selections/Invert
New Raster layer.
Copy and paste Paper 1 Into Selection.
Copy and paste Wintertendernessbubble as a new layer - Rename “Scenery”
Resize 73%
Selections/Invert
Tap the delete key.
Copy and paste Wintertendernessmoon as a new layer.
Resize 25%
Selections/Invert
New Raster layer.
Open up the glass that I supplied.
Copy - close it out.
Paste Into Selection on your working canvas..
Deselect.
Delete the template layer.
Add your elements. I used:
Bowjingledn2: Resize 25% and 80%
Leafdn2: Resize 35%/Duplicate/Mirror
Trunk: Resize 40%
Snowflakes: Resize 50%
Add your copyrights.
Add your name.
Open up the snow that I provided.
Open up all layers.
Highlight Frame 1 layer.
Copy.
Highlight your working canvas.
Highlight the layer just below the Scenery layer..
Paste - your snow layer should appear.
Rename it S1 (short for Snow 1)
Don’t worry about what overhangs the frame. We’ll clean that up in a bit.
Highlight the animated snow layers.
Highlight Frame 2.
Copy
Highlight your working canvas.
Paste
Rename S2.
Continue to copy and paste all 10 snow layers onto your working canvas.
Once you have all snow layers copied and renamed on your working canvas highlight the round paper layer.
Click anywhere outside of it with your Magic Wand.
Highlight each snow layer and tap the delete key.
Deselect.
Keep S1 layer open and close out all other snow layers.
Copy Merge.
Time to Animate:
Open up Animation Shop
Edit/Paste/As New Animation
Back in PSP.
Close out S1.
Open up S2.
Copy Merge
Back in AS.
Edit/Paste/After Current Frame.
Back in PSP.
Close out S2.
Open up S3.
Copy Merge
Back in AS.
Edit/Paste/After Current Frame.
Back in PSP.
Close out S3.
Open up S4.
Copy Merge
Back in AS.
Edit/Paste/After Current Frame.
Back in PSP.
Close out S4.
Open up S5.
Copy Merge
Back in AS.
Edit/Paste/After Current Frame.
Back in PSP.
Close out S5.
Open up S6.
Copy Merge
Back in AS.
Edit/Paste/After Current Frame.
Back in PSP.
Close out S6.
Open up S7.
Copy Merge
Back in AS.
Edit/Paste/After Current Frame.
Back in PSP.
Close out S7.
Open up S8.
Copy Merge
Back in AS.
Edit/Paste/After Current Frame.
Back in PSP.
Close out S8.
Open up S9.
Copy Merge
Back in AS.
Edit/Paste/After Current Frame.
Back in PSP.
Close out S9.
Open up S10.
Copy Merge
Back in AS.
Edit/Paste/After Current Frame.
Animation/Resize Animation:
Percentage of Original checked
Width x Height: 80
OK
View your animation.
If you’re happy with it then save.
Resize all layers 80%.
I hope you enjoyed this tutorial.
I’d love to see your results.
Email me!
Hugs,
Bev

This is very pretty. XXX,Callie =)
ReplyDeleteI think this is one of your best Bev.
ReplyDeleteThat tube is just perfect for it :)
Thank you both so very much!
ReplyDeleteHugs,
Bev xoxo
thanks you very much, Bev, for the tutorial, I love, I love, a lot hugs, conchi
ReplyDeleteYou're very welcome Conchi. Loved the kit!!
ReplyDeleteI love this ... thanks so much for the tut ... stunning as always.. Twychy
ReplyDelete