Supplies
Font of Choice - I used ReklameScript Demo here. Just add to cart and check out.
Monti Circular Mask here
DSB Flux - Bright Noise
Animation Shop
“I‘m a Hero” is a PTU scrap kit created by Rieneke of Rieneke Designs and can be purchased from Twilight Scraps. You can visit her site here.
Thank you Rieneke for one of the most adorable kits I’ve across yet!
This tutorial was written assuming you have a working knowledge of PSP.
~♥~ Let’s get started ~♥~
Open up a 700 x 700 blank canvas.
Flood fill white.
Copy and paste Element 30 as a new layer.
Move to the left just a little.
Click inside of it with your Magic.
Selections/Modify/Expand by 6.
New Raster layer below the frame.
Copy and paste Paper 6 Into Selection.
Copy and paste Element 12 as a new layer below the frame. Move into position - see my tag for reference.
Selections/Invert
Tap the delete key.
Copy and paste Element 17 as a new layer below the frame. Move into position - see my tag for reference.
Tap the delete key.
Deselect.
Add your embellishments. I used:
Element 10: Mirror
Element 58: Resize 70%
Element 45: Resize 25% and 70%/Free rotate left 30 degrees/Duplicate
Element 14: Resize 30%
Element 11: Resize 35%
Element 6: Resize 25%
Element 33: Resize 80%/Duplicate/Move each element to the side
Element 67: Resize 35%/Mirror
Element 15: Resize 25%
Element 9: Resize 50%
Element 3: Resize 45%/Mirror
Element 29: Mirror/Move into position and erase the lower part of the stem that shows lower than the fence.
Element 25: Resize 50%/Mirror
Element 50: Resize 50%
There’s still another frog to paste but first we’re going to add the mask and then get the image ready for animation.
Highlight your white background layer.
New Raster layer.
Select All.
Copy and paste Paper 1 Into Selection.
Deselect.
Apply the mask.
Merge Group.
Highlight Element 50 - It’s the frog.
Duplicate
Move this frog where you’d like to see the little guy land once he jumps from the leaf.
Got him into position? Good!
Rename the frog on the Leaf - Frog 1
Rename the frog on the ground - Frog 3
Copy and paste Element 22 as a new layer.
Resize 45%
Rename this one Frog 2
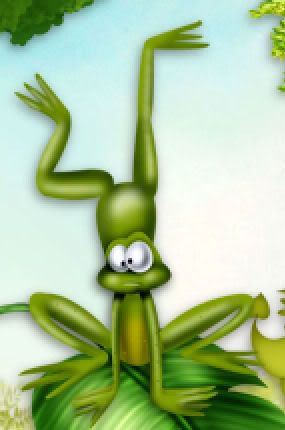
Move him into position behind Frog 1 - match their heads up:

Duplicate and rename Frog 4.
Move this frog behind the frog on the ground.
Match their heads up the same way.
In your layers pallet the Frog layers should be (from top to bottom)
Frog 1, 2, 3, and 4.
Close out Frogs 2, 3, and 4.
Add your credit.
Add your name.
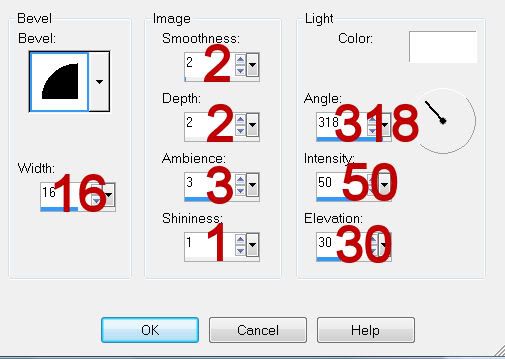
Give it a slight inner bevel:

Apply DSB Flux - Bright Noise:
Intensity: 32
Mix checked
OK
Copy Merge.
~Time to Animate~
Open up Animation Shop.
Edit/Paste/As New Animation
Back in PSP.
Close out Frog 1
Open up Frog 2.
Copy Merge
Carry into AS
Edit/Paste/After current Frame.
Back in PSP.
Close out Frog 2.
Open up Frog 3.
Copy Merge
Carry into AS.
Edit/Paste/After Current Frame.
Back in PSP.
Close out Frog 3.
Open up Frog 4.
Copy Merge
Carry into AS
Edit/Paste/After Current Frame.
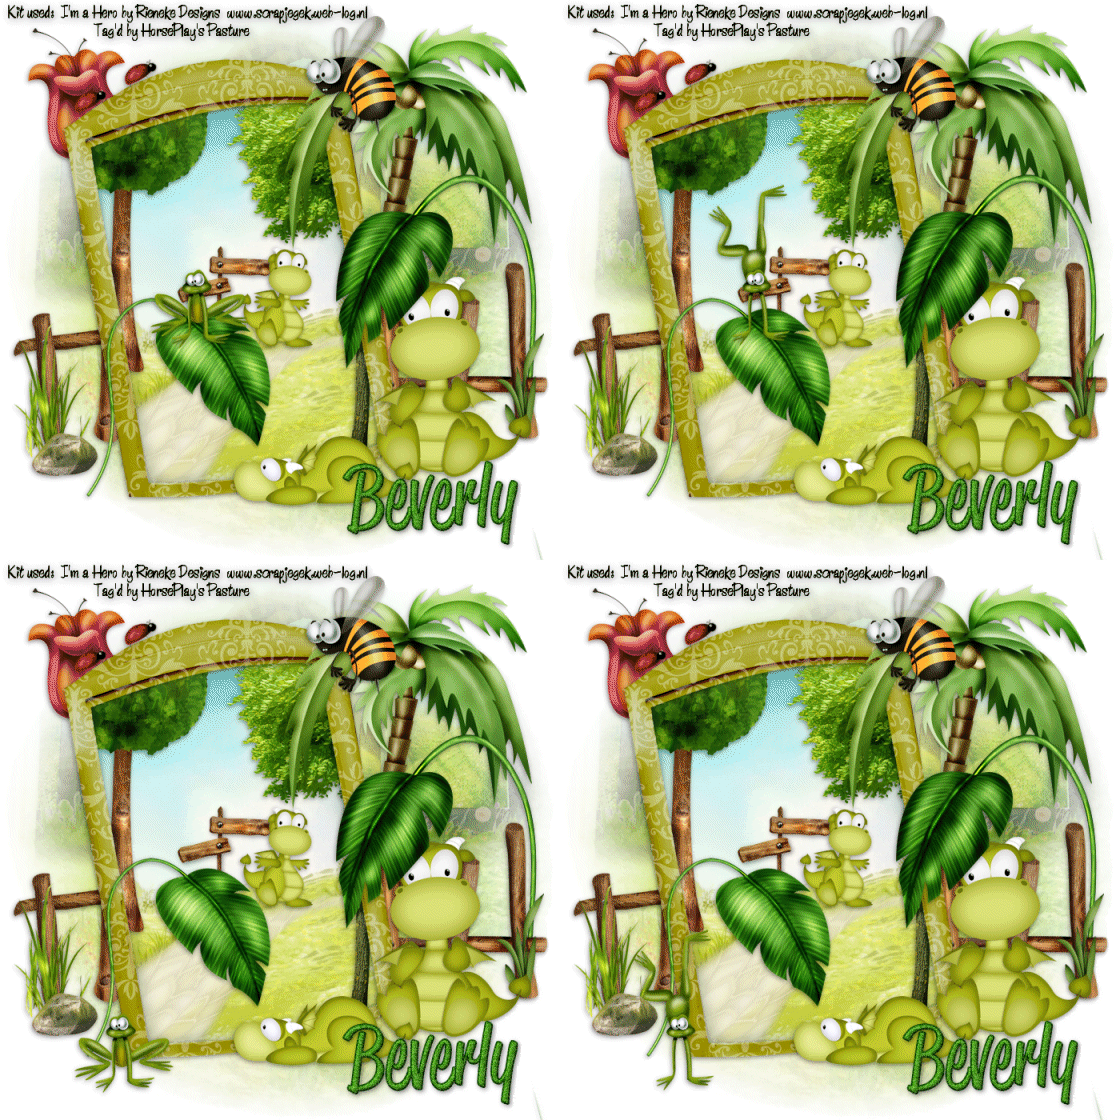
You should have 4 frames.
Highlight Frame 1.
Animation/Frame Properties:
Change the Display time to: 200
Highlight Frame 2.
Animation/Frame Properties:
Change the Display time to: 18
Highlight Frame 3.
Animation/Frame Properties:
Change the Display time to: 400
Highlight Frame 4.
Animation/Frame Properties:
Change the Display time to: 18
Animation/Resize Animation
Percentage of Original checked
Width x Height: 80
OK
View your animation.
If you’re happy with it then save.
I hope you enjoyed this tutorial.
I’d love to see your results and show it off in my gallery.
Email me!
Hugs,
Bev

No comments:
Post a Comment