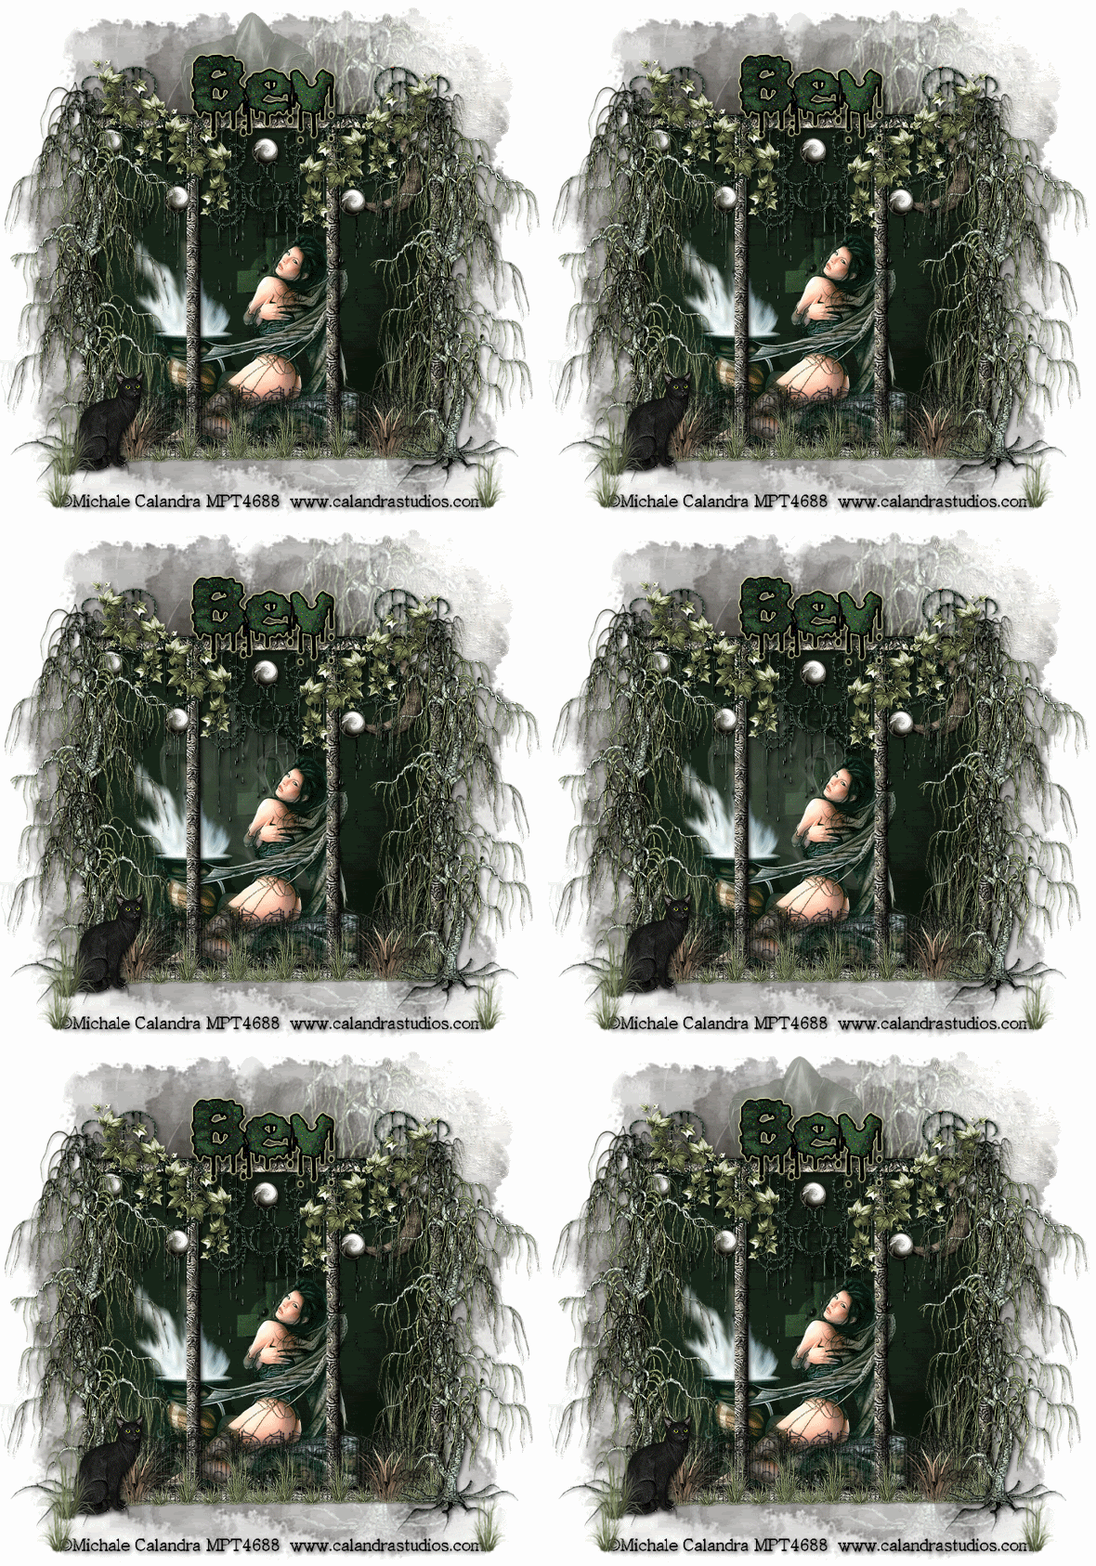
Supplies
1 tube of choice - I’m using the artwork of Michael Calandra which you can purchase here
Font of Choice - I’m using Plasma Drip here
Becky Mask 22 here
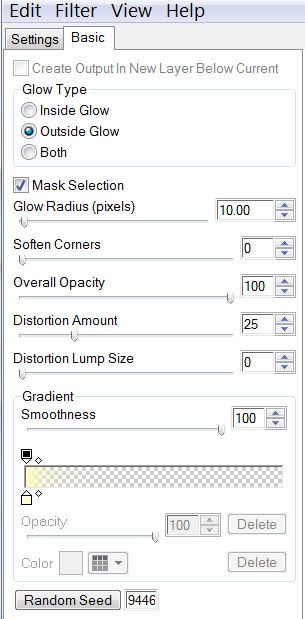
Eyecandy 5: Impact - Gradient Glow
Animation Shop (Optional)
“Spooky Hollow” is a PTU tagger size scrap kit created by Susan of Tootypup Scraps and can be purchased at Twilight Scraps.
You can visit her blog here.
Thank you Susan for a stunning Halloween kit!
This tutorial was written assuming you have a working knowledge of PSP.
~♥~ Let’s get started ~♥~
Open up a 700 X 700 transparent image.
Flood Fill white.
First we’ll make the layer for the mask.
New Raster layer.
Select All.
Copy and paste a paper of choice Into Selection.
Deselect.
Copy and paste Shadow 1 as a new layer.
Copy and paste a Moon of your choice.
Copy and paste Tree 3: Resize 140%
Close out your white canvas.
Merge Visible.
Apply the mask.
Merge Group.
Copy and paste Frame 3 as a new layer.
Resize 70%.
Using your Selection Tool, outline the frame.
New Raster layer below the frame.
Copy and paste a paper of choice Into Selection.
DO NOT DESELECT.
Copy and paste your tube below the frame.
Selections/Invert
Tap the delete key.
Deselect.
Add your embellishments. I used:
Tree 3
Iron Fence : Resize 40%
Cat 1: Resize 40%
Grass 1: Resize 20%
Ghost 3: Resize to your liking
Add your copyrights.
Add your name.
Adjust/Add Remove Noise/Add Noise
Random
Noise: 10%
OK
Apply Eyecandy 5 Impact - Gradient Glow

Resize all layers 85%.
Move your ghost into position so that it appears above your name.
If you don't want to animate then save your tag.
If you do then Copy Merge.
Time to Animate:
Carry into Animation Shop.
Edit/Paste/As New animation.
Back into PSP.
Lower the Opacity of the ghost to 75
Copy Merge
Carry into AS
Edit/Paste/After Current Frame
Back into PSP.
Lower the Opacity of the ghost to 50
Copy Merge
Carry into AS
Edit/Paste/After Current Frame
Back into PSP.
Lower the Opacity of the ghost to 25
Copy Merge
Carry into AS
Edit/Paste/After Current Frame
Back into PSP.
Lower the Opacity of the ghost to 0
Copy Merge
Carry into AS
Edit/Paste/After Current Frame
Back into PSP.
Open the opacity of the ghost to 100.
Move it below the frame and get into position where you want.
Close the opacity to 0 again.
Copy Merge.
Carry into AS
Edit/Paste/After Current Frame
Back into PSP.
Change the Opacity of the ghost to 25
Copy Merge
Carry into AS
Edit/Paste/After Current Frame
Back into PSP.
Change the Opacity of the ghost to 50
Copy Merge
Carry into AS
Edit/Paste/After Current Frame
Back into PSP.
Change the Opacity of the ghost to 75
Copy Merge
Carry into AS
Edit/Paste/After Current Frame
Back into PSP.
Change the Opacity of the ghost to 100
Copy Merge
Carry into AS
Edit/Paste/After Current Frame
Now repeat the above steps going back and forth between PSP and AS accept you want to lower the opacity each time… Lower to 75, then 50, then 25, then 0.
After you’ve done that….
Highlight Frame 3.
Copy
Highlight Frame 14.
Edit/Paste after current frame.
Highlight Frame 2.
Copy
Highlight Frame 15.
Edit/Paste after current frame.
Highlight Frame 1.
Copy.
Highlight Frame 16.
Edit/Paste after current frame.
Ctl + A (to highlight all frame)
Animation/Frame Properties:
30
Now highlight frames 1, 5, 9, and 13.
Animation/Frame Properties:
50
View your animation.
If you’re happy then save.
I hope you enjoyed this tutorial.
I’d love to see your results and show it off in my Show Arena.
Email me!
Hugs,
Bev


No comments:
Post a Comment