Supplies
Font of Choice - BubbleSoft here
Zuzzanna Mask 7 here
Mura Meister - Cloud
“It‘s a Jungle Out There” is PTU tagger size scrap kit created by Creative Intentionz and can be purchased at Paradise4Scrappers. You can visit Nikki’s blog here.
Thank you Nikki for the most incredible scrap kit!
This tutorial was written assuming you have a working knowledge of PSP.
~♥~ Let’s get started ~♥~
Open a transparent 700 x 700 canvas.
Flood Fill white.
Foreground: Set to Pattern using a paper of choice from kit
Background: Null
Use your Ellipse Tool - width set on 10
Create a circle to fill the center of your canvas.
Promote to Raster Layer
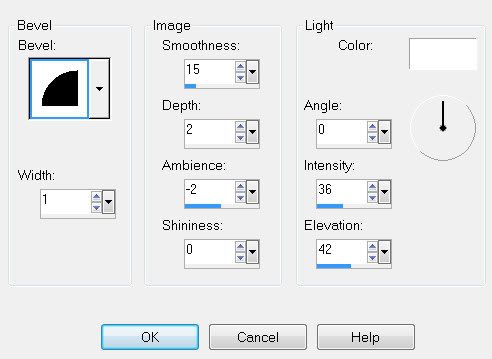
Give it a slight inner bevel:

Open up Paper 3.
Shift + D
Close out the original.
Right click on it in your layers pallet
Promote Background Layer
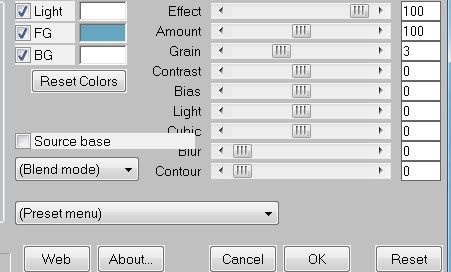
Apply Mura Meister Cloud

Copy Merge.
Make your working canvas active again.
Use your Magic Wand and click inside the circle.
Paste your cloud image below the circle layer.
Selections/Modify/Expand by 4
Selections/Invert
Hit the delete key.
Deselect.
Copy, Paste, and arrange Palm Trees 1 & 2 below the circle.
It’s alright if it hangs outside the circle. We’ll take care of that later.
Copy and Paste Ferns 2 as a new layer.
Arrange near the bottom of the circle.
Copy and Paste the Hippo as a new layer.
Position near the bottom of the circle.
Make sure the elements are where you want them.
Once they are, highlight each layer and tap the delete key.
Close out the white background.
Merge Visible.
Reopen the white background.
Copy and paste Frame 3 as a new layer.
Resize 70%.
Mirror and move to left side of circle.
Use your Magic Wand and click inside of each square.
Copy and paste your cloud paper again below the frame.
Selections/Modify/Expand by 4.
Selections/Invert.
Tap the delete key.
Deselect.
Copy and paste Giraffe as a new layer.
Mirror. Move into position at the right side of your circle.
Duplicate/Mirror
Click your mouse on the duplicated image and then press your left arrow key. Move the Giraffe over until it’s positioned below the frame.
Using your Magic Wand again, click inside of each square of the frame.
Selections/Modify/Expand by 4.
Selections/Invert.
Be sure the duplicated giraffe layer is highlighted
Tap the delete key.
Deselect.
Change the Properties to Multiply.
Add your embellishments. I used:
Monkey
Clouds 1 & 2
Palm Tree 1
Palm Tree 2: Resize 80%
Sun: Resize 60%
Leaf Branches 1
Grass 4: Resize 50%
Highlight your white canvas.
Select All.
Copy and patse a paper of choice Into Selection.
Deselect.
Apply the mask.
Merge Group.
Add your copyrights if you used a tube.
If you only used what was in the kit, be kind an give credit to Nikki.
Add your name.
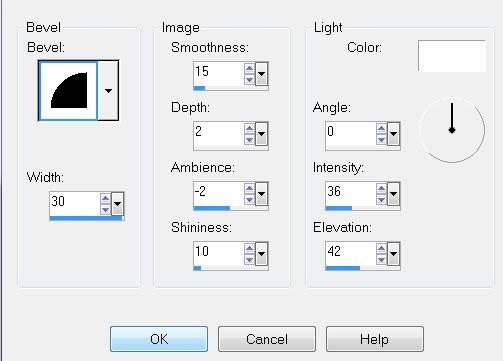
I gave mine an inner bevel:

I resized Wrap 3 by 50% and placed behind my name.
Resize all layers 85%.
I hope you enjoyed this tutorial.I’d love to see your results and show it off in my Show Arena.
Email me!
Hugs,
Bev


No comments:
Post a Comment