Supplies
1 tube of choice - I’m using the artwork of Michael Calandra which you can purchase here
Font of Choice - Haunt here
Weescotlass Mask 254 here
Animation Shop
“All Hallows Eve” is a PTU tagger size scrap kit created by Nikki of Creative Intentionz and can be purchased at Paradise4Scrappers.
Thank you Nikki for such a spooky kooky kit!
Boo!
This tutorial was written assuming you have a working knowledge of PSP.
The Animation takes a bit of time, but it’s not hard at all!
~♥~ Let’s get started ~♥~
Open up a 700 X 700 transparent image.
Flood fill white.
We’ll create the layer for the mask first.
Flood fill with a dark color of your choice.
I used #3a3b40
Copy and paste the following elements - arranging them as you like:
Moon: Resize 60%
Gates: Resize 90%
Tree 1
Bat 2: Resize 40%
Close out your white canvas.
Merge Visible.
Apply the mask.
Merge Group.
Reopen your canvas.
Copy and paste your tube as a new layer.
Add your embellishments. I used:
Tree Stump: Resize 80%
Headstone 2: Resize 55%
Headstone 3: Resize 50%
Tree 2: Resize 50%
Ghost 1: Resize 80%
Dead Weed 1 & 2: Resize 50%
Skull 1: Resize 40%
Scattered leaves
Spider 2: Resized to fit in palm
Add your copyrights.
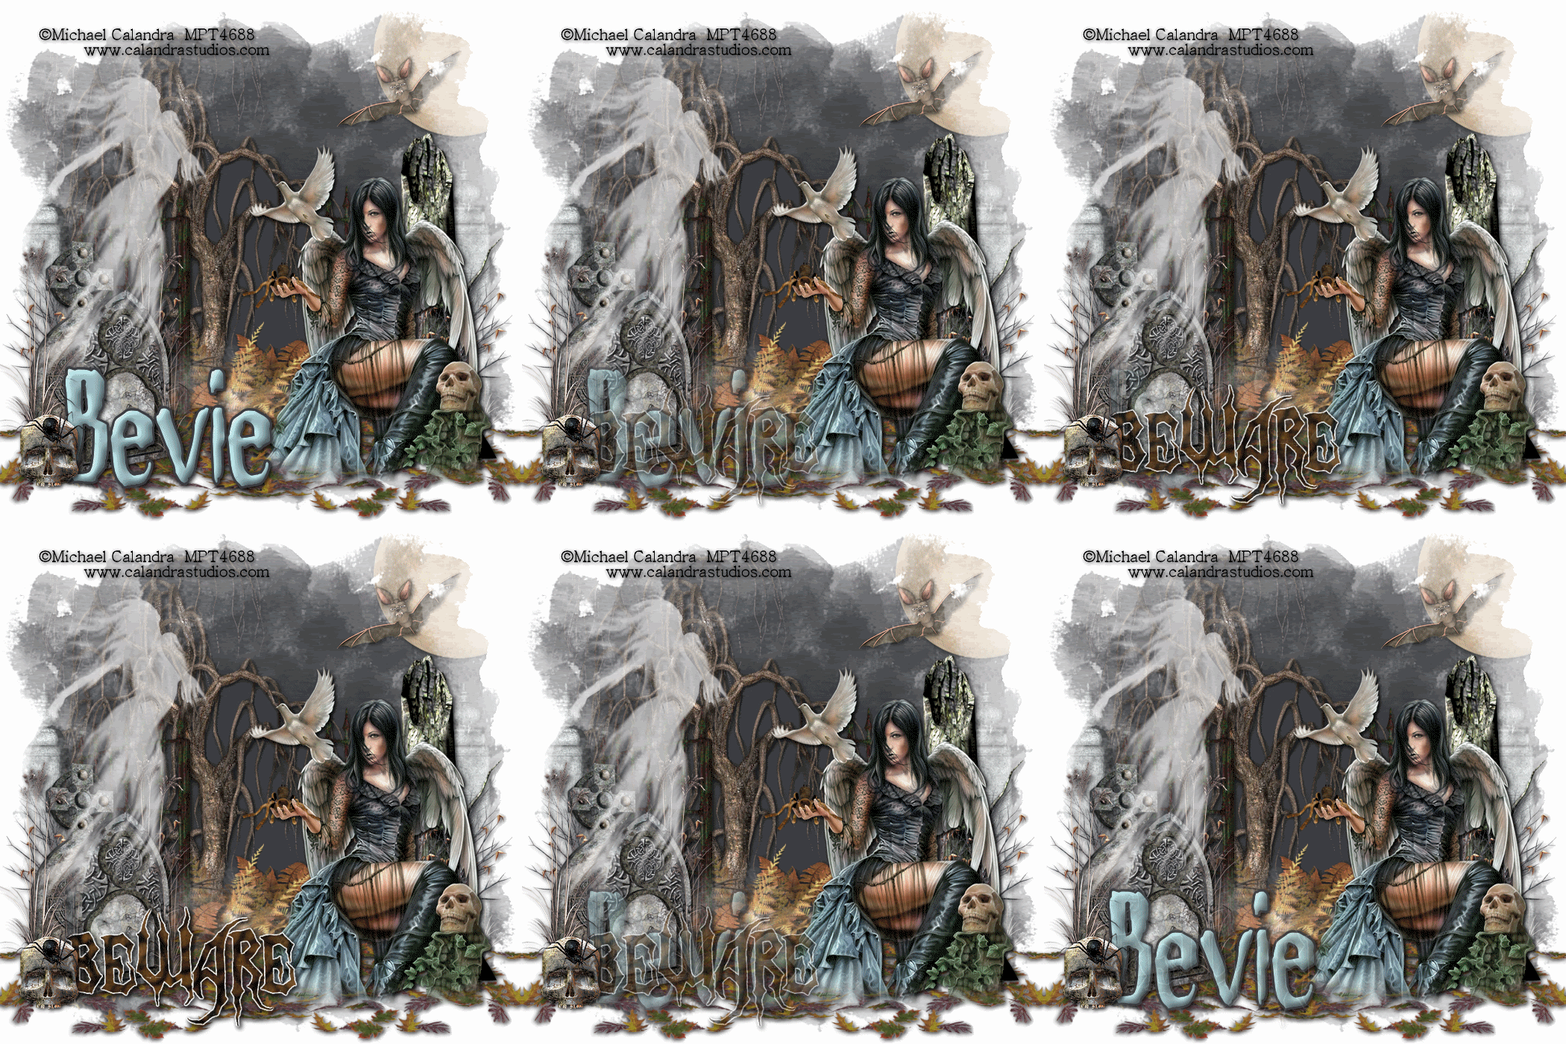
Add your name and place is exactly where you want it.
Copy and paste the word art “Beware”.
Resize 80%
Position behind your name.
Lower the opacity to 0.
Resize all layers 85%
Time to animate:
Animating this tag really isn’t hard at all.
Just monotonous.
Copy Merge and carry into Animation Shop
Edit/Paste/As new Animation
Go back into PSP.
Highlight your name and lower the opacity to 90
Highlight “Beware” and open the opacity to 10.
Copy Merge and carry into Animation Shop.
Edit/Paste/After current frame.
Go back into PSP.
Highlight your name and lower the opacity to 80
Highlight “Beware” and open the opacity to 20.
Copy Merge and carry into Animation Shop.
Edit/Paste/After current frame.
Go back into PSP.
Highlight your name and lower the opacity to 70
Highlight “Beware” and open the opacity to 30.
Copy Merge and carry into Animation Shop.
Edit/Paste/After current frame.
Go back into PSP.
Highlight your name and lower the opacity to 60
Highlight “Beware” and open the opacity to 40.
Copy Merge and carry into Animation Shop.
Edit/Paste/After current frame.
Go back into PSP.
Highlight your name and lower the opacity to 50
Highlight “Beware” and open the opacity to 50.
Copy Merge and carry into Animation Shop.
Edit/Paste/After current frame.
Go back into PSP.
Highlight your name and lower the opacity to 40
Highlight “Beware” and open the opacity to 60.
Copy Merge and carry into Animation Shop.
Edit/Paste/After current frame.
Go back into PSP.
Highlight your name and lower the opacity to 30
Highlight “Beware” and open the opacity to 70.
Copy Merge and carry into Animation Shop.
Edit/Paste/After current frame.
Go back into PSP.
Highlight your name and lower the opacity to 20
Highlight “Beware” and open the opacity to 80.
Copy Merge and carry into Animation Shop.
Edit/Paste/After current frame.
Go back into PSP.
Highlight your name and lower the opacity to 10
Highlight “Beware” and open the opacity to 90.
Copy Merge and carry into Animation Shop.
Edit/Paste/After current frame.
Go back into PSP.
Highlight your name and lower the opacity to 0
Highlight “Beware” and open the opacity to 100.
Copy Merge and carry into Animation Shop.
Edit/Paste/After current frame.
You still with me???!!!
Phew! Ok, glad ya are.
Told ya it’d be monotonous….hehehe
Now we’re going to just be working in Animation Shop.
You should have a total of 11 frames.
Highlight Frame 2.
Hold down on the control key and click on frames 3 - 10
You should have Frames 2 - 10 highlighted.
Edit/Copy
Edit/Paste/As New Animation
Ctl + A to highlight all frames
Animation/Reverse Frames
Edit/Copy
Make your Original frames active
(the ones you worked so hard on bringing in from PSP)
Highlight the last frame.
Edit/Paste/After Current Frame
Highlight all frames.
Animation/Frame Properties
Change the number to 25
Highlight Frames 1 and 11
Animation/Frame Properties
Change the number to 250
View your animation.
If you’re happy then save and show off your awesome work!!
I hope you enjoyed this tutorial.
I’d love to see your results and show it off in my Show Arena.
Email me!
Hugs,
Bev


No comments:
Post a Comment