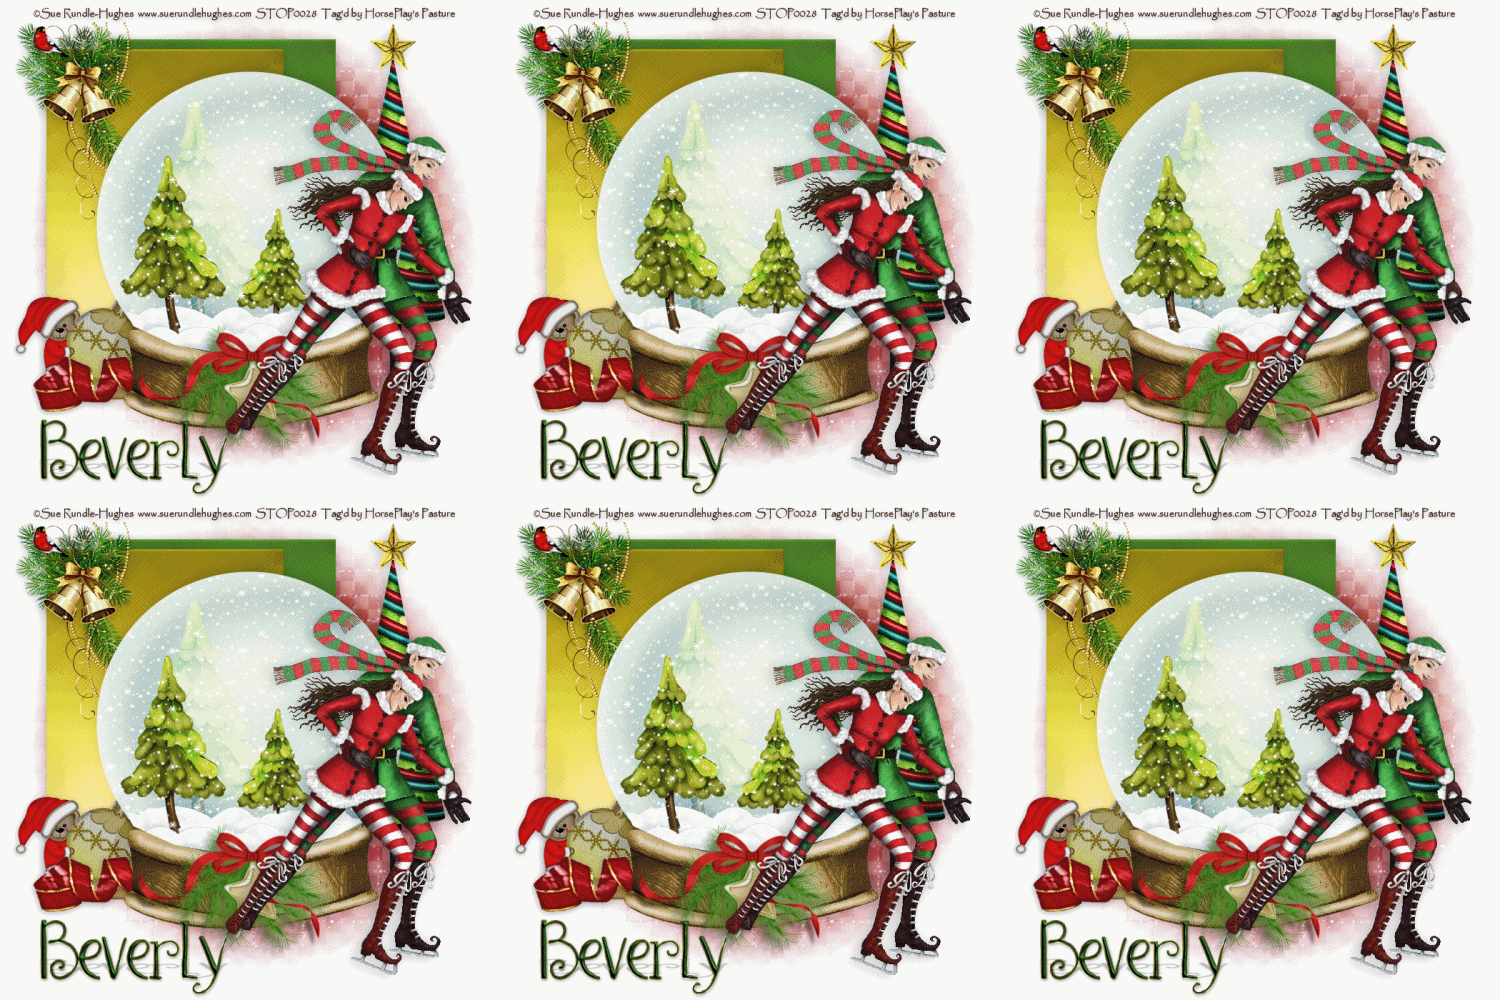
Supplies
1 tube of choice - I used the beautiful artwork of Sue Rundle-Hughes which can be purchased from PSP Tube Stop. You must have a license to use.
Font of choice - I used Waterfalls here
Weescotlass Mask 208 here
Plug Ins used:
Brush Strokes - Crosshatch
Snow which I supply here
Animation Shop
"Happy Holi-Christmas" is a tagger size scrap kit created by Melissa of P&A Designs and can be purchased from TKO Scraps. You can visit her blog here.
This tutorial assumes you have a working knowledge of PSP.
~♥~ Let's get started ~♥~
Open up a 700 x 700 blank canvas.
Flood fill white.
Copy and paste 28 as a new layer.
Copy and paste the following elements as new layers - see my tag for placement. Don't worry about whatoverhangs the globe. We'll clean that up in a bit -
58: Duplicate/Mirror/Move it up slightly higher than the other layer.
29: Resize 70%/Change the Properties to Overlay
29 again: Resize 50%/Duplicate/Mirror
We'll take care of the mess in a bit.
Open up the snow that I provided.
Highlight and Copy Frame 10.
Highlight your working canvas.
Paste as a New layer just above the paper layer.
Rename Snow 10
Back to the snow layers.
Highlight and Copy Frame 9.
Highlight your working canvas.
Paste as a new layer (just over Snow 10 layer)
Rename Snow 9
Repeat the above steps until you have all 10 snow layers pasted on your working canvas.
What a mess! Time to clean it up.
Make your Selection Tool active set on Point to Point.
Trace just inside the glass part of the globe.
Selections/Invert
Highlight each layer above the snow globe and tap the delete key.
Deselect.
Close out each of the snow element layers (the elements from the kit, not the snow that I provide
Make your Selection Tool active again, still using it set on Point to Point.
Trace around the wood base of the globe.
Selections/Invert
Re-open up each snow element from the kit and tap the delete key.
Deselect.
Close out all snow layers but keep Snow 1 layer open.
Highlight your white canvas.
Make your Selection Tool active set on Rectangle.
Make a rectangle approximately 325 x 490 pixels.
New Raster layer.
Copy and paste Paper 6 Into Selection.
Apply Brush Strokes - Crosshatch:
Stroke Length: 32
Sharpness: 6
Strength: 2
OK
New Raster layer.
Copy and paste Paper 1 Into Seleciton.
Apply the same Brush Stroke effect.
Deselect.
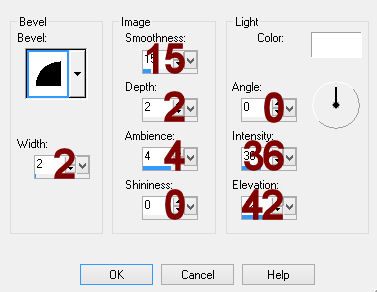
To each paper layer apply a slight Inner Bevel:


Move each paper into position - see my tag for reference.
Copy and paste your tube as a new layer.
Add your elements. I used:
40: Resize 35%
31: Resize 70%
35: Resize 50%
8: Resize 10%
22
41: Resize 40%/Free rotate Left 30 degrees
Highlight your white canvas.
New Raster layer.
Select All.
Copy and paste Paper 2 Into Selection.
Deselect.
Apply the mask.
Resize 105%
OK
Add your credits.
Type your name.
Color Pallet
Foreground: Gradient/Metal Brass
Style: Linear
Angl3: 51
Repeat: 2
Background: #183b1b
Stroke: 2
Type your name.
Conver to Raster layer.
Select All/Float/Defloat
Copy Merge.
~Time to Animate~
Open up Animation Shop.
Edit/Paste/As New Animation.
Back in PSP.
Close out Snow 1.
Open up Snow 2.
Copy Merge.
Carry into AS.
Edit/Paste/After Current Frame.
Back in PSP.
Close out Snow 2.
Open up Snow 3.
Copy Merge
Carry Into AS.
Edit/Paste/After Current Frame.
Continue copy merge and carrying each into AS until you have copied and pasted all 10 frames in AS.
View your animation.
If you're happy then resize:
Animate/Resize Animation:
Pixel Size checked
Width: 500
OK
View your animation again.
If you're happy then save.
I hope you enjoyed this tutorial as much as I did creating it for you.
I'd really love to see your results.
Email me!
Hugs,
Bev


No comments:
Post a Comment