
Supplies
Becky Mask 22 here
Dee’s Sign Post Kandee Christmas Template Collab here
You can find it under Thursday, November 22, 2012
Use Template 3 from the collab for this tutorial
Animation Shop
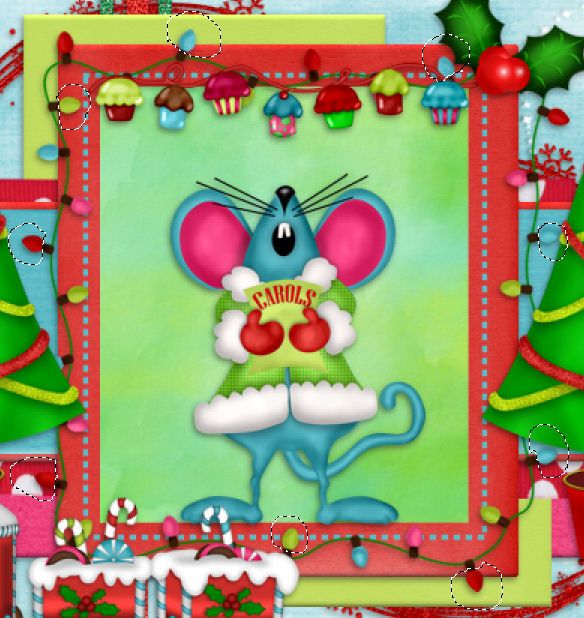
“A Christmas Clause” is a tagger
size scrap kit created by Cindy of Scrappin with Lil Ole Me and can be
purchased from Butterfly Blush Designs. You can visit
her blog here.
Thank you Cindy for a super fun holiday kit.
~♥~ Let’s get started ~♥~
Open up the template.
Shift + D.
Close out the original.
Delete the top 7 layers.
Open up the bg layer.
Highlight Gradient Rectangle layer.
Click anywhere outside of it with your Magic Wand.
Selections/Invert
New Raster layer.
Copy and paste Paper 28 Into Selection.
Deselect.
Delete the template layer.
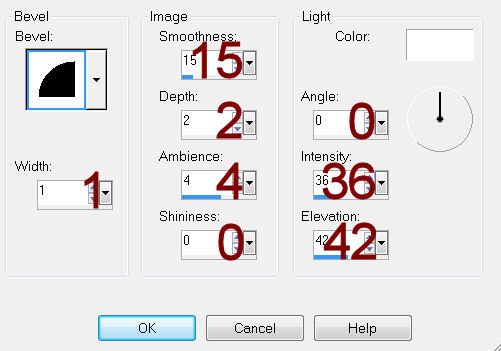
Give the paper a slight Inner Bevel:
Highlight Glitter Strips layer.
Make your Selection Tool active set on Rectangle.
Section around the middle red glitter strip.
Selections/Invert
Tap the delete key.
Deselect.
Use your Magic Wand and click anywhere outside of the glitter strip.
Selections/Invert
New Raster layer.
Copy and paste Paper 29 Into Selection.
Deselect.
Copy and paste acc58 as a new layer.
Resize 25%
Free rotate Left 90 degrees
Make your Pick Tool active and push the side in slightly to make the
ribbon thinner.
Duplicate
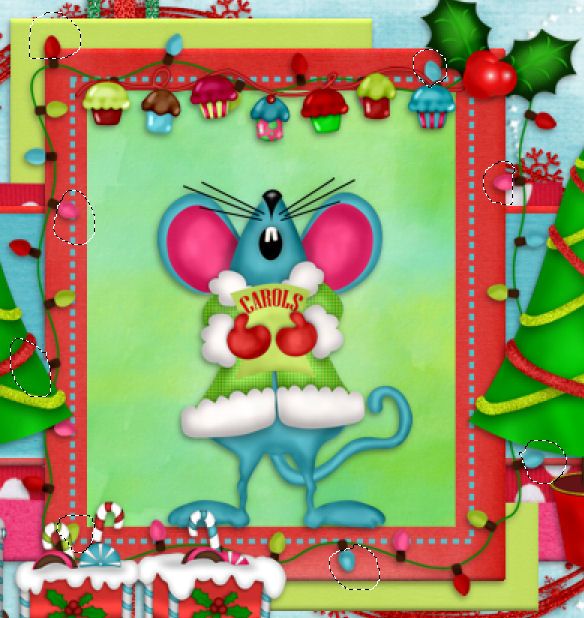
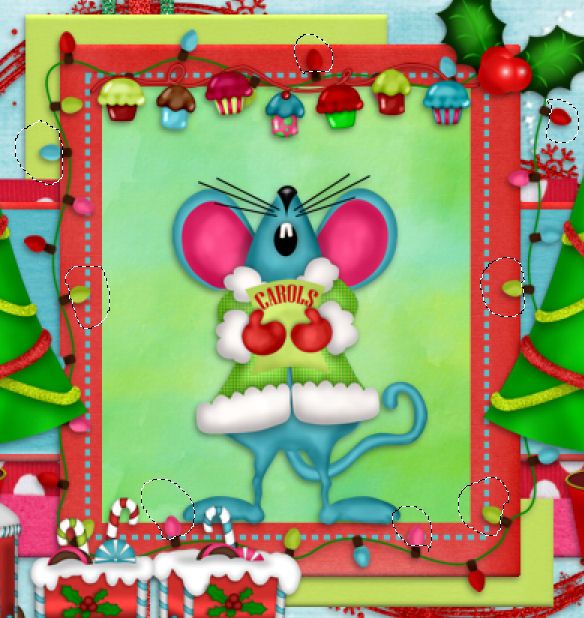
Move both ribbon layers into position – see my tag for reference.
Merge Visible the red strip and both ribbon layers.
Adjust/Add Remove Noise/Add Noise:
Uniform & Monochrome checked
Noise: 35%
OK
Duplicate/Free rotate Right 90 degrees/Move into position over the
other Glitter Strips template layer/Delete the template layer.
Highlight Top Green Square layer.
Click on it with your Magic Wand.
New Rater layer.
Copy and paste Paper 26 Into Selection.
Deselect.
Delete the template layer.
Give the paper the same slight Inner Bevel.
Repeat the above step with Green Square layer.
Highlight Top Dotted Strip layer.
Click anywhere outside of it with your Magic Wand.
Selections/Invert
New Rater layer.
Copy and paste acc57 Into Selection.
Deselect.
Delete the template layer.
Repeat the above step with Bottom Dotted Strip.
Highlight White Strip layer.
Click on it with your Magic Wand.
New Rater layer.
Copy and paste Paper 29 Into Selection.
Deselect.
Delete the template layer.
Give the paper the same slight Inner Bevel.
Highlight Green Strip layer.
Click on it with your Magic Wand.
New Rater layer.
Copy and paste Paper 27 Into Selection.
Deselect.
Delete the template layer.
Highlight Red Rectangle layer.
Click anywhere outside of it with your Magic Wand.
Selections/Invert
New Rater layer.
Copy and paste Paper 29 Into Selection.
Deselect.
Delete the template layer.
Give the paper the same slight Inner Bevel.
Highlight White Rectangle layer.
Click on it with your Magic Wand.
New Rater layer.
Copy and paste Paper 21 Into Selection.
Deselect.
Delete the template layer.
Color Pallet:
Foreground: #000000
Background: #58b8c4
Highlight Dotted Rectangle layer.
Make your Color Replacer Tool active and double right click on the
dotted rectangle.
Add your elements. I used:
84: Resize 25%
54: Resize 20%
85: Resize 40%/Duplicate/Mirror
44: Resize 50%/Duplicate
30: Resize 25% & 85%/Mirror
10: Resize 25%
14: Resize 50%
55: Resize 45%
Highlight your white background.
New Raster layer.
Select All.
Copy and paste Paper 19 Into Selection.
Deselect.
Apply the mask.
Use your Pick Tool and pull the sides out a little.
Merge Group.
Duplicate
Add your credits.
Add your name.
Color Pallet:
Foreground: #b00c09
Background: #03a003
Stroke: .80
Type your name.
Using the same settings, give your name the same inner bevel 2x’s.
Highlight the strand of lights layer.
Duplicate 3x’s for a total of 4 layers.
Rename them Lights 1, 2, 3, and 4.
Highlight Light 1 layer.
Use your Freehand Selection Tool and section out the following light
bulbs:
Make your Lighten/Darken Brush Tool active.
Swipe your mouse 3x’s over each bulb you have sectioned off.
Deselect.
Highlight Light 2 layer.
Section off the following bulbs and repeat the above step.
Highlight Light 3 layer.
Section off the following bulbs and repeat the above step.
Highlight Light 4 layer.
Section off the following bulbs and repeat the above step.

Close out Light layers 2, 3, and 4.
Leaving only Light 1 layer open.
Copy Merge.
~Time to Animate~
Carry Into Animation Shop.
Edit/Paste/As New Animation
Back in PSP.
Close out Light 1 layer.
Open up Light 2 layer.
Copy Merge.
Carry Into AS
Edit/Paste/After Current Frame.
Back in PSP.
Close out Light 2 layer.
Open up Light 3 layer.
Copy Merge.
Carry Into AS
Edit/Paste/After Current Frame.
Back in PSP.
Close out Light 3 layer.
Open up Light 4 layer.
Copy Merge.
Carry Into AS
Edit/Paste/After Current Frame.
Control A – to highlight all the frames.
Animation/Frame Properties:
Display Time: 20
OK
Animation/Resize Animation:
Percentage of Original:
Height X Width: 80
OK
View your animation.
If you’re happy with it then save.
Resize all layers 80%.
OMG Bev this is adorable!!!
ReplyDeleteThanks so much Dee! The kit was adorable!
ReplyDelete