Supplies
1 tube of choice – I used the beautiful artwork of Sue Miller which can
be purchased from Up Your Art. You must have
a license to use.
You can find it under Sunday, May 6, 2012
“Forever Fall” is a
tagger size scrap kit created by Jessica of Gothic Inspirations and can be
purchased from her store GothicInspirations. You can visit her blog
here.
Thank you Jess…Just love your kits!
This tutorial was written assuming you have a working knowledge of PSP.
~♥~ Let’s get started ~♥~
Open up the template.
Shift + D.
Close out the original.
Delete the top 4 layers,. Pixel Words, Right Rectangle, and Pixel Words
1.
Highlight Glitter Rectangle.
Click anywhere outside of it with your Magic Wand.
Copy and paste Paper 1 as a new layer.
Move into a position you like over the template layer.
Tap the delete key.
Adjust/Add Remove Noise/Add Noise:
Random and Monochrome checked
Noise: 43%
OK
Deselect.
Delete the template layer.
Repeat the above step with Pink Circle layer.
Highlight Black Rectangle layer.
Click anywhere outside of it with your Magic Wand.
Copy and paste Mesh Mask element from the kit as a new layer.
Resize 80%
Tap the delete key.
Deselect.
Lower the Opacity to about 36.
Highlight Blue Rectangle layer.
Click on it with your Magic Wand.
New Raster layer.
Copy and paste Paper 5 Into Selection.
Deselect.
Delete the template layer.
Highlight Gradient Circle.
Click anywhere outside of it with your Magic Wand.
Selections/Invert
New Raster layer.
Open up your tube.
From the tube copy the very bottom Image layer.
Make your working canvas active.
Paste Into Selection.
Deselect.
What we want to do is “erase” the swan -
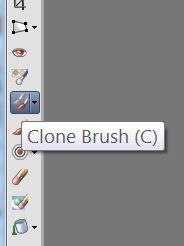
Make your Clone Brush active:

Choose the default brush and use default settings.
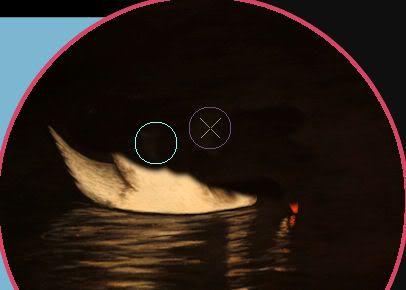
Right click on the black area above the swan.
Hold down the left mouse button and brush over the swan only:

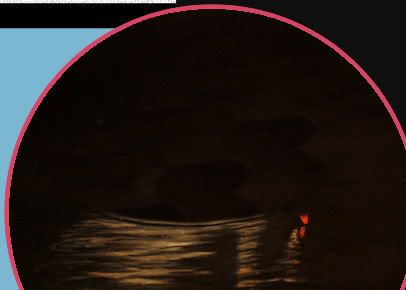
When you're done "erasing" the swan it should look something like this:

From the tube – copy the layer labeled “Tube SM0111 Night Visitor”
(It’s just the swan with a little bit of water beneath it)
Make your working canvas active.
Paste as a new layer.
Resize 70%
When I did this the swan ended up in the exact spot I wanted. If yours didn’t then move into position.
Copy and paste Light element as a new layer behind the swan.
Resize 70%
Highlight the Gradient Circle Template layer.
Click anywhere outside of it with your Magic Wand.
Highlight the light layer.
Tap the delete key.
Deselect.
Use your Eraser Tool and erase the part of the light ray that can be
seen below the swan.
Delete the gradient circle template layer.
Add the elements. I used:
P Willow: Resize 60%/Duplicate/Mirror
Cornflower: Resize 15%/Duplicate/Mirror
Leaves: Resize 70%
Bird: Resize 15%
Crop you image – (trim some of the bottom off)
Highlight your white background.
New Raster layer.
Select All.
Copy and paste Paper 6 Into Selection.
Deselect.
Apply the mask.
Resize 115%.
Merge Group.
Add your credits.
Add your name.
Color Pallet:
Foreground: #bc955a
Background: #251b12
Stroke: 0.8
Type your name.
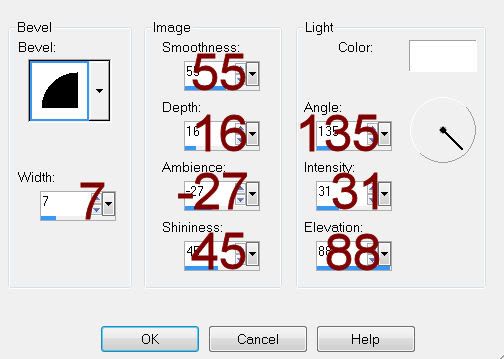
Give it a slight Inner Bevel:

Resize all layers 80%.


No comments:
Post a Comment