Clicking on the image will enlarge to full view.
Supplies
3 tubes of choice - I used the beautiful artwork of Jay Trembly here
Font of choice - I used Wesley here
Monti Circular Mask here
Dezigns by Ali Template 18 here
Filters Unlimited 2.0 - Aged Film - Optional
“Dragonfly” is a PTU tagger size scrap kit created by Kat of KatNKDA and can be purchased at her store here. You can visit her blog here.
This tutorial was written assuming you have a working knowledge of PSP.
~♥~ Let’s get started ~♥~
Open up the template.
Delete the Credit layer.
New Raster layer.
Flood fill white.
Send to bottom.
Delete the Credit layer.
New Raster layer.
Flood fill white.
Send to bottom.
Highlight Large Circle layer.
Select All/Float/Defloat
New Raster layer.
Copy and paste a paper of choice Into Selection.
Deselect.
Delete the template layer.
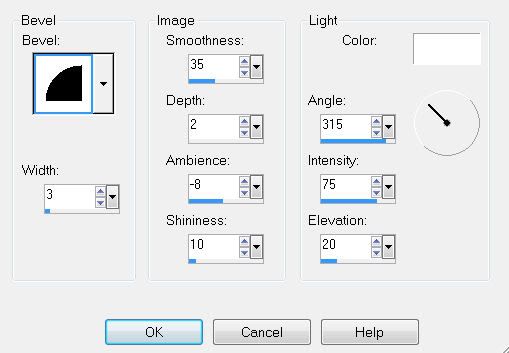
Give it a slight inner bevel:
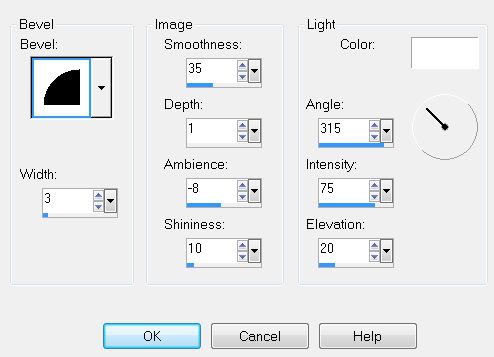
Apply Filters Unlimited 2:
Special Effects/Aged Film
Default settings
Highlight Rectangle 2 layer.
Merge Down.
Rectangle 1 and 2 layers should be on one merged layer now.
Highlight Rectangle 2 layer.
Merge Down.
Rectangle 1 and 2 layers should be on one merged layer now.
Select All/Float/Defloat
Copy and paste a paper of choice as a new layer.
Selections/Invert
Tap the delete key.
Deselect.
Delete the template layer.
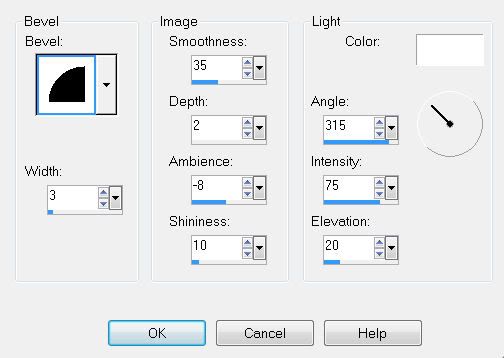
Give it a slight inner bevel:
Copy and paste Element 2 as a new layer.
Resize 40%.
Duplicate - move it over to create a long ribbon.
Merge Down.
Resize 80%
Position over the top rectangle.
Center it.
Duplicate and close it out.
Highlight the rectangle layer.
Select All/Float/Defloat
Selections/Invert
Highlight the long ribbon.
Tap the delete key.
Open up the duplicated ribbon layer.
Move into position over the bottom rectangle.
Tap the delete key.
Deselect.
Highlight Photo 1 Frame layer.
Select All/Float/Defloat
New Raster layer.
Copy and paste a paper of choice Into Selection.
Deselect.
Delete the template layer.
Select All/Float/Defloat
New Raster layer.
Copy and paste a paper of choice Into Selection.
Deselect.
Delete the template layer.
Repeat the above step with Photo 2 Frame and Photo 3 Frame layers.
Highlight Photo 1.
Select All/Float/Defloat
New Raster layer.
Copy and paste a paper of choice Into Selection.
Deselect.
Delete the template layer.
Repeat the above step with Photo 2 and Photo 3 layers.
Copy and paste a tube of choice below each of the frames.
Add your embellishments. I used:
Element 19: Resize 60% Free rotate left 90 degrees
Element 29: Resize 25%
Element 30: Resize 25%
Element 31: Resize 30%
Element 37: Resize 50%
Highlight your white background.
New Raster layer.
Select All.
Copy and paste a paper of choice Into Selection.
Deselect.
Apply the mask.
Merge Group.
Use your Pick Tool to pull it out just a little.
Add your copyrights.
Add your name.
Give it the same inner bevel you used on the Large Circle layer.
Resize all layers 85%.
I hope you enjoyed this tutorial.
I’d love to see your results.
Email me!
Hugs,
Bev