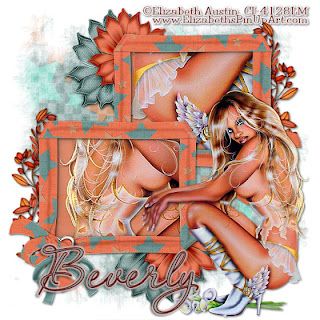
Clicking on the image will enlarge to full veiw.
Supplies Needed
1 tube of choice. I'm using the artwork of Elizabeth Austin which you can purchase here
Font of choice - I'm using Aquarelle here
Weescotlass Mask 297 here
Eyecandy 5: Impact – Optional
“Risky” scrap kit created by Sematra Designs which can be found here. You can visit her blog here.
This tutorial was written assuming you have working knowledge of PSP.
~♥~ Let’s get started ~♥~
Open up a blank canvas 700 X 700. Flood Fill white. Copy and paste Frame 1 as a new layer. Resize 50% and move to the upper right side of your canvas. Duplicate, Mirror. Move to the lower left side of your canvas.
Use your Magic Wand and click inside one of the frames. Selections/Modify/Expand by 4. Copy and paste a paper of choice below the frame. Selections/Invert. Hit the delete key. Copy and paste your tube below the frame. Enlarge as much as you like until you get the desired image inside the frame. Hit the delete key. Deselect. Close out your white canvas and merge visible.
Repeat the above step with the other frame.
Add your embellishments. I used:
Flower 2a: Resize 50%
Flower 2b: Resize 50% and again 80%
Heart Bow 1: Resize 60%
Leaves 1: Resize 40%. Mirror. Free rotate right 50 degrees.
Highlight your white canvas. New Raster Layer. Select All. Copy and paste a paper of choice Into Selection. Deselect. Apply the mask. Merge Group.
Add your copyrights.
Add your name.
I added a slight inner bevel:
Bevel: 2
Width: 1
Smoothness: 15
Depth: 2
Ambience: -2
Shininess: 0
Color: white
Angel: 0
Intensity: 36
Elevation: 42
OK
Then I added a Gradient glow:
Outside Glow
Mask Selection checked
Glow Radius: 5
Soft Corners: 0
Overall Opacity: 100
Distortion Amount: 0
Distortion Lump Size: 100
Smoothness: 46
Choose your color
Ok
I hope you enjoyed this tutorial.
I’d love to see your results.
Email me!
Hugs,
Bev

No comments:
Post a Comment